Still scrolling through Pavers Walkway 2026 photos without knowing where to start? You’re not alone! It can feel overwhelming with endless options out there.
We spent serious time browsing Walmart, Lowe’s, and Tractor Supply Company to bring you only what’s worth your attention this year. From budget-friendly finds around $1 to statement pieces up to $7499, this guide is packed with real-world solutions.
Inside, you’ll find 27 curated ideas covering popular styles like modern, bohemian, rustic, and Japanese. Every single idea is also fully shoppable with direct product links to help you create these looks in your own space.
Pavers Walkway 2026 is having a major moment on Pinterest right now as homeowners look for beautiful yet durable ways to define their outdoor spaces.
Save it now — this one’s worth keeping.
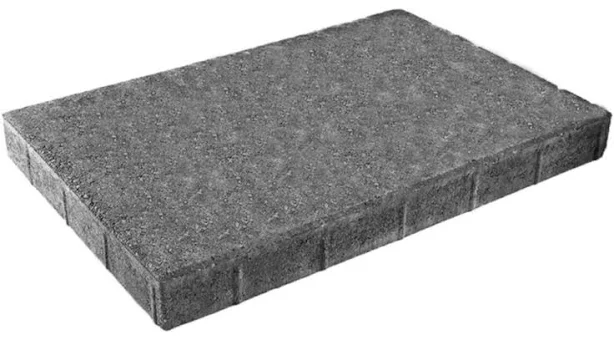
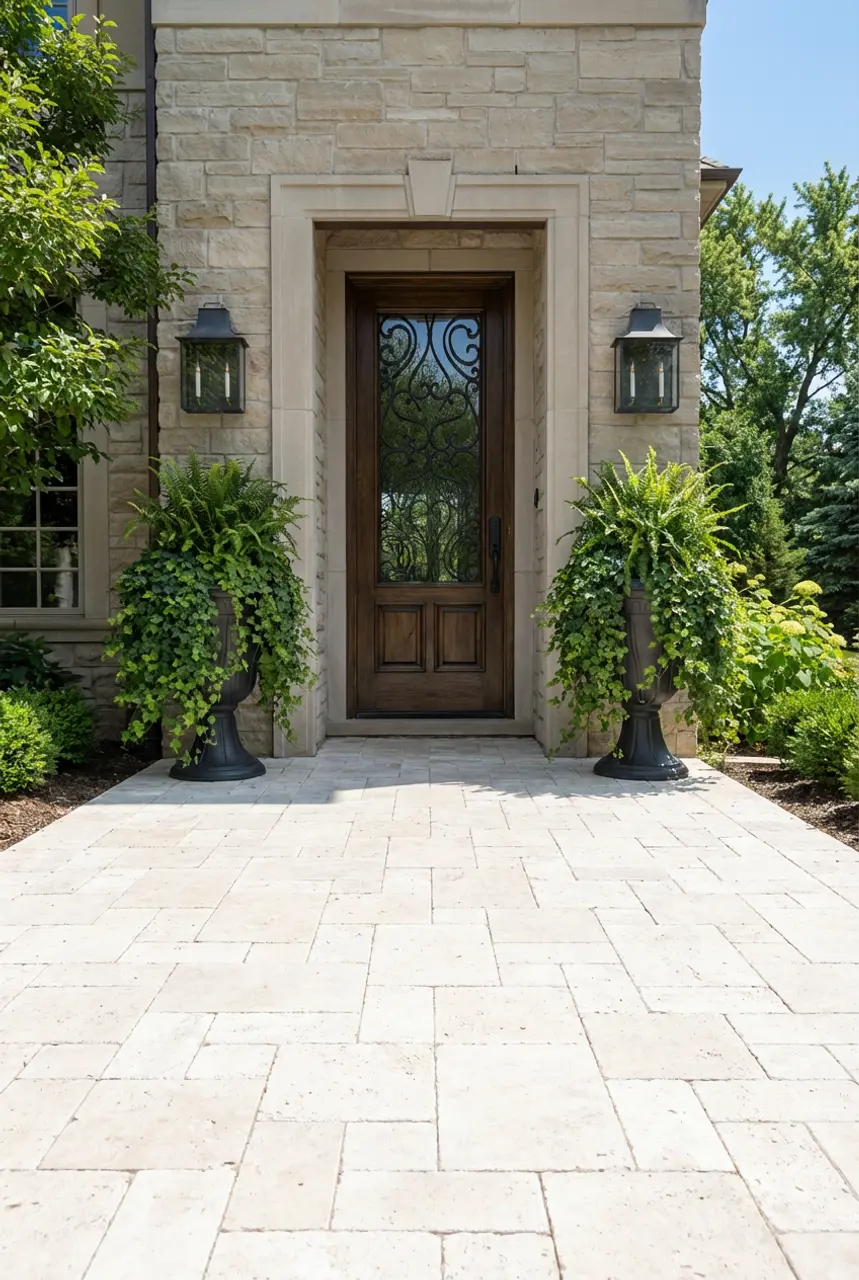
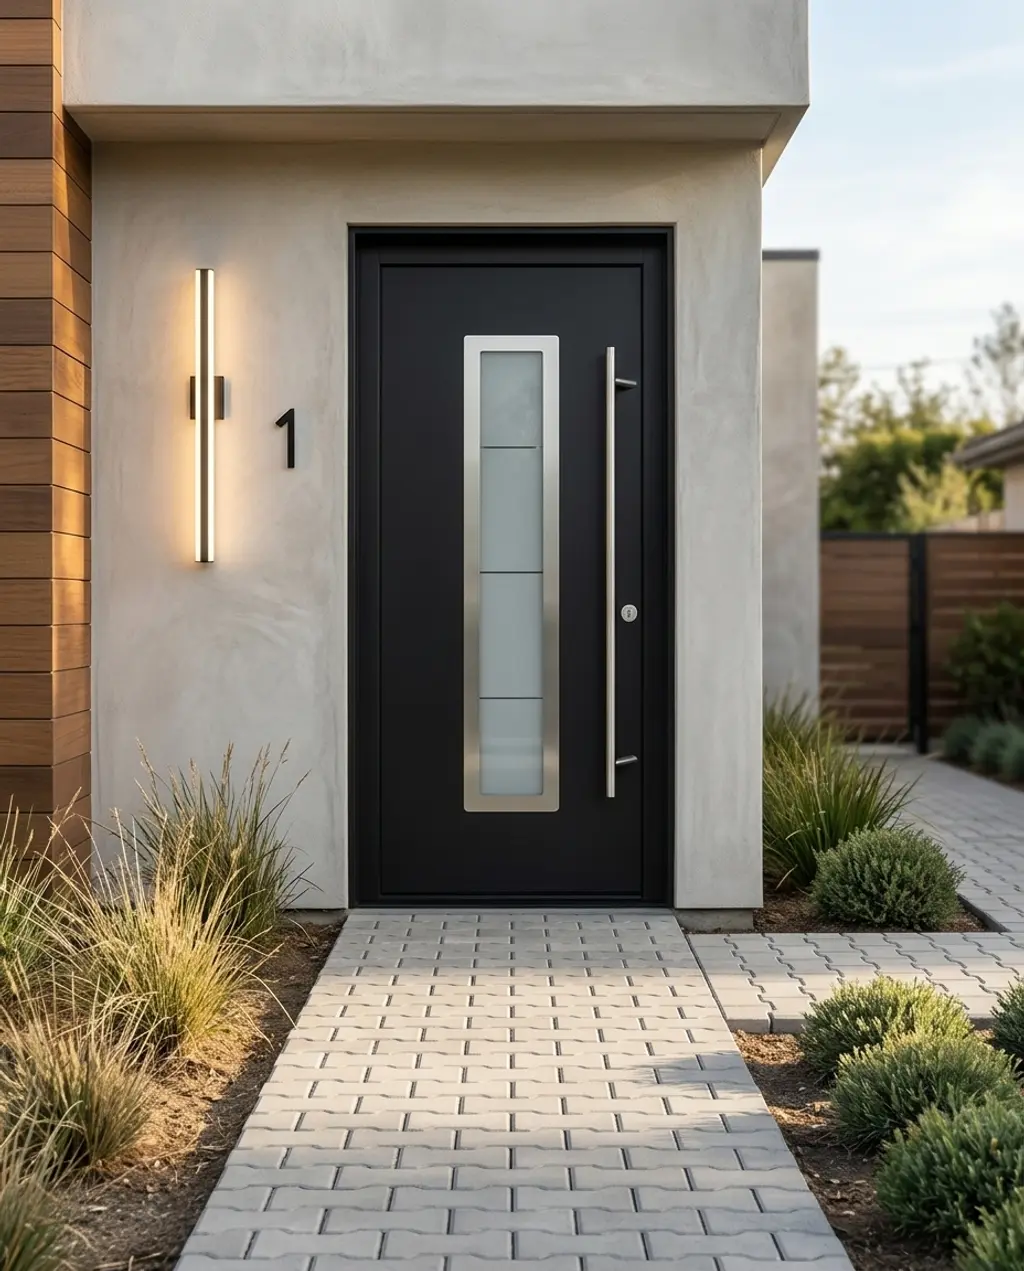
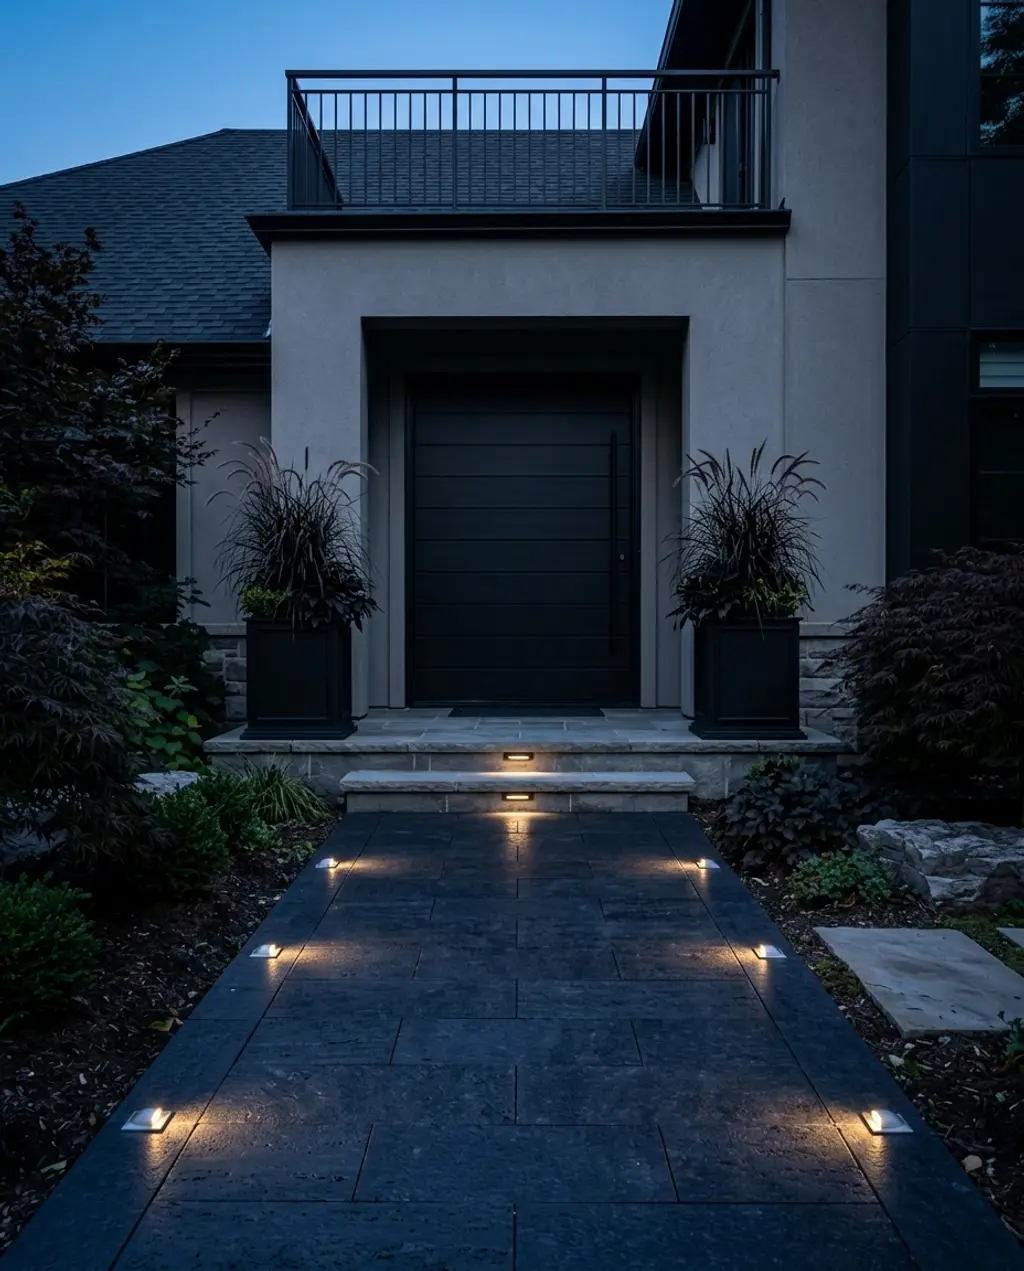
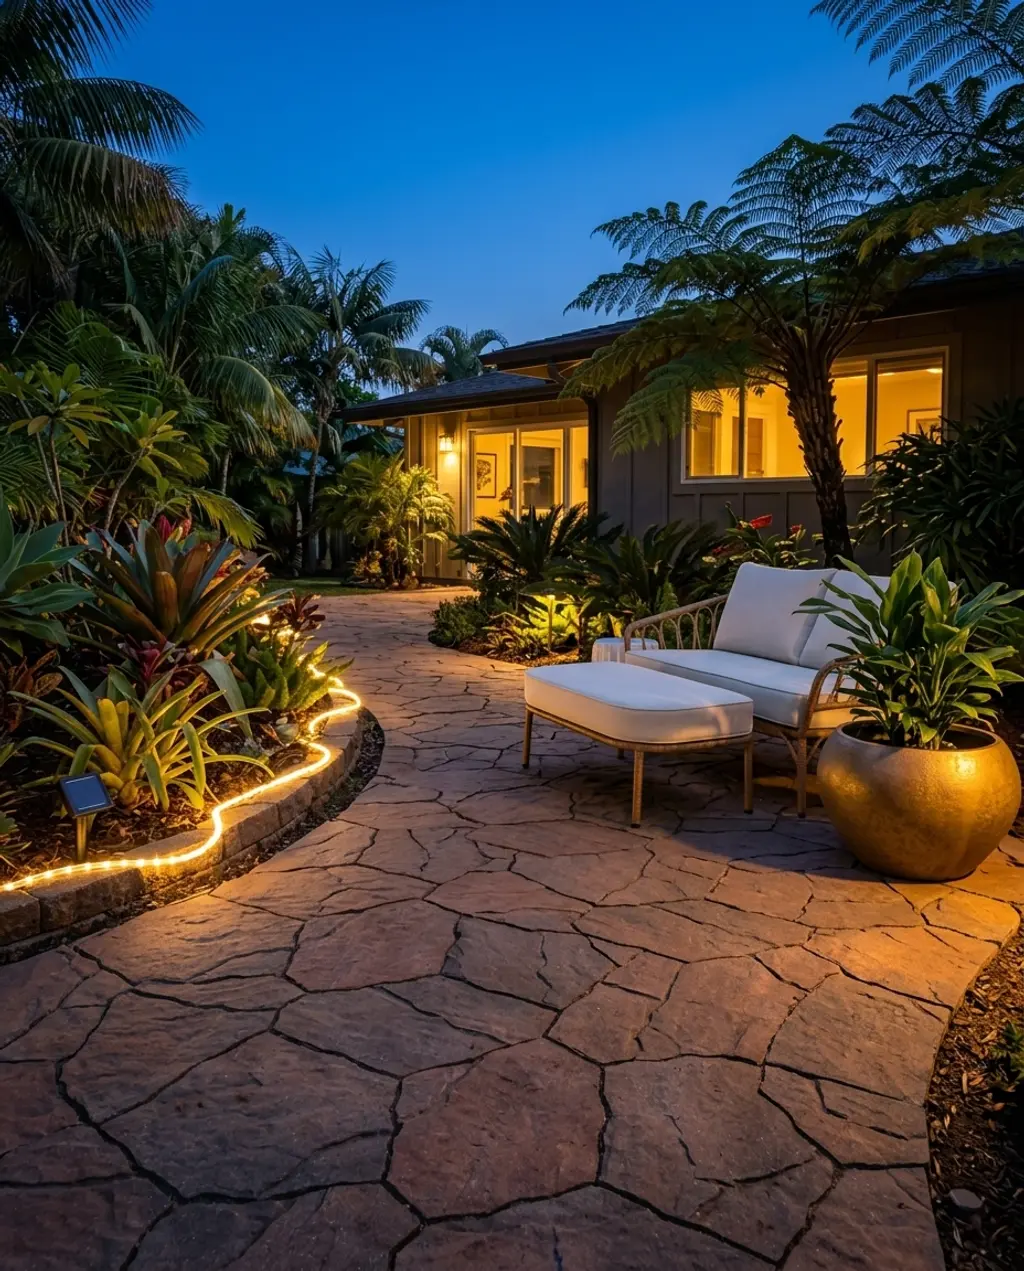
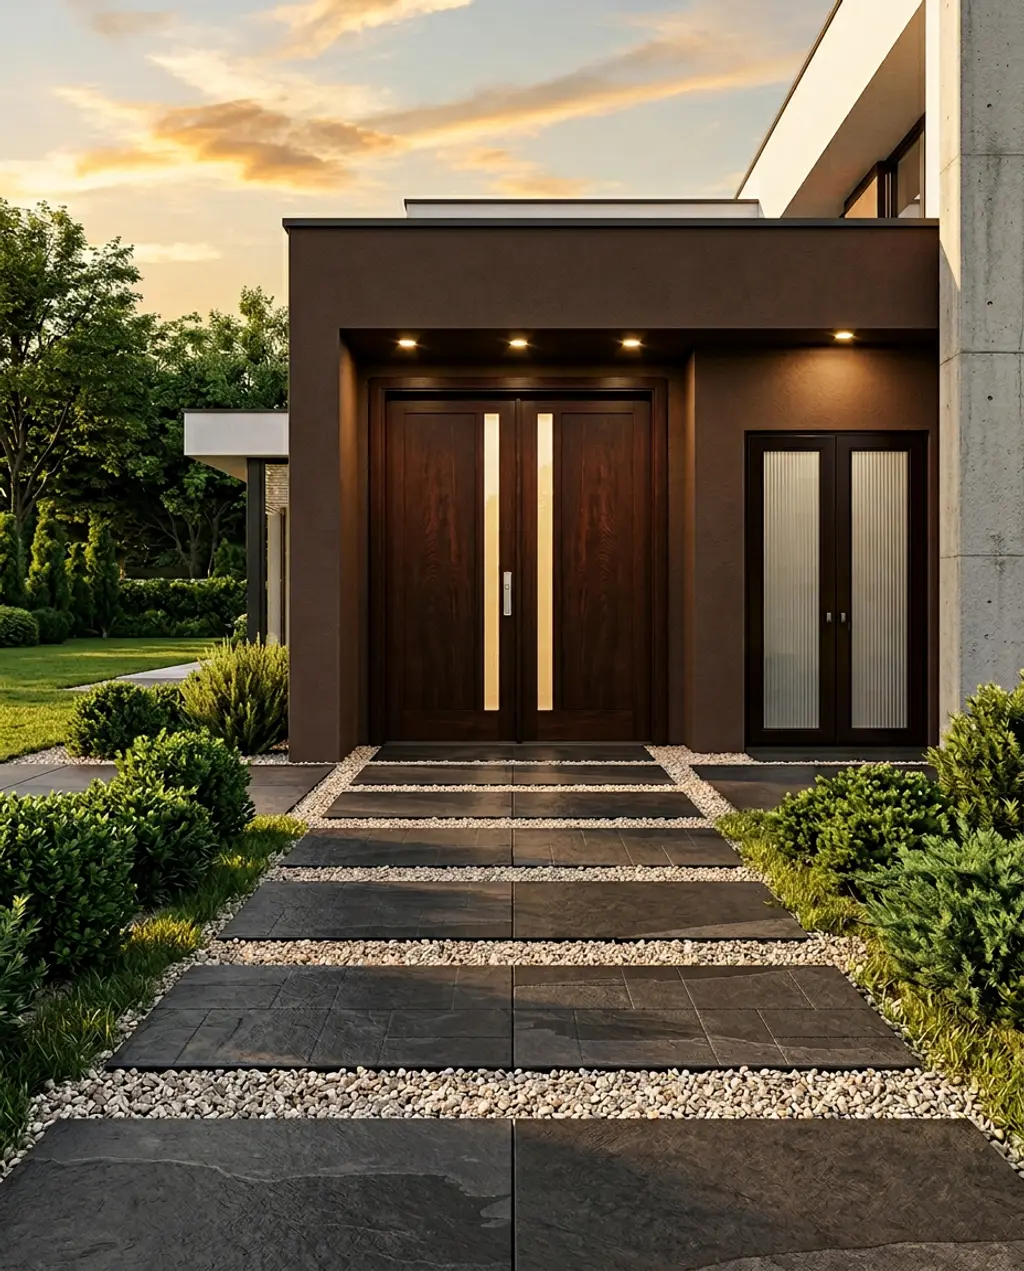
1. Modern Concrete Pavers with Dark Gravel Inlays for Front Entry

For a striking first impression, think beyond just the pavers. Modern concrete pavers laid in a clean, linear pattern, contrasted with dark gravel inlays, create a sleek and inviting path to your front door. The crisp lines give off a sophisticated, minimalist vibe that instantly elevates your home’s curb appeal without feeling cold.
When using a dark gravel inlay, make sure your trench is deep enough to hold at least 2 inches of gravel after compaction, plus a barrier. This prevents gravel from migrating and keeps your lines clean. Consider using a flexible plastic or metal edging subtly tucked beneath the pavers to truly lock those inlays in place for a perpetually sharp look.
- Main furniture (pavers): $150 – $400
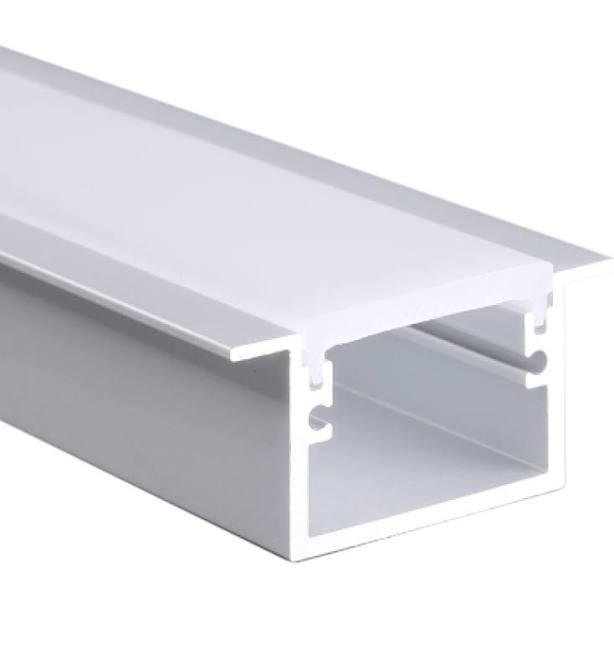
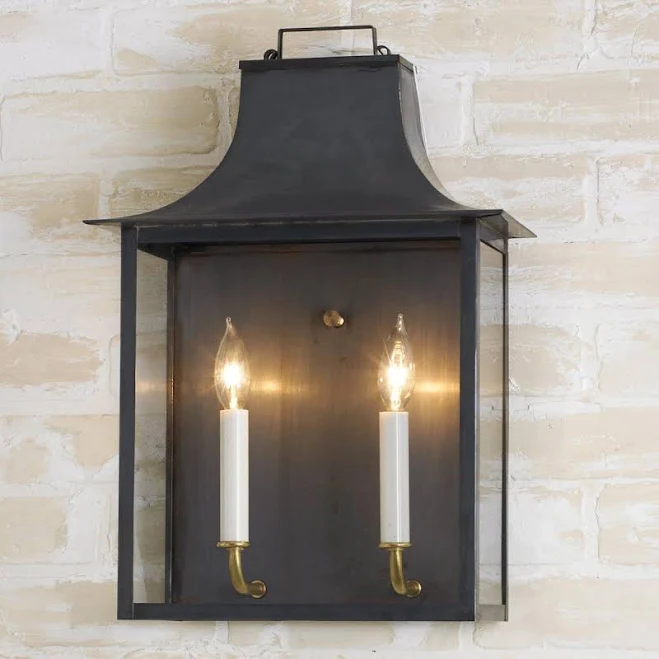
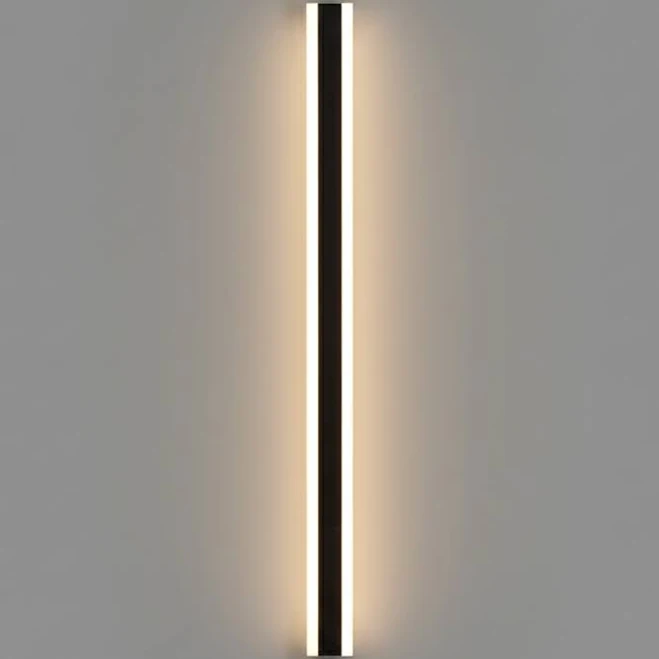
- Lighting (strip path lighting, front door light): $100 – $300
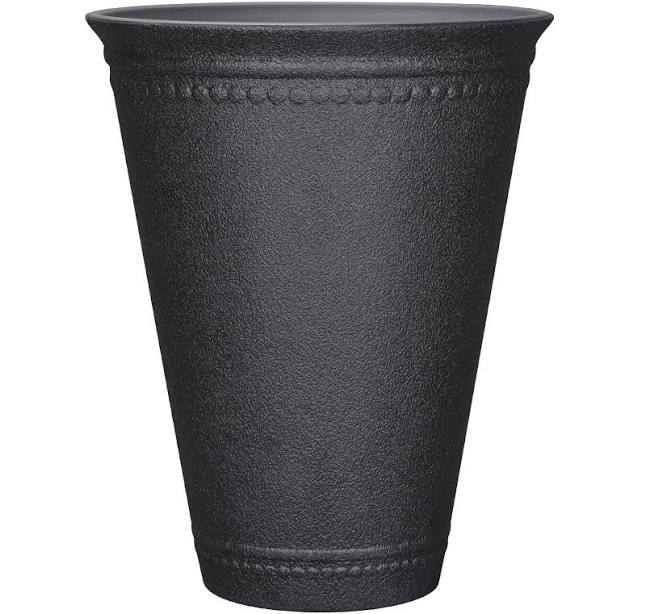
- Decor/Accessories (planters): $50 – $150
- Paint/Wall Treatment (front door): $1400 – $1800
- TOTAL: $1700 – $2650
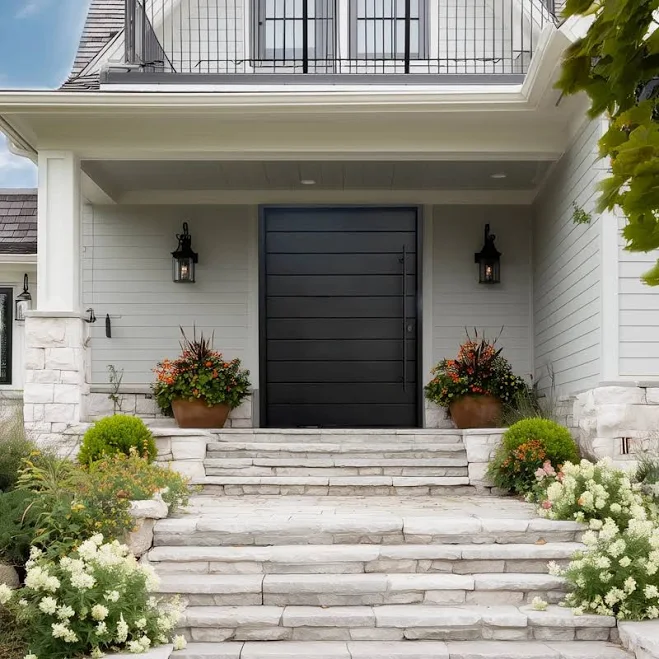
Budget alternative: Achieve a similar linear effect using smaller, more affordable concrete stepping stones spaced further apart, with dark pea gravel (around $5 per bag) filling the gaps. Skip the strip lighting for solar-powered puck lights (around $20 for a 4-pack) and paint your existing front door black for a budget-friendly impact. You could get a similar look for $200-$400.
|
Pavestone Rectangle Patio Stone$7.48 |
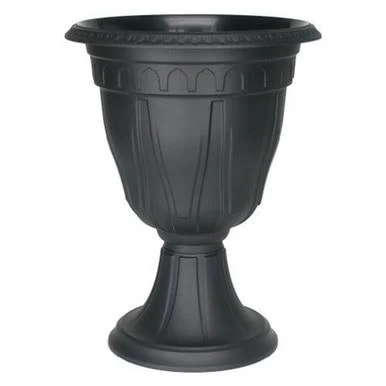
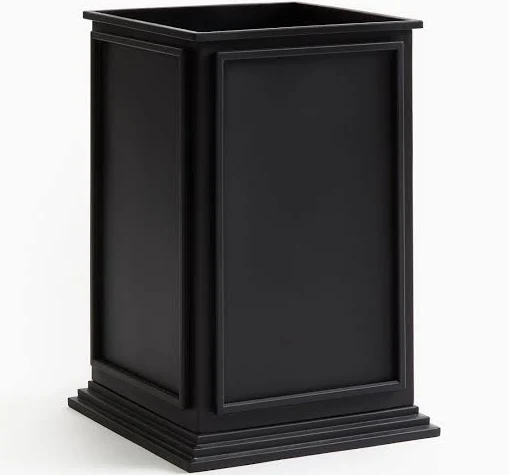
My Texas House Tall Planter$24.97 |
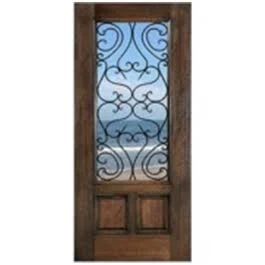
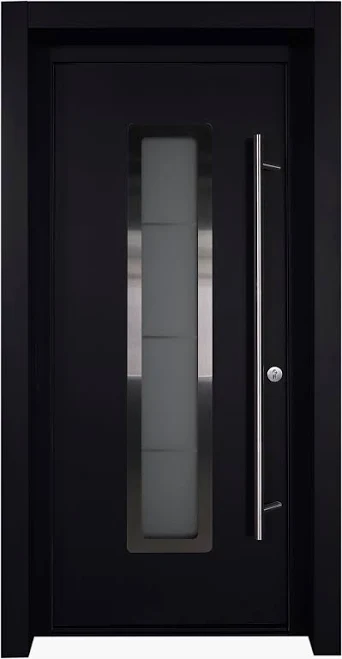
Therma- Tru Shaker Entry Door$1432.78 |
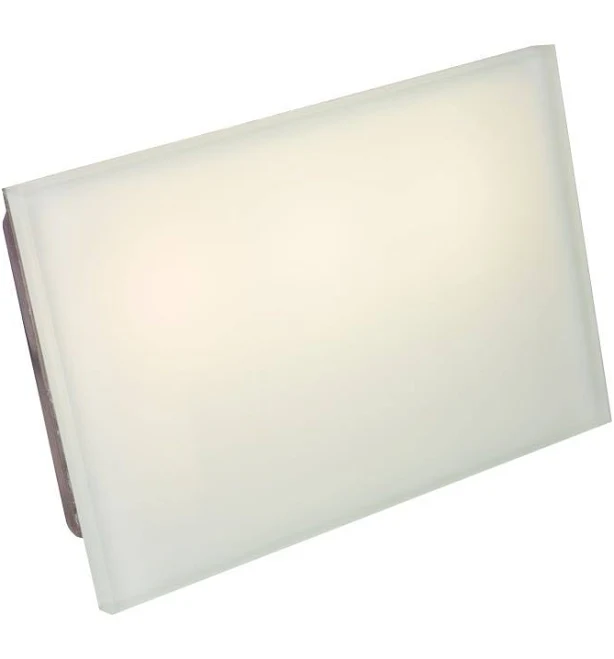
Outdoor Driveway LED Strip Profile Flanged 30mm Wide Pathway Lighting$14.98 |

As an affiliate, we earn from qualifying purchases.
2. Rustic Brick and Gravel Path for Charming Side House Access
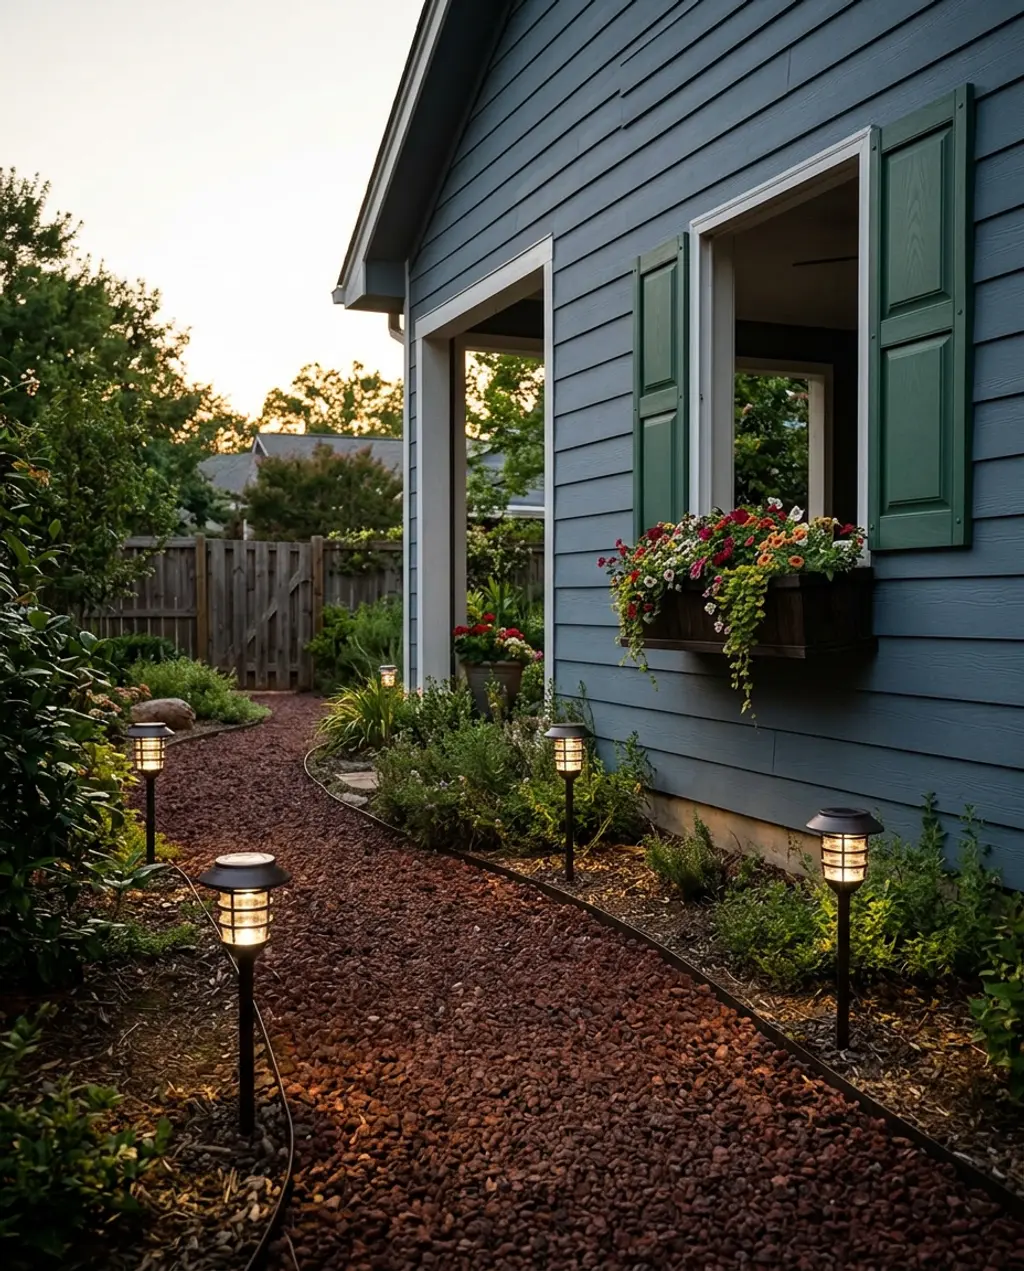
There’s something incredibly charming about a rustic brick and gravel path winding its way along the side of a house. This look just whispers ‘cottagecore dreams’ and makes even a utilitarian side entry feel like a secret garden path. The key here is embracing imperfection and allowing the natural textures to shine.
The blend of rough-hewn bricks and loose gravel works because it taps into a deeply rooted aesthetic of aged beauty. The varying textures provide visual interest, avoiding a monotonous surface. The curved path, rather than a straight line, softens the overall landscape and invites a leisurely stroll, making the journey as pleasant as the destination. It feels organic and settled, like it’s been there forever.
Be realistic about maintenance. While charming, gravel pathways need regular edging to prevent encroachment from grass and weeds, and you’ll occasionally need to rake and replenish the gravel, especially after heavy rains. If you live in an area with dry leaves, be prepared for some extra raking; they love to get embedded in the gravel. This isn’t a set-it-and-forget-it look, but its low-cost entry and high-charm payoff often make the effort worthwhile.
|
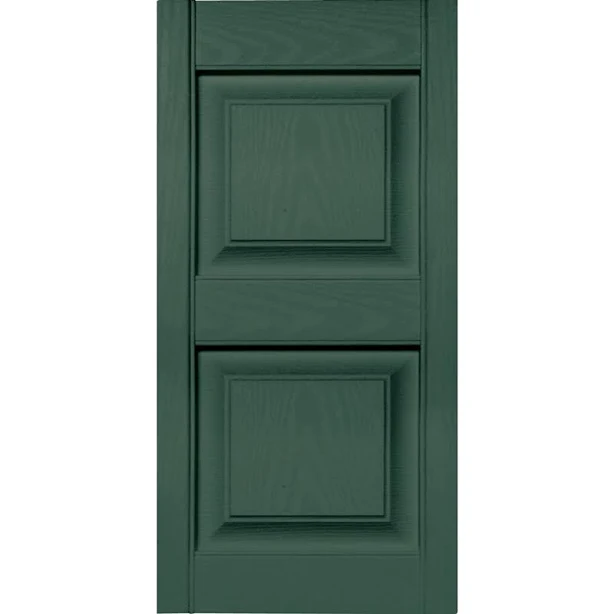
Vantage 12-in W x H Raised panel Exterior Shutters$29.98 |
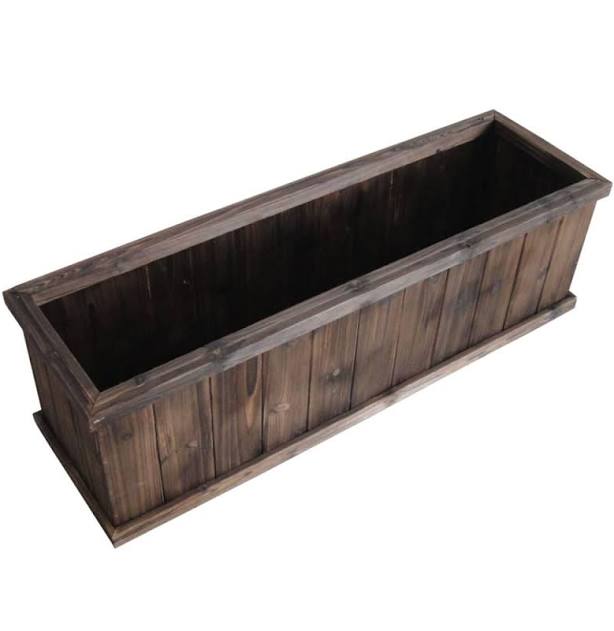
Style Selections Rectangle Indoor/Outdoor Window Box$66.98 |
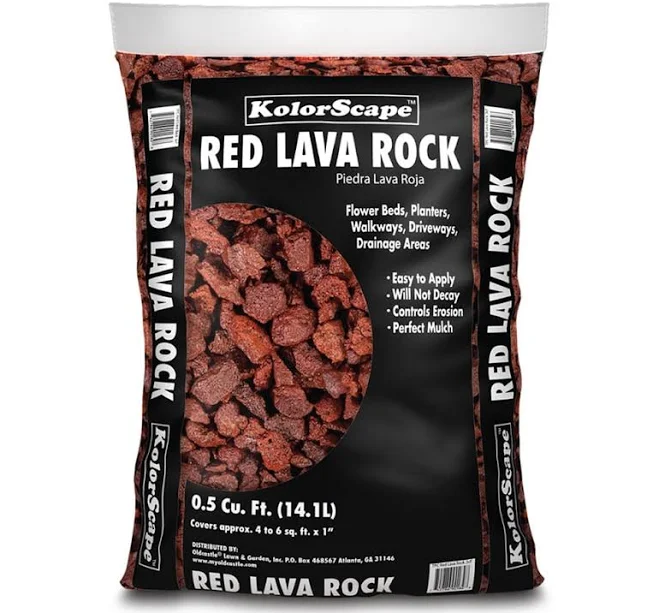
KolorScape Red Lava Rock$6.48 |
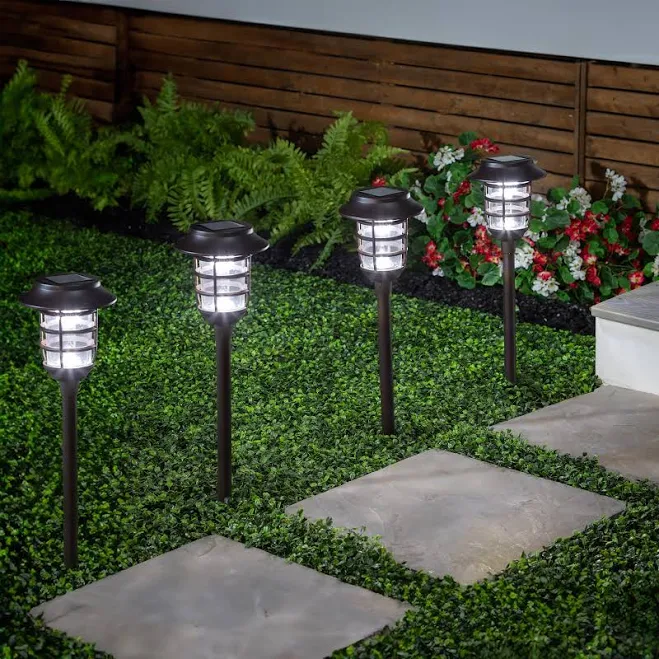
Evergreen Enterprises Solar Pathway Light Set of 4$99.95 |
As an affiliate, we earn from qualifying purchases.
3. Grand Stone Pavers Adorning a Stately Front Entrance
When you want to make a grand statement, large format stone pavers are your best friend. Picture stately, generously sized natural stone leading up to your front entrance — it creates an immediate sense of permanence and classic elegance. This look works so well for homes with a more traditional or transitional architectural style, where grandeur is part of the aesthetic.
The one thing that truly makes this look sing is the sheer scale of the pavers. Opting for large, substantial stones immediately conveys luxury and creates a less busy, more expansive feel. If you were to use smaller, more numerous stones, you’d lose that impactful, elegant simplicity. Their size means fewer grout lines, emphasizing the natural beauty of the stone.
This idea truly shines with minimum front entrance width of 5-6 feet and a house facade that has some height to it (e.g., two stories or more). For a smaller bungalow or a more compact front yard, those massive stones might feel overwhelming. If your space is tighter, consider Idea #7, which uses classic brick in a pattern, offering a similar sense of history but on a more manageable scale.
To get a similar elevated stone look for less, explore concrete pavers that mimic the look of natural stone. Brands like Belgard or Cambridge offer options that can be significantly more affordable than real bluestone or flagstone. You might also find good deals on surplus large format concrete slabs from local landscape supply yards, often for $3-$8 per square foot. Layer on some stately urn planters from a home goods store (around $30-$50 each) rather than high-end garden centers.
|
MSI Mayra White Rectangular Natural Stone Paver$21.12 |
ETO Doors Tuscany Exterior Door$999 |
DCN Tall Azura Urn Planter$19.99 |
Shades of Light Colonial Metalcrafts Georgian Outdoor Sconce Medium Li$699 |

As an affiliate, we earn from qualifying purchases.
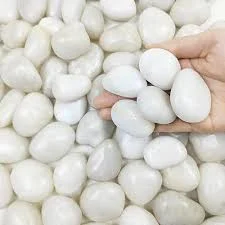
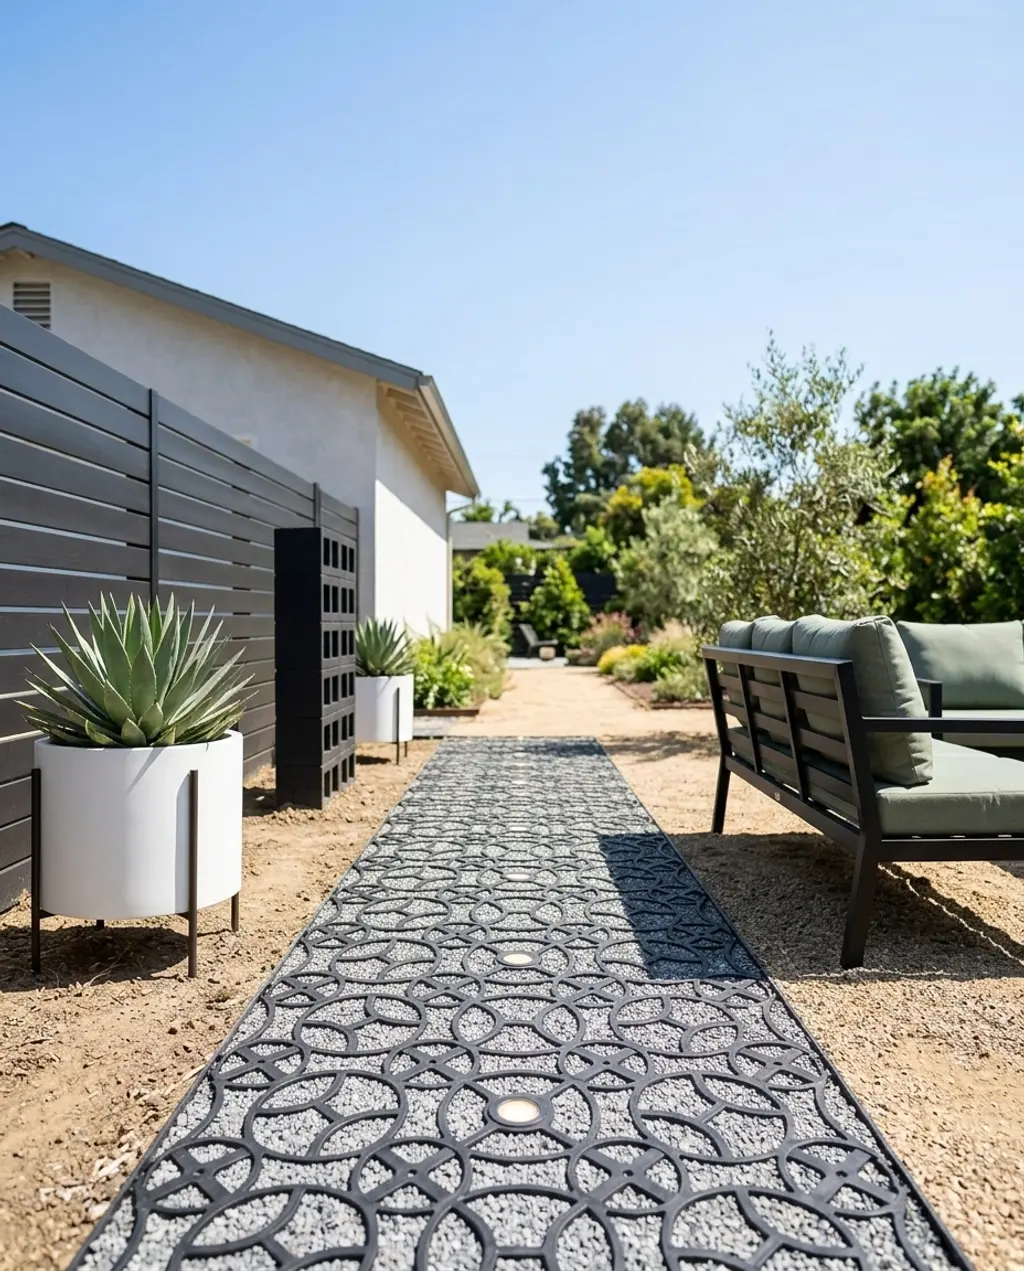
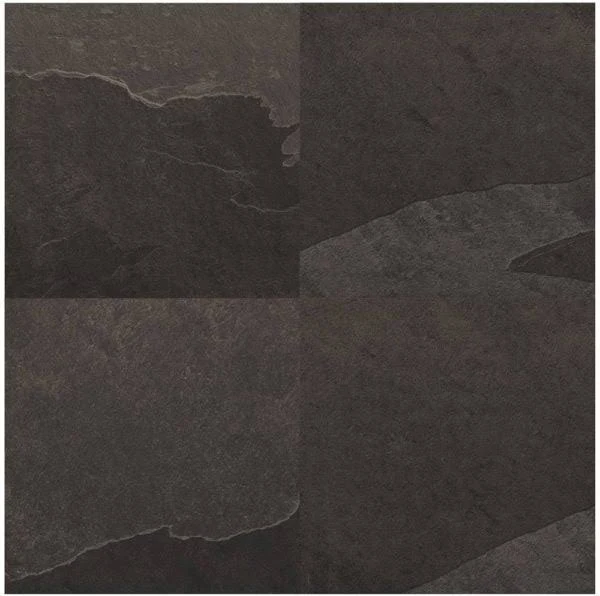
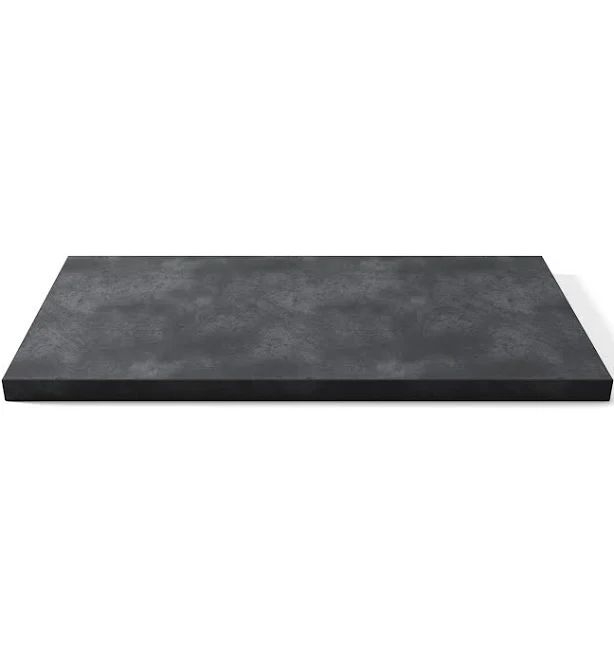
4. DIY Black Pavers with White Rocks for a Zen Side Path
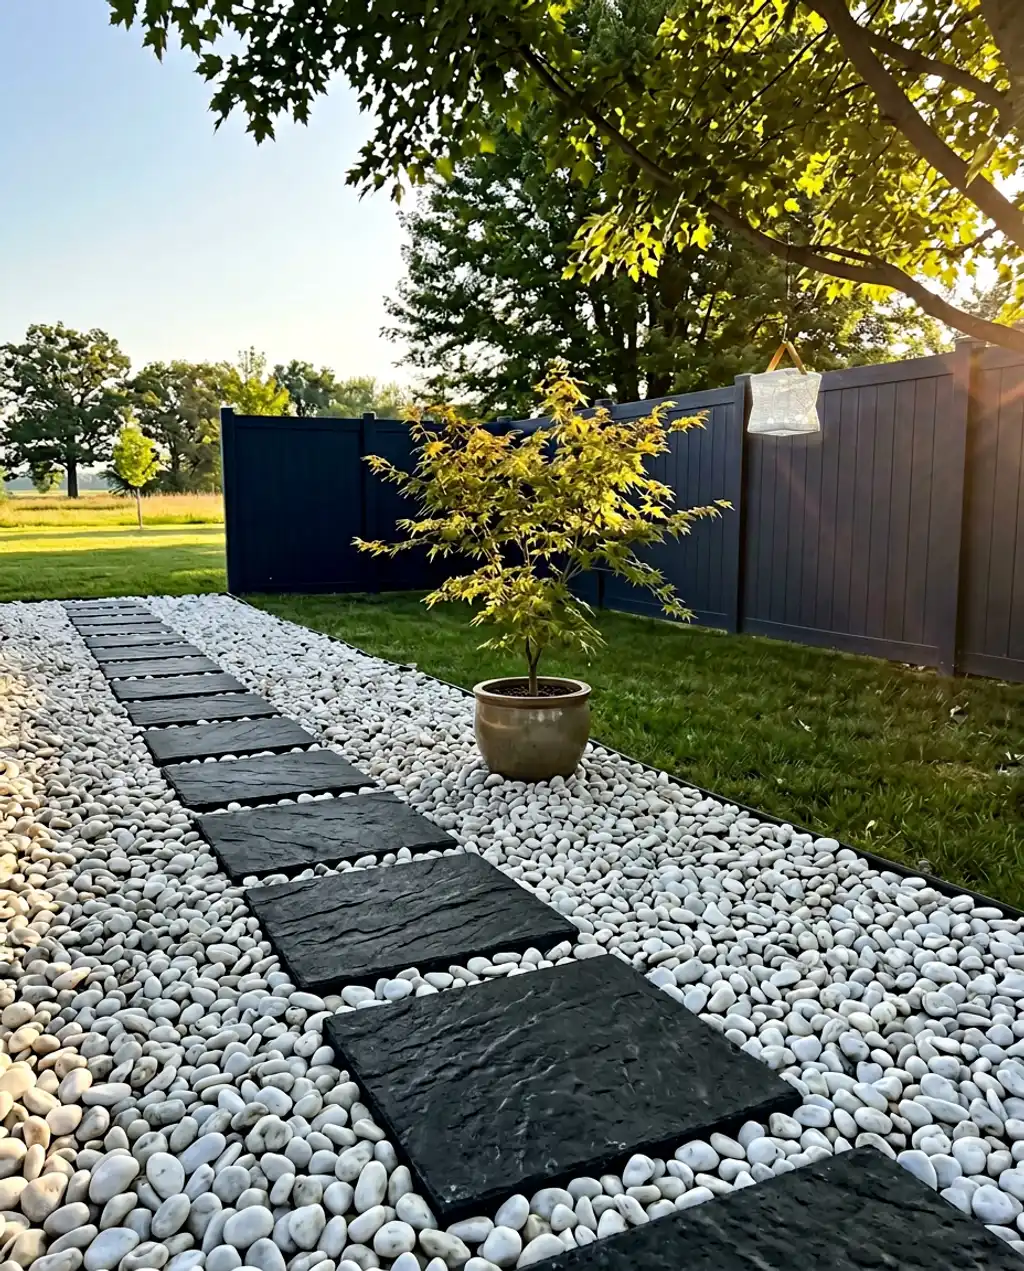
A DIY black paver pathway with white rocks for a Zen side path is all about creating a serene, mindful journey. Imagine stepping onto perfectly placed dark pavers, flanked by bright white river rocks, with maybe a quiet lantern sending a soft glow. This really brings a sense of calm and intentionality to an often-overlooked space.
This simple, contemplative style is booming thanks to the rise in ‘slow living’ aesthetics and a desire for more mindful home environments. Pinterest and Instagram are awash with minimalist Zen gardens, and homeowners are looking for ways to bring that tranquility to even small, overlooked areas like a side yard. It’s a trend with staying power because it’s less about fleeting fads and more about creating a feeling.
How-To Brief: Creating a Crisp Rock Border
- Excavate: Dig a shallow trench (about 2-3 inches deep) along the desired edge of your pavers, ensuring a consistent depth.
- Lay Barrier: Place a quality landscape fabric in the trench, extending it slightly under the paver edge to prevent weed growth and rock sinking.
- Edge Definition: Install a subtle, low-profile edging (plastic or metal) along the inside of the trench, creating a tidy boundary for your rocks.
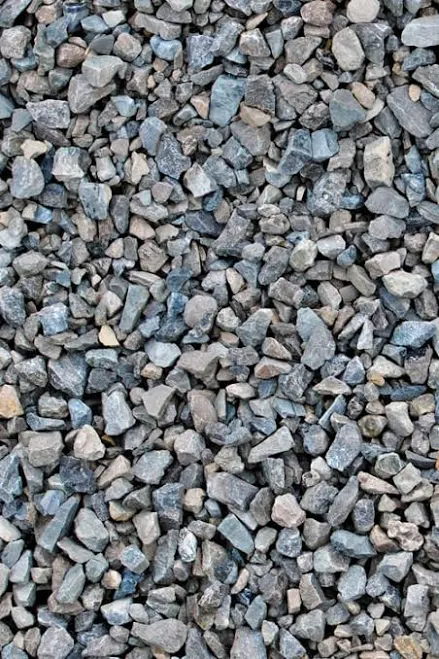
- Add Rocks: Pour your chosen white river rocks into the trenched area, filling up to level with the top of your edging.
- Compact: Gently tamp down the rocks using a hand tamper or the back of a shovel to create a stable, even surface.
Time estimate: 2-4 hours for a 10-foot section. Material cost: $20-$50 for edging and rocks.
|
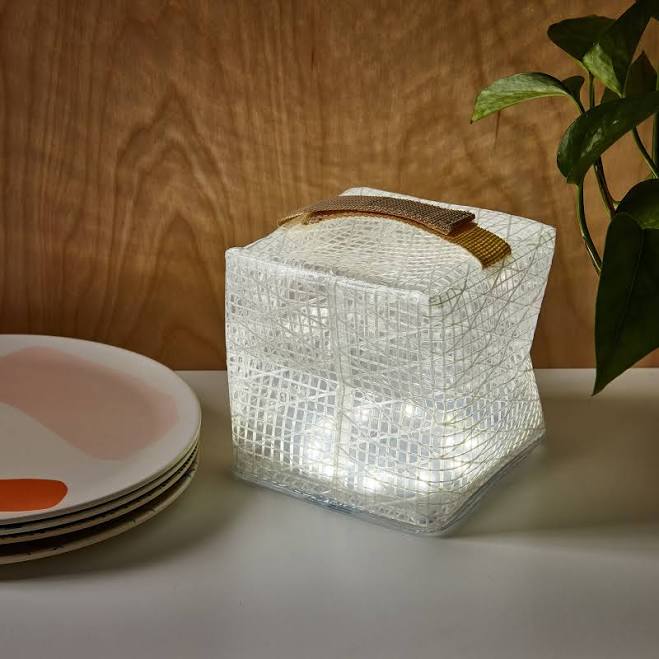
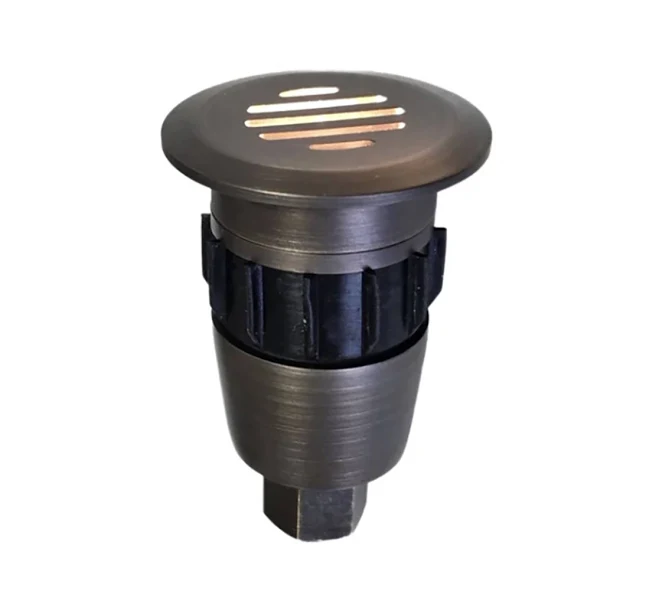
Solight SolarPuff Collapsible Light$32 |
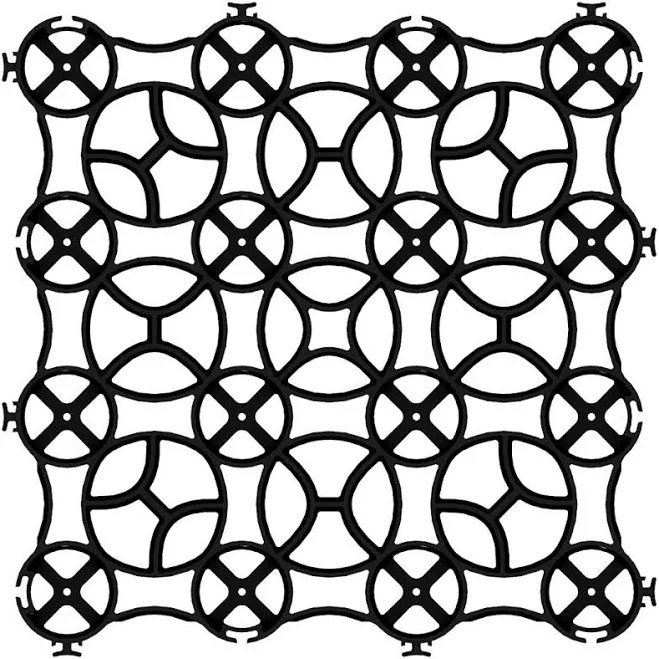
gravalock 22 in. x 22 in. x 1.5 in. Square Black Natural Stone Paver$144 |
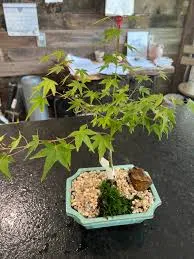
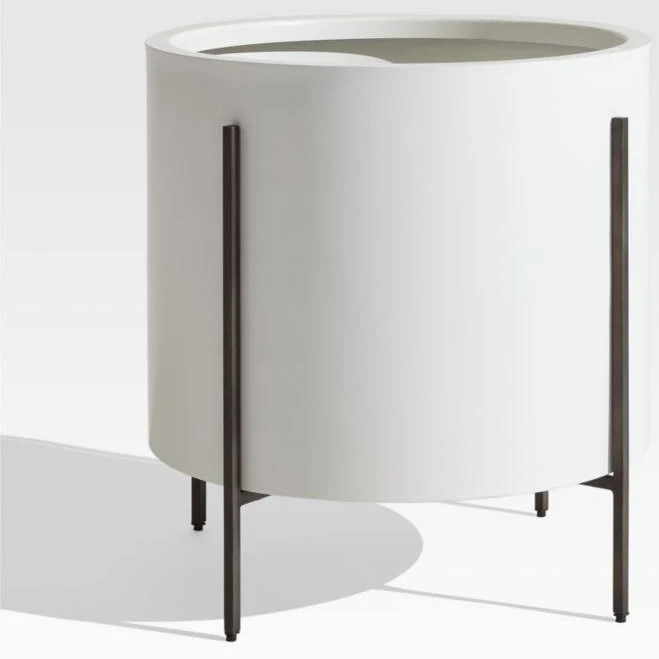
Kiyohime Japanese Maple – Medium Ceramic Pot$98.95 |
FANTIAN White River Rocks$21.63 |
As an affiliate, we earn from qualifying purchases.
5. Contemporary Interlocking Concrete Pavers for a Sleek Front Walkway
Contemporary interlocking concrete pavers bring a sleek, modern edge to any front walkway. This look focuses on clean lines, geometric patterns, and a seamless flow from the curb to your front door. It’s particularly effective for homes with modern or contemporary architecture, where you want to emphasize structure and precision.
When designing with interlocking pavers, a designer trick is to vary the size and direction of the pavers within the same color family to create subtle interest. Instead of a single uniform size, mix two compatible dimensions. For example, use a 12×12 inch paver for the main path and an 8×12 inch paver for a border, laid in a perpendicular direction. This adds depth without introducing clutter.
The visual formula here is:
- 60% Smooth Concrete Pavers (main walking surface)
- 30% Geometric Pattern (the way pavers interlock or are laid)
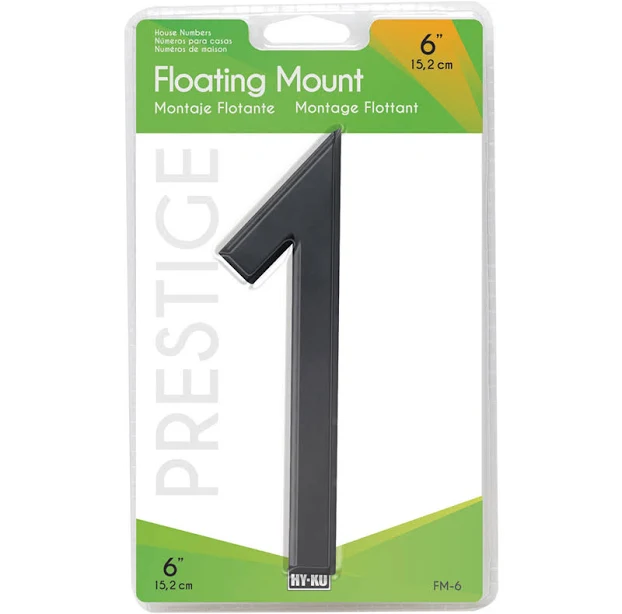
- 10% Clean Accent (sleek house numbers, minimalist lighting)
You could swap out the grey concrete for an anthracite color and still maintain the contemporary vibe, as long as you keep the geometric precision and clean accessories. The key is the proportion of solid, sleek surface combined with thoughtful spacing.
|
Belldinni MODERN Front Steel Door WHITE 37 7/16″ x 81 11/16″ + Hardwar$1999 |
Luxely Modern Outdoor Wall Light$190.33 |
Interlocking Gray Concrete Wave Paver$2.37 |
Hy-Ko FM-6/1 Floating Mount House Number$6.65 |
As an affiliate, we earn from qualifying purchases.
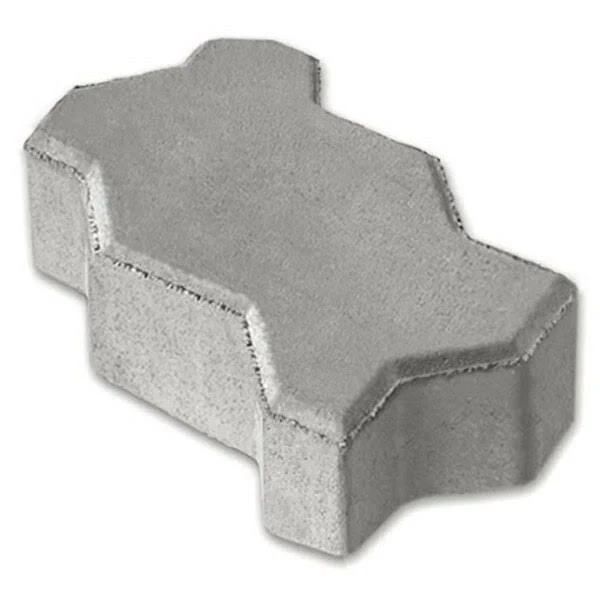
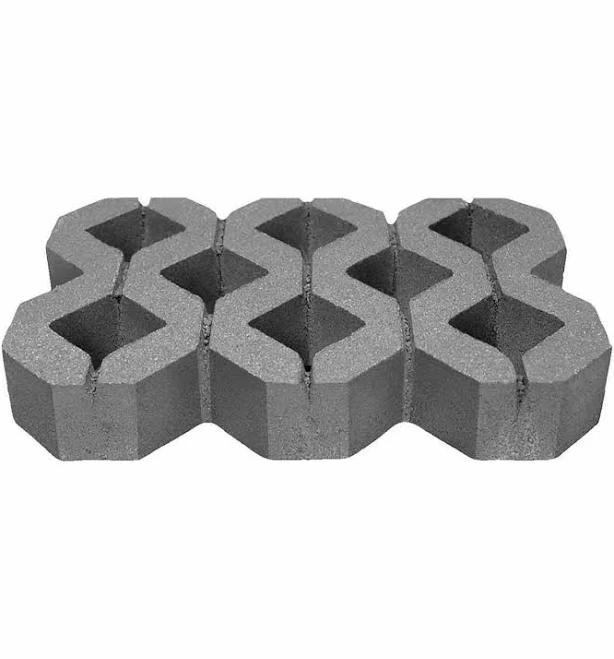
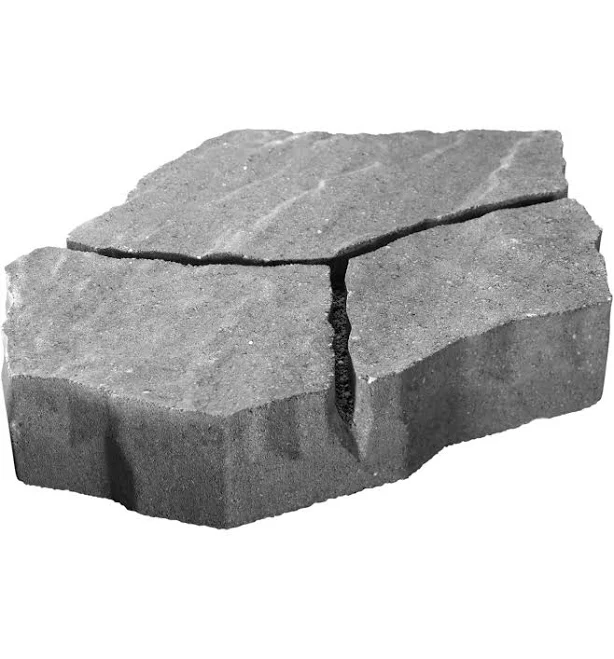
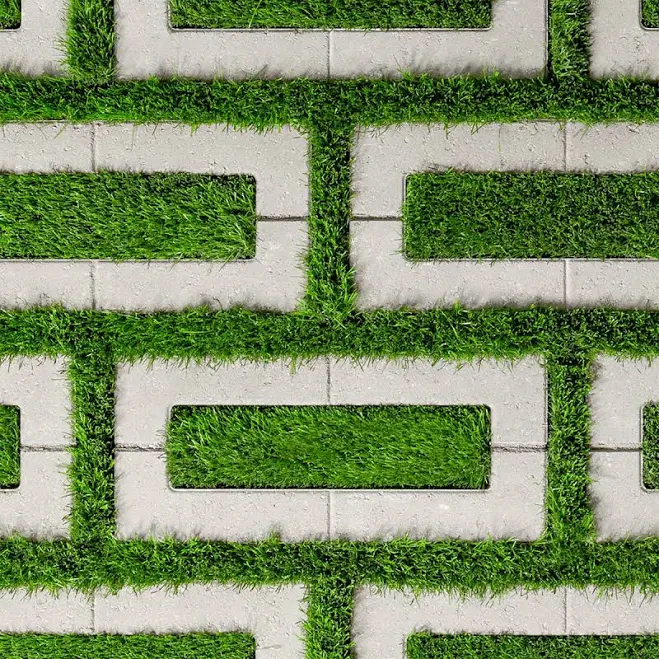
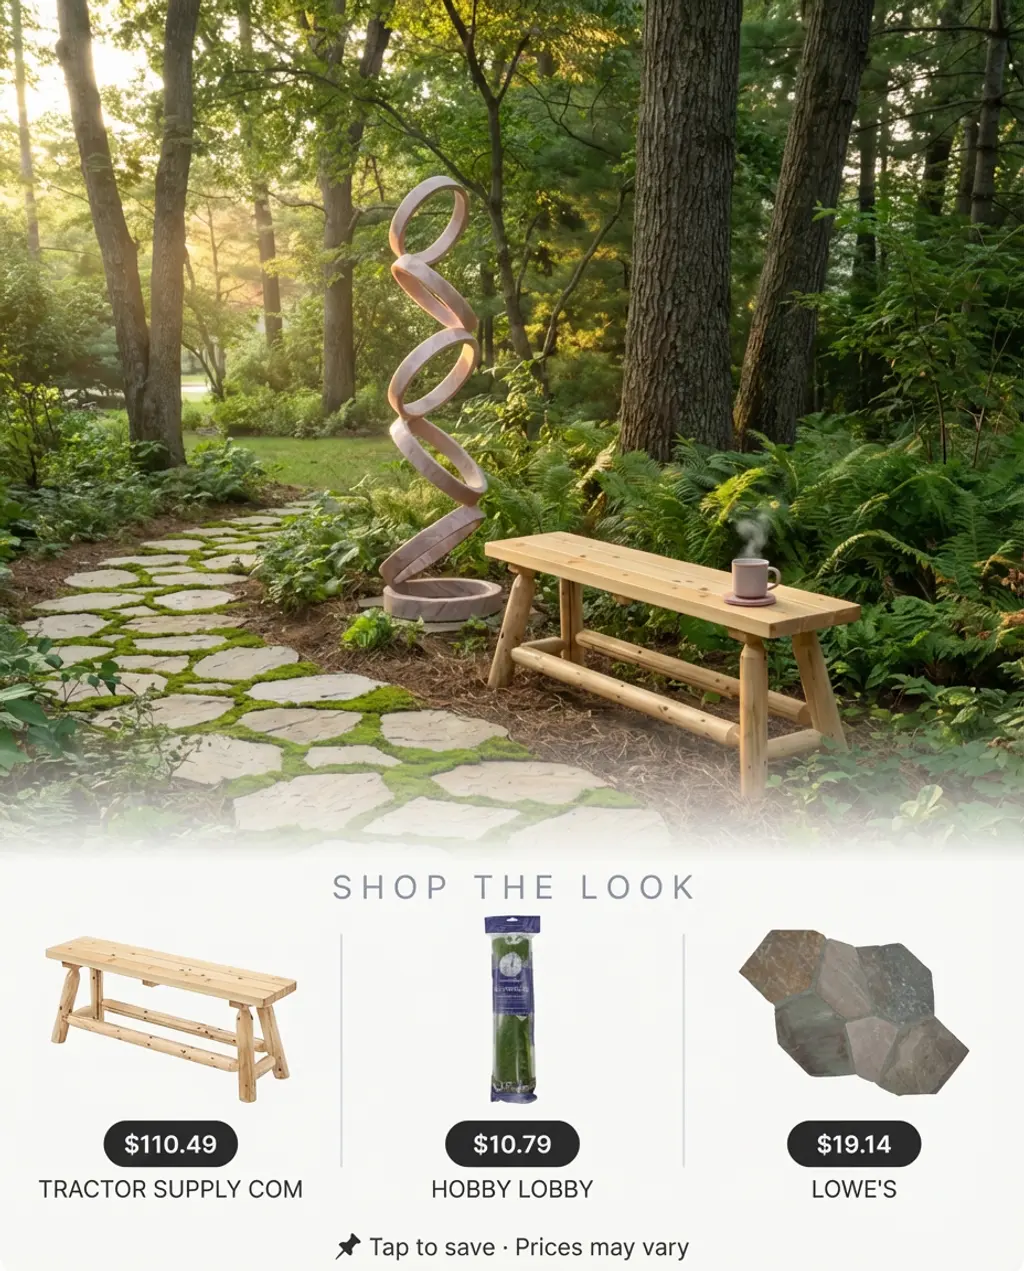
6. Large Format Stone Pavers with Grass In-Between for a Natural Look
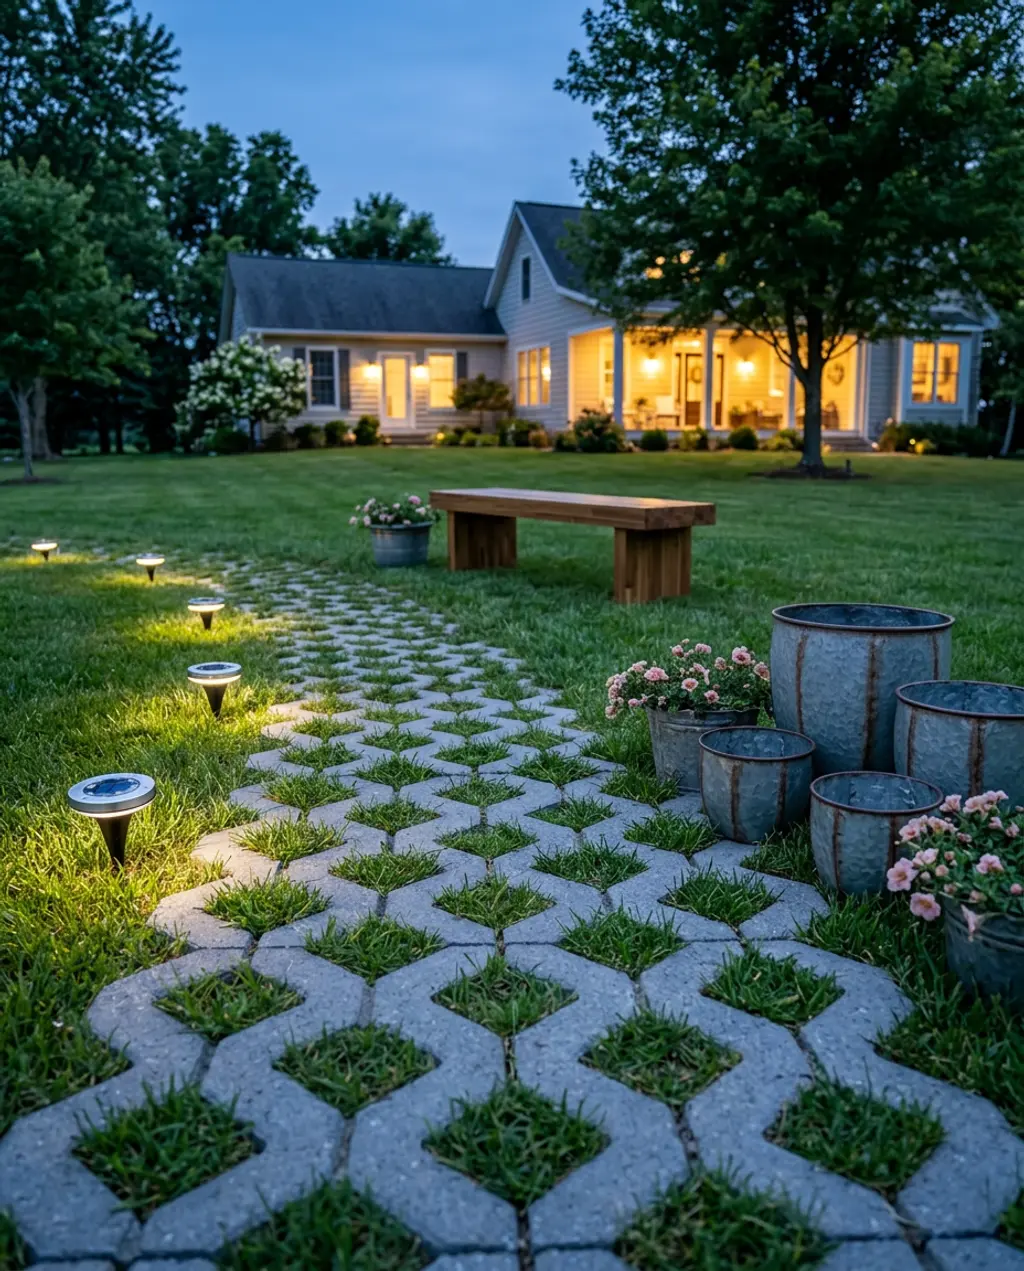
Large format stone pavers with grass in-between strike a beautiful balance between structured pathway and natural landscape. This is the look you want if you crave a path that feels integrated into your backyard, rather than simply placed upon it. It works wonderfully for farmhouse or even modern organic aesthetics, bringing softness to hardscaping.
What makes this work so brilliantly is the interplay of contrast and texture. The large, solid pavers provide definition and a stable walking surface, while the soft, yielding grass in the gaps introduces organic texture and a pop of living green. It breaks up the monotony of a purely paved path and makes the entire space feel more natural and inviting, blurring the lines between hardscape and softscape.
Let’s be real about the grass in between: it’s going to need upkeep. Those strips of grass require regular mowing, just like your lawn. You might even need to trim the edges to keep them neat, especially if you want that crisp division. Also, be mindful of irrigation – these grass strips can dry out faster than a full lawn, so consider a dedicated drip line or hand watering to keep them lush. On the flip side, their permeable nature is a win for drainage!
|
Belgard Turfstone Permeable Paver Gray-16″ x 24″ x 3-1/8″ – Pallet (10$5.35 |
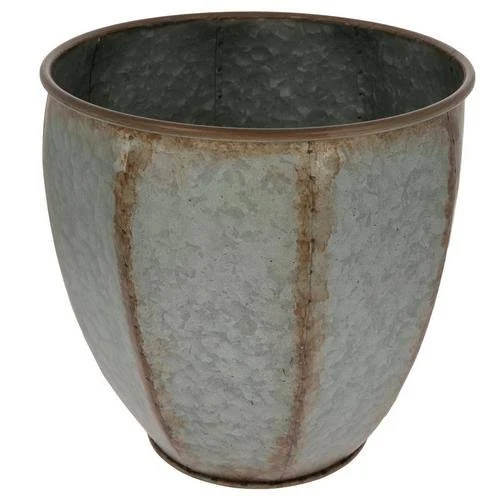
Rustic Galvanized Metal Pot$14.99 |
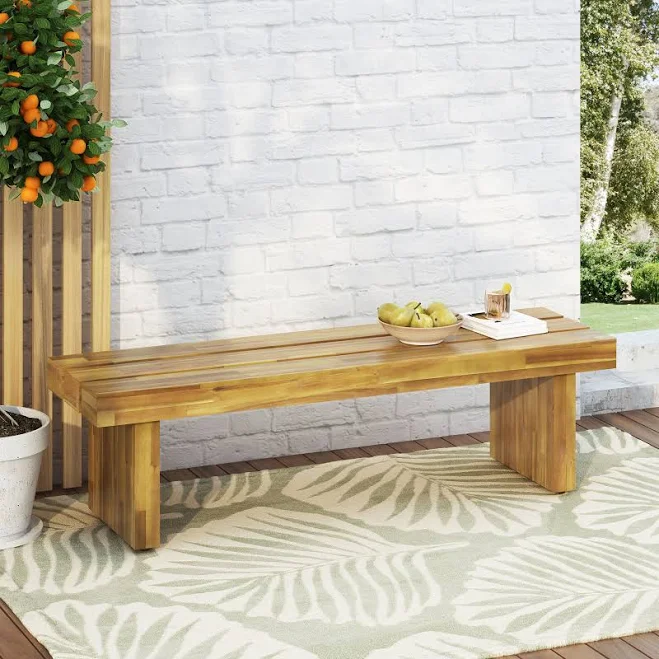
Aoibox Nahanni Outdoor Rustic Slat Top Block Legs Bench$291.13 |
Sunco 12 Pack Solar Lights Outdoor Garden LED$32.99 |

As an affiliate, we earn from qualifying purchases.
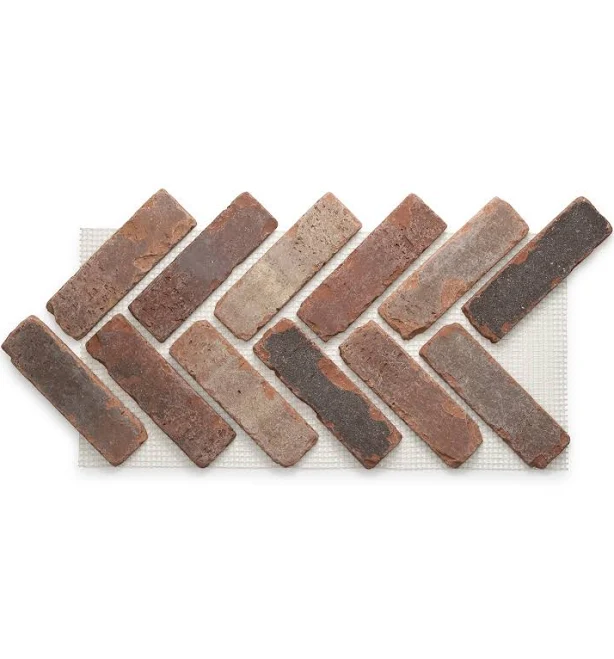
7. Classic Brick Pavers in a Herringbone Pattern Leading to a Cozy Porch
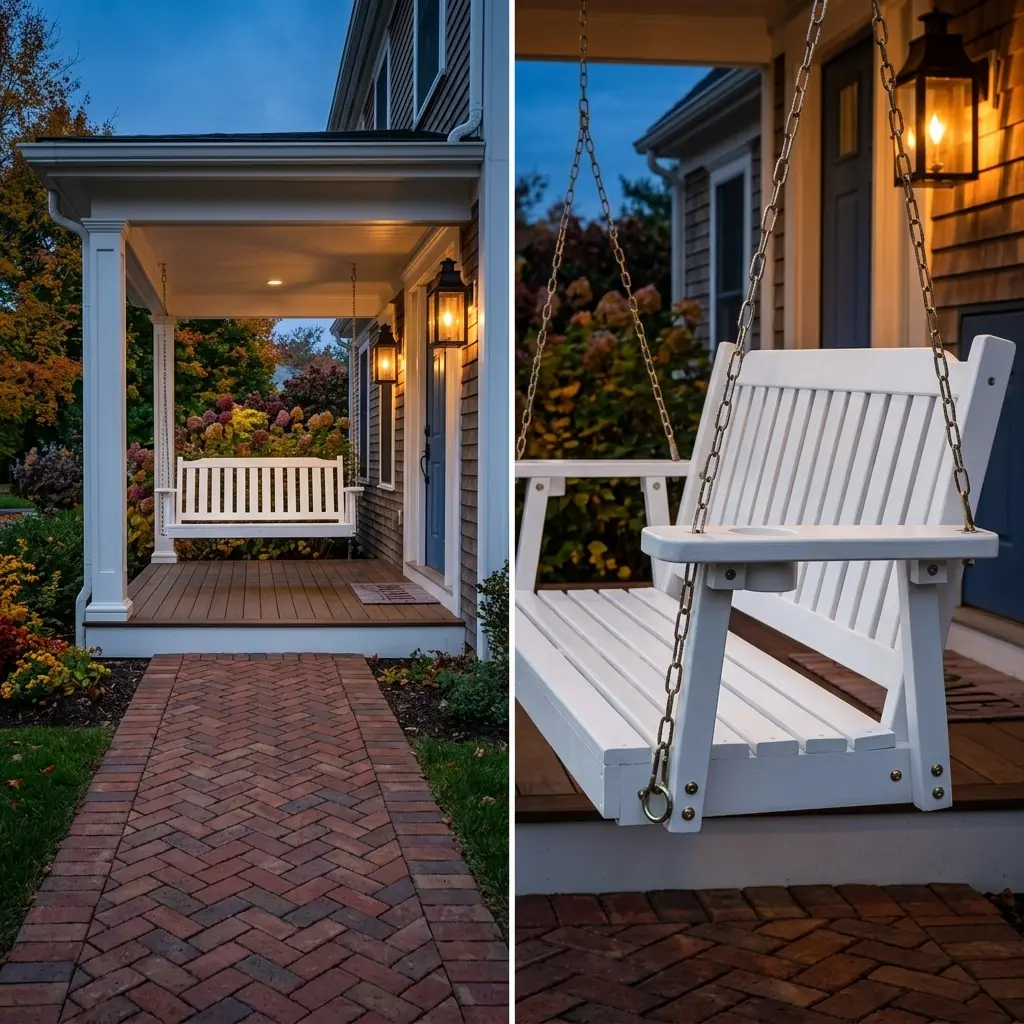
Nothing says timeless charm quite like classic brick pavers, especially when laid in a gorgeous herringbone pattern, leading up to a cozy porch. This is a look that has withstood the test of time for a reason — it feels inviting, grounded, and inherently welcoming. It’s perfect for traditional homes or anyone wanting to infuse a sense of history into their exterior.
A pro trick to make your herringbone pattern truly pop is to ensure your measurements are precise. The 45-degree angle is key. Also, consider using a soldier course (bricks laid vertically) as a border around the entire pathway. This frames the herringbone beautifully and provides a neat, finished edge that prevents any shifting of the pattern over time.
- Main furniture (pavers): $300 – $800
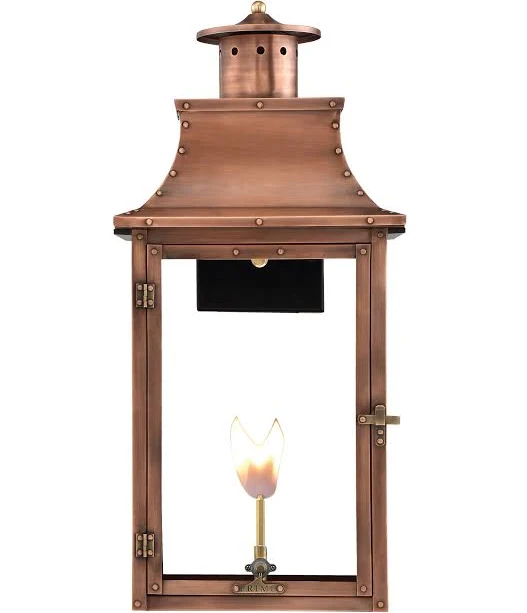
- Lighting (lanterns): $100 – $700
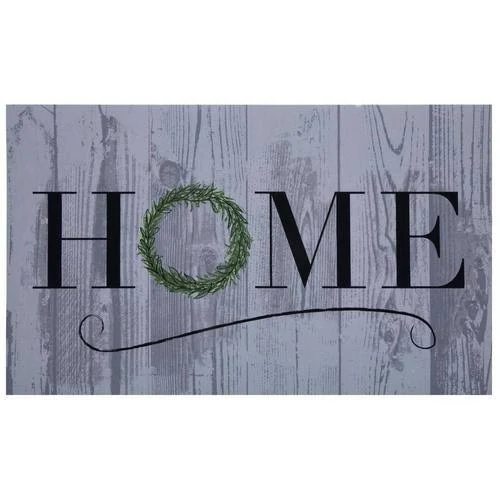
- Textiles (welcome mat): $50 – $100
- Decor/Accessories (porch swing): $100 – $200
- TOTAL: $550 – $1800
Budget alternative: Instead of full brick pavers, look for brick-style concrete pavers that are often less expensive per square foot. You can also hunt for reclaimed bricks on Facebook Marketplace or local demolition sites, which offer incredible character at a fraction of the price. Swap out expensive gas lanterns for electric or solar versions (around $20-$40 each) and thrift a vintage porch swing to paint for a personalized touch.
|
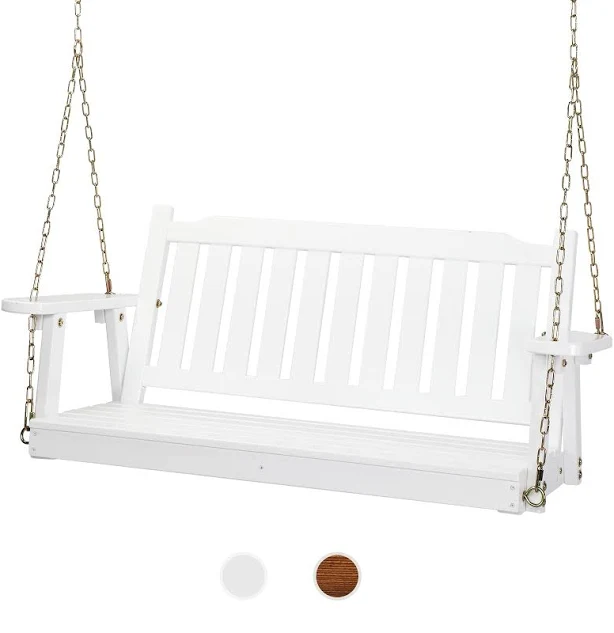
5ft Upgraded Wooden Patio Porch Swing$109.99 |
Old Mill Thin Brick Systems Bridgewater Brick Veneer$153 |
Home Rustic Wreath Doormat$7.79 |
Primo Lanterns RL-26G Royal Gas Lantern$441 |
As an affiliate, we earn from qualifying purchases.
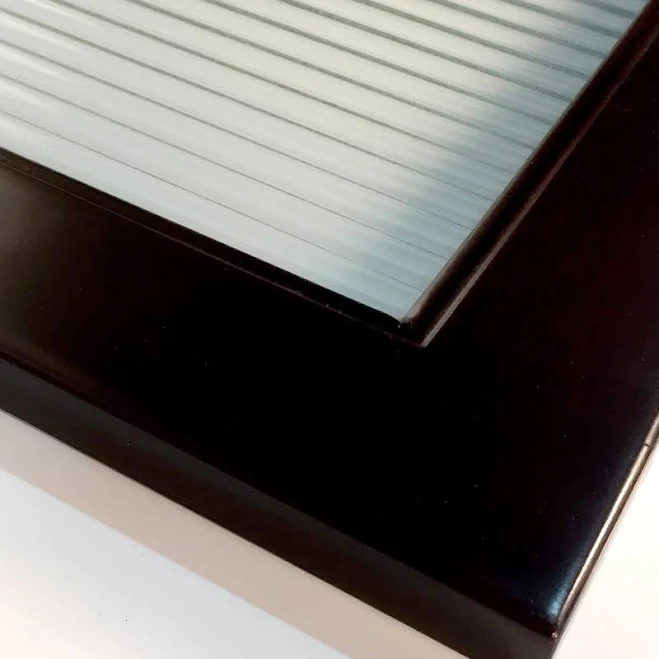
8. Minimalist Black Pavers with Fine Gravel for a Modern Side Yard
✨ Luxury Version
For anyone craving a sleek, uncluttered exterior, minimalist black pavers with fine gravel create an utterly modern side yard. This isn’t about fuss; it’s about clean lines, intentional negative space, and a sophisticated material palette. It transforms an often-overlooked area into a thoughtful extension of your home’s contemporary aesthetic.
💸 Budget Version
The one thing that absolutely anchors this minimalist look is the stark contrast between the deep, dark pavers and the pristine, light-colored fine gravel. Without this distinct visual separation, the path risks losing its crispness and becoming muddled. It’s this graphic quality that creates the modern sophistication.
💡 Loving these dark walls? Before you commit, we break down 3 common mistakes at the end of this article that could save you a costly repaint.
A word of caution: while stunning, fine gravel pathways can be a bit challenging if you have active children or pets. Fine gravel can easily spread into surrounding areas, ending up on shoes or paws and tracked indoors. Additionally, regular leaf blowing or sweeping is necessary to keep the gravel pristine, as leaves and debris can quickly diminish its clean look. It’s a look that demands cleanliness to truly shine.
|
💰 Budget Pick Grey Garden Aggregate$1.4 |
💰 Budget Pick Cardon Lighting Mini In-Ground / Deck / Recessed Light$49.5 |
✨ Luxury Pick Crate & Barrel Dundee Indoor/Outdoor Low White Planter with Stand$139 |
✨ Luxury Pick gravalock S56 Square Black Plastic Paver$139 |
As an affiliate, we earn from qualifying purchases.
9. DIY Irregular Stone Pavers with Groundcover for a Whimsical Garden Path
There’s a special magic in a DIY irregular stone paver path winding through a garden, especially when softened with groundcover. This look is pure bohemian whimsy, inviting you to wander and discover. It’s about creating an experience, not just a way to get from point A to point B, and it feels incredibly charming and personal.
This organic, less rigid style is increasingly popular as people lean into a more relaxed, natural aesthetic for their outdoor spaces. It’s a direct contrast to the ultra-modern, rigid lines and speaks to a desire for connection with nature and a bit of barefoot luxury. Pinterest boards are brimming with ‘cottagecore’ and ‘wild garden’ vibes, and this path fits right in.
Before You Start Checklist
- Have you measured the path’s desired width and length to estimate stone needs?
- Is your existing soil well-drained, or will you need to amend it with sand or gravel?
- Have you chosen groundcover that tolerates foot traffic (e.g., creeping thyme, moss, sedum)?
- Do you have a clear plan for containing the groundcover so it doesn’t take over your garden?
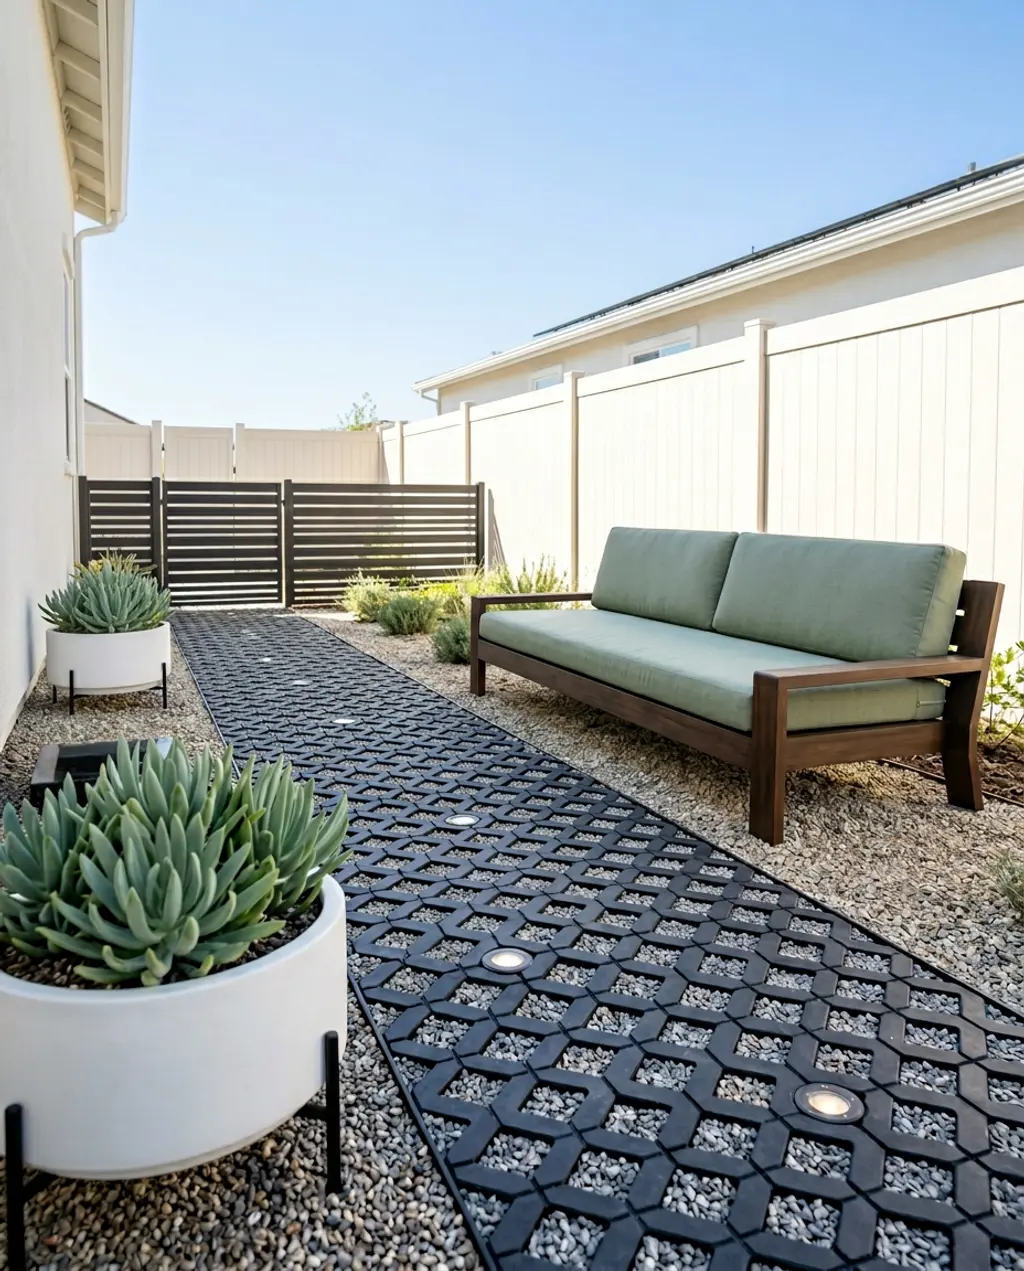
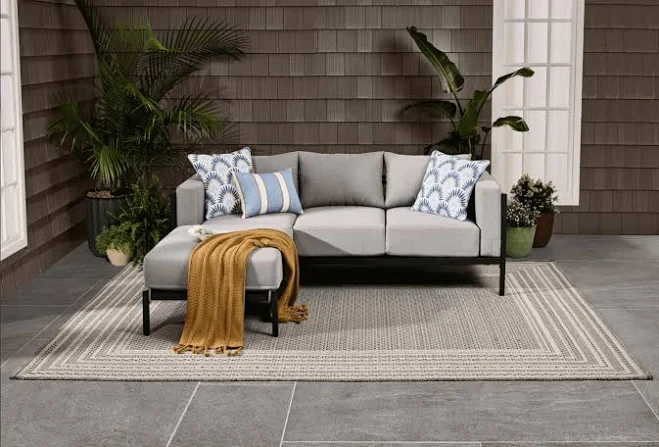
10. Textured Large Concrete Pavers for a Modern Backyard Oasis
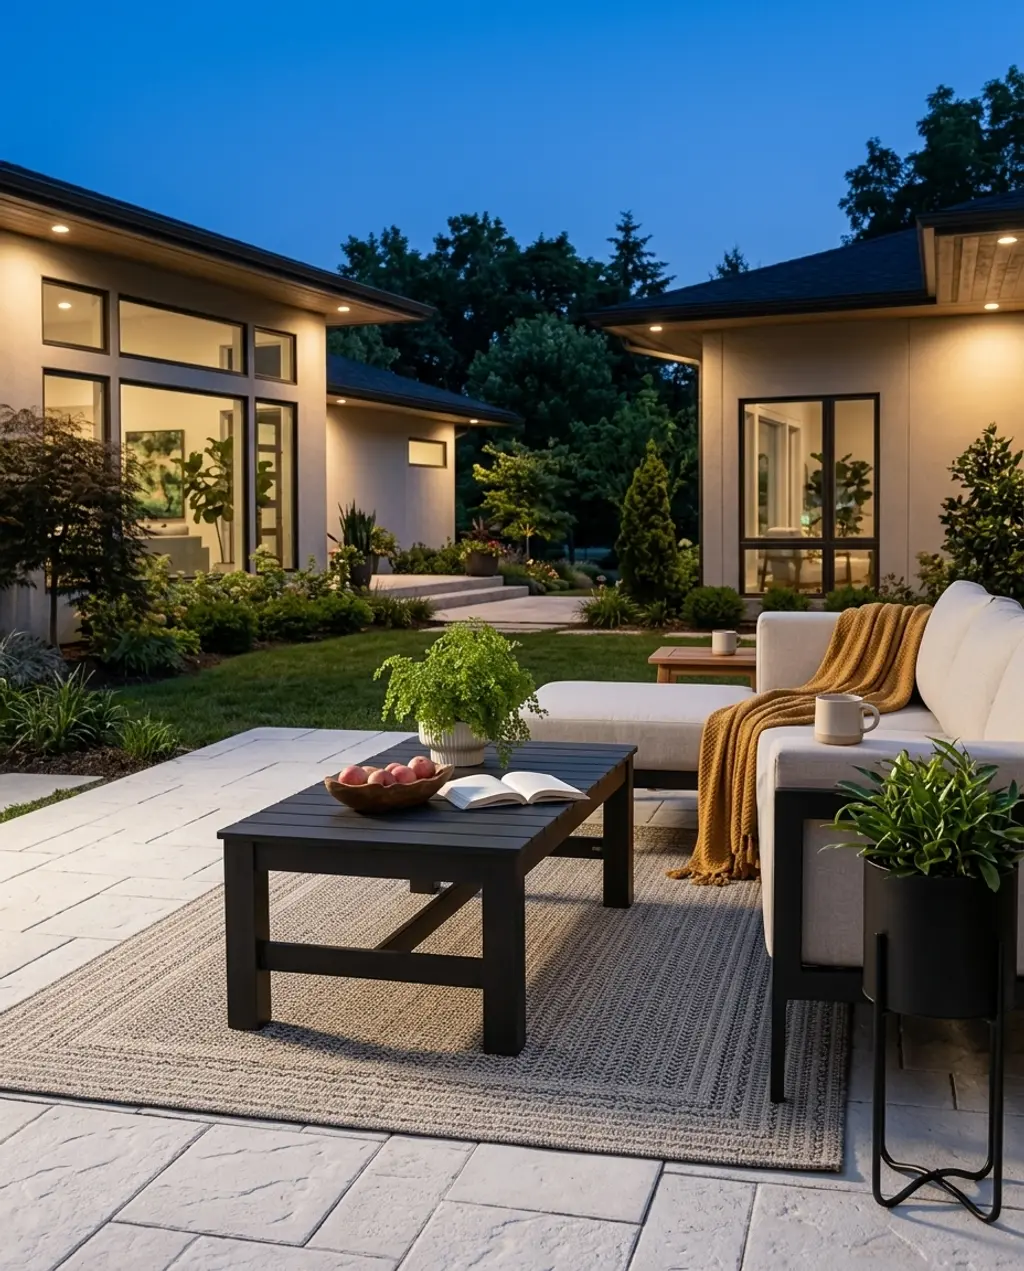
For an unapologetically modern backyard oasis, textured large concrete pavers are the way to go. This isn’t your average patio; it’s about creating distinct zones, clean lines, and a high-end resort feel right in your own outdoor space. The texture adds a subtle layer of sophistication that flat concrete can miss.
Here’s the formula for this modern oasis:
- 70% Large Format, Textured Concrete Pavers (the foundation of the space)
- 20% Modern Outdoor Furniture (low-slung, clean-lined)
- 10% Minimalist Greenery (architectural plants in sleek planters)
The beauty of this math is its flexibility. You could easily swap the grey concrete for an off-white or even a deep charcoal, as long as you maintain the large scale and the subtle texture. The consistency in modern furniture and thoughtfully placed plants will hold the look together.
One practical consideration for textured concrete pavers: while the texture adds visual interest and often provides better grip, it can also be a bit more challenging to clean than perfectly smooth pavers. Debris, pollen, or spills might settle into the crevices. Hosing it down with a good pressure washer a couple of times a year can keep it looking pristine, but it’s something to factor into your maintenance routine.
|
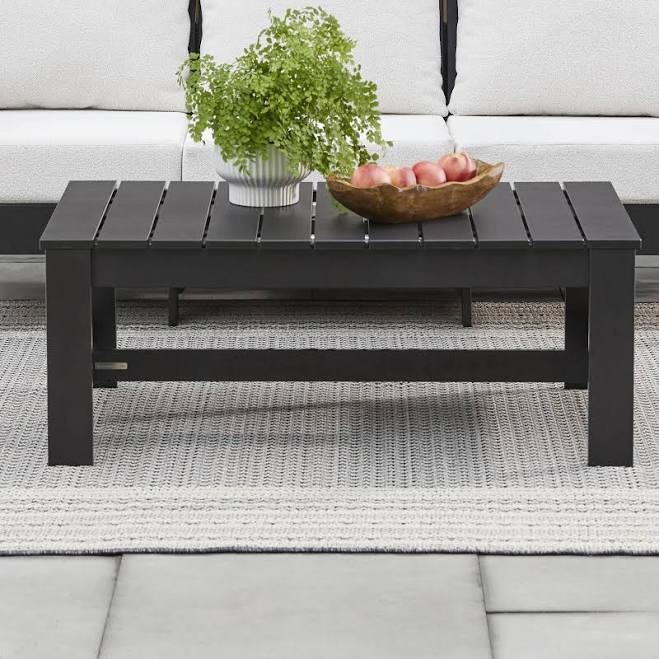
Better Homes & Gardens Ezra Outdoor Coffee Table$177 |
Pavestone RumbleStone Rec 10.5 in. x 7 in. x 1.75 Concrete Paver$650 |
Better Homes & Gardens Marlow Outdoor 2pc Patio Sectional Set$424 |
Indoor Metal Pot Planter with Tall Metal Base$34.51 |
As an affiliate, we earn from qualifying purchases.
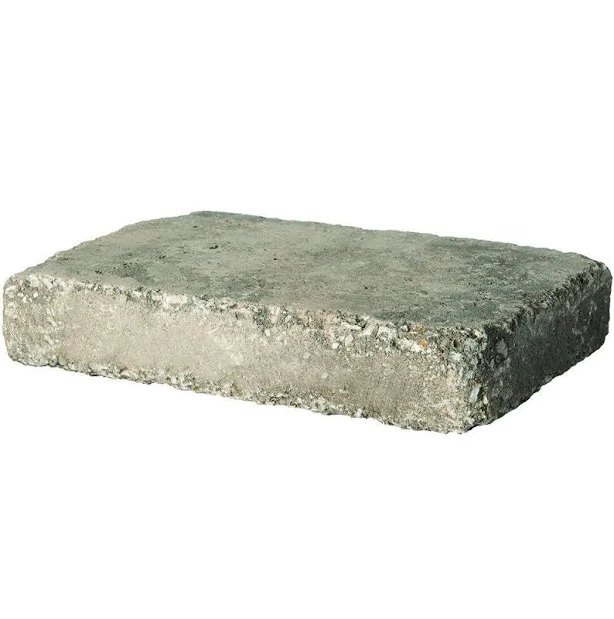
11. Curved Concrete and Gravel Walkway for a Lush Garden Entrance
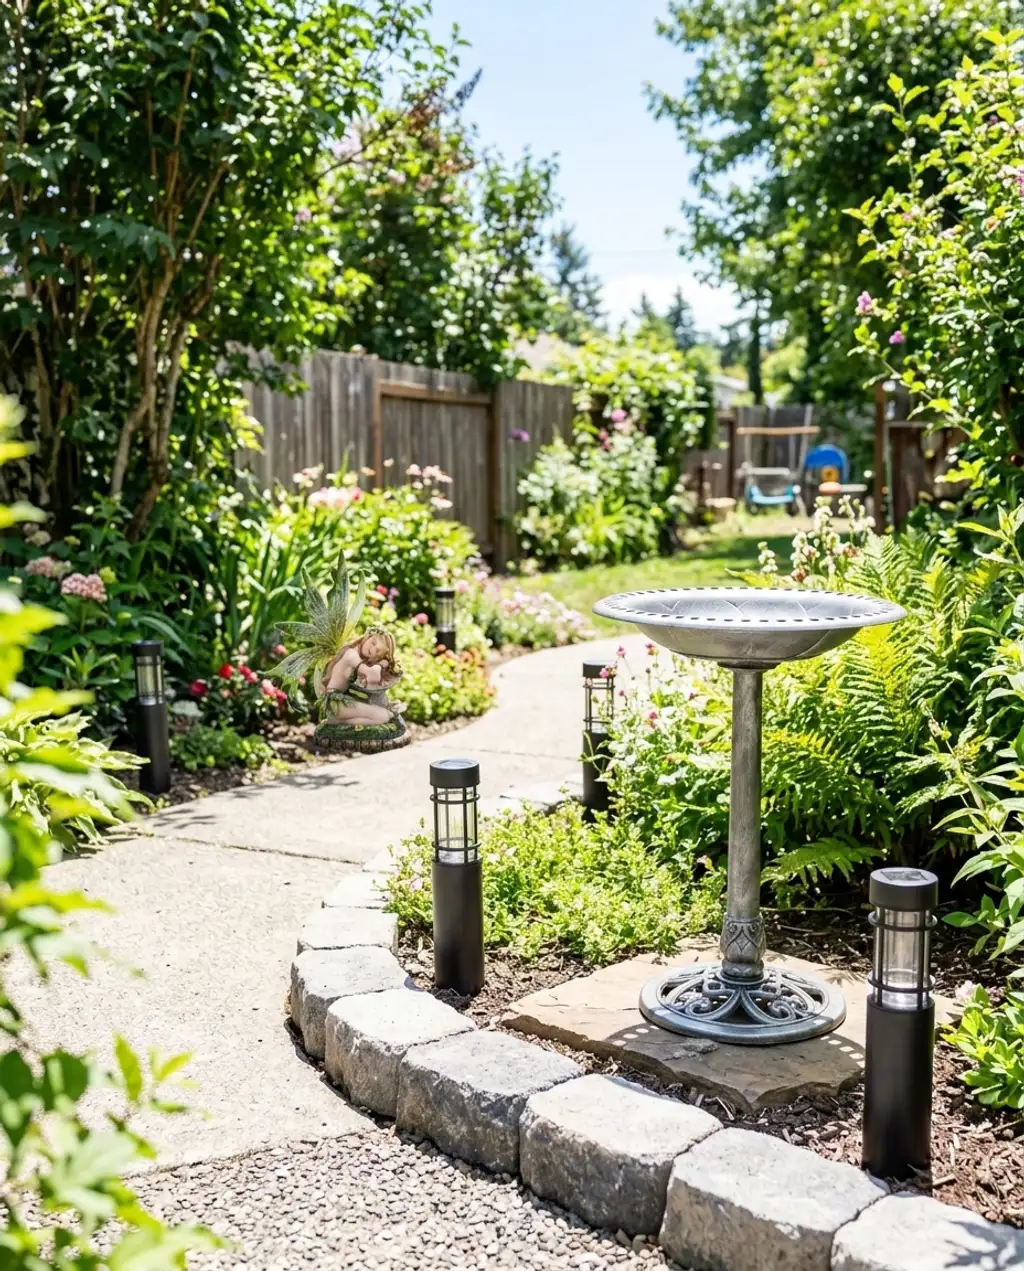
A curved concrete and gravel walkway is ideal for creating a lush, inviting garden entrance. This look feels organic and welcoming, guiding visitors through your greenery with a gentle, winding path rather than a rigid route. It’s particularly lovely for bohemian or cottage-style gardens where softness and natural flow are key.
This particular look works because of the harmonious blend of materials and the organic flow of the curve. The concrete pavers provide a sturdy, defined stepping surface, while the gravel fills in the gaps and creates a permeable, natural-looking foundation. The curve itself is a powerful design element, drawing the eye and making the path feel longer and more exploratory than a straight line. It mimics natural trails, making the garden feel more established and inviting.
- Main furniture (pavers): $50 – $200
- Lighting (path lights): $50 – $150
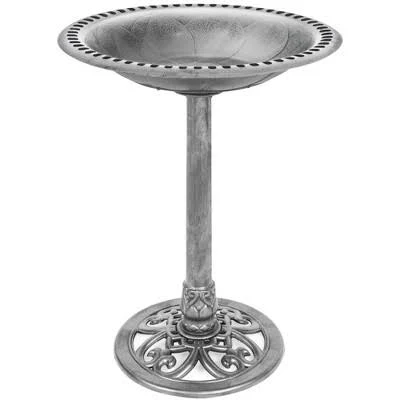
- Decor/Accessories (bird bath, garden statues): $50 – $150
- Paint/Wall Treatment (n/a): $0
- TOTAL: $150 – $500
Budget alternative: Instead of formed concrete pavers, consider using salvaged concrete slabs from a local reclamation yard (often free or very low cost) and break them into organic shapes. Use inexpensive pea gravel (around $5 per bag) for the filler. For lighting, solar stake lights from Walmart or Target (around $15-$25 for a 6-pack) offer excellent value. Look for garden statues at flea markets or yard sales for unique, budget-friendly finds.
|
Best Choice Products Outdoor Rustic Pedestal Bird Bath Accent$29.99 |
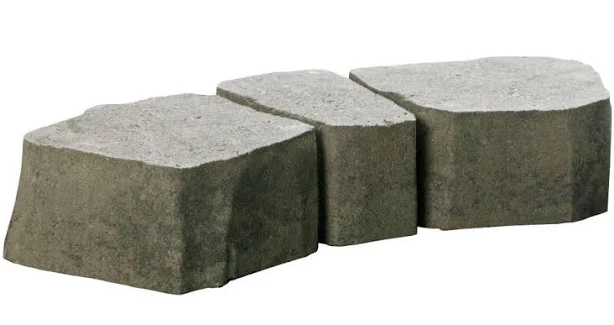
Oldcastle Haloedge Curved Edging Stone$3.48 |
Green Fairy Sleeping On Mushroom Statue$38 |
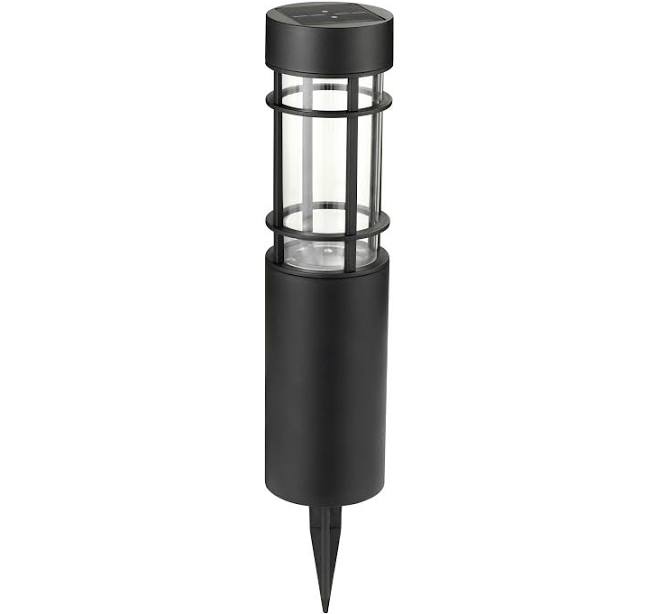
Harbor Breeze 10-Lumen Black Solar LED Outdoor Path Light$7.68 |

As an affiliate, we earn from qualifying purchases.
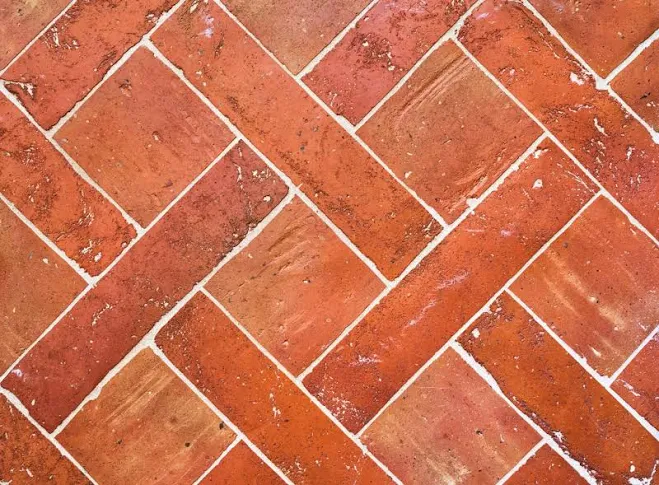
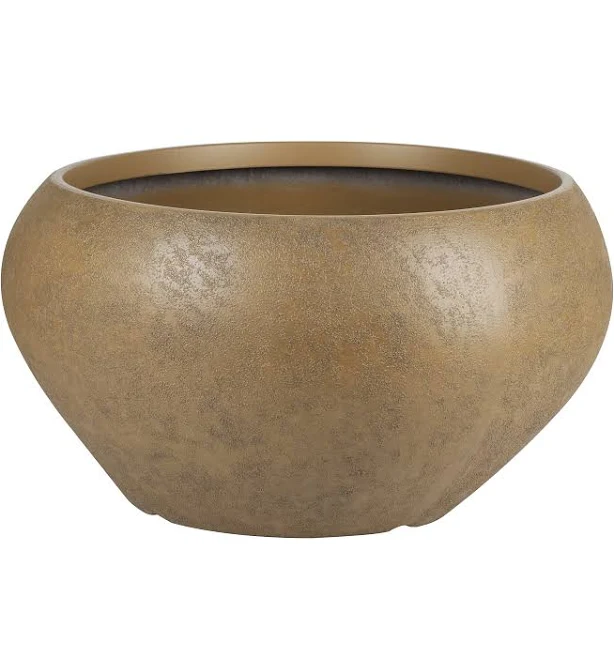
12. Warm Terracotta Brick Pavers for a Mediterranean Courtyard
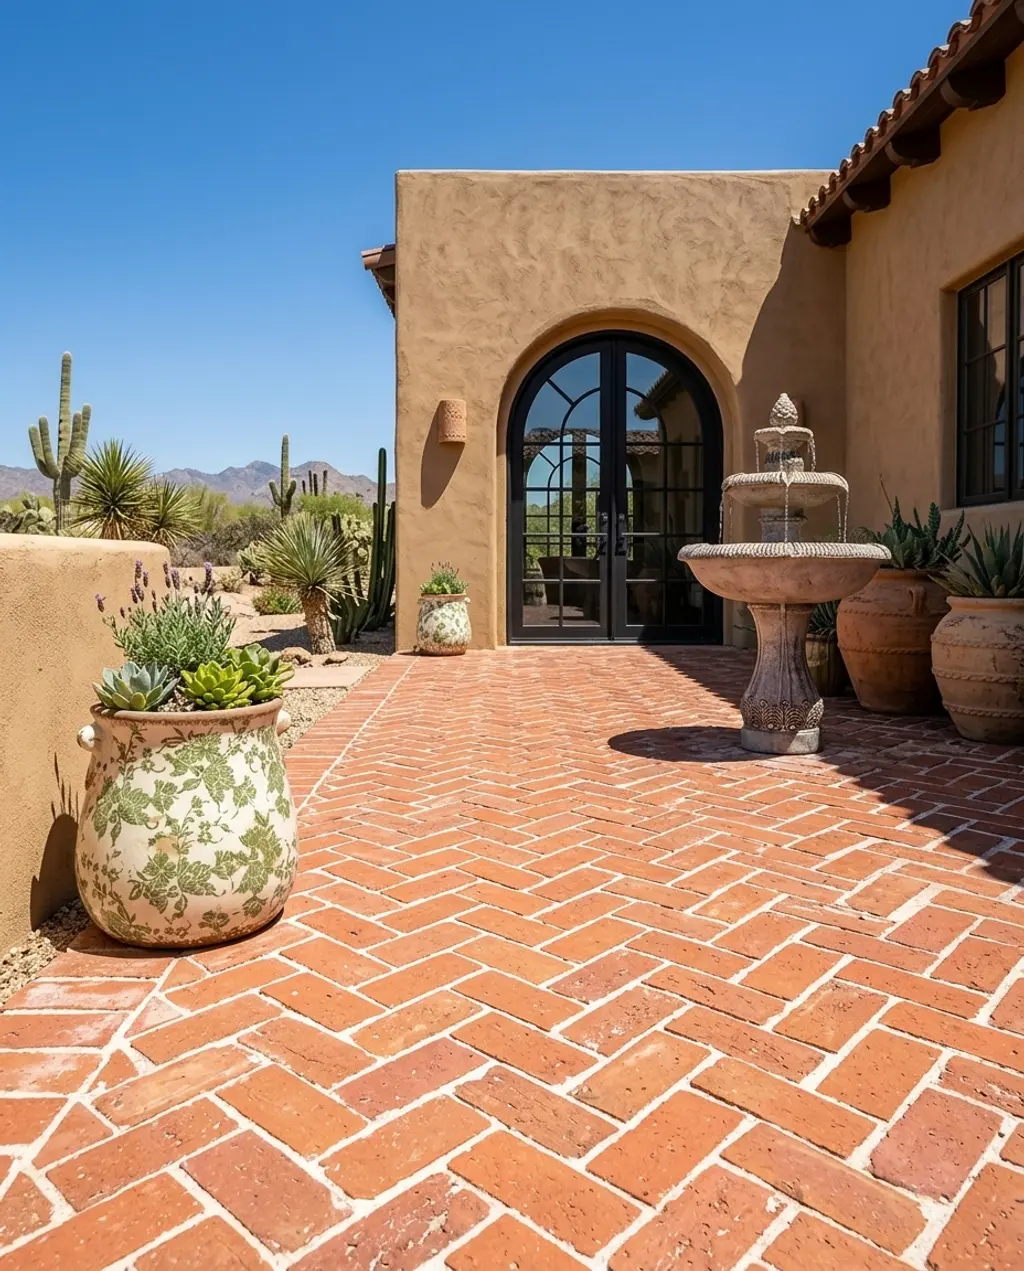
Transport yourself to the Mediterranean Riviera with warm terracotta brick pavers, instantly transforming any courtyard into an inviting, sun-drenched sanctuary. This style is all about rich earth tones, ornate details, and a feeling of timeless, rustic charm. It’s perfect if you want your outdoor space to feel like a permanent vacation.
When laying terracotta pavers, a crucial designer tip is to vary the shade of the tiles slightly. True terracotta often comes with natural color variations, so don’t try to sort them into perfectly matchings batches. Instead, mix tiles from different boxes to create a natural, dappled effect that enhances the Old-World charm. This avoids a sterile, uniform look and makes the courtyard feel authentic and lived-in.
The Mediterranean style is seeing a huge resurgence, driven by a desire for warmth, natural materials, and the feeling of escapism. Pinterest saves for ‘Spanish courtyard’ and ‘Tuscan villa’ are way up, as people look to infuse their homes with a sense of historic charm and sun-drenched allure. This isn’t a fleeting trend; it’s a classic that cycles back into popularity, guaranteeing lasting appeal for your investment.
|
6×13 Mission Red Terracotta Pavers | Mexican Clay Paver | Rustico$4 |
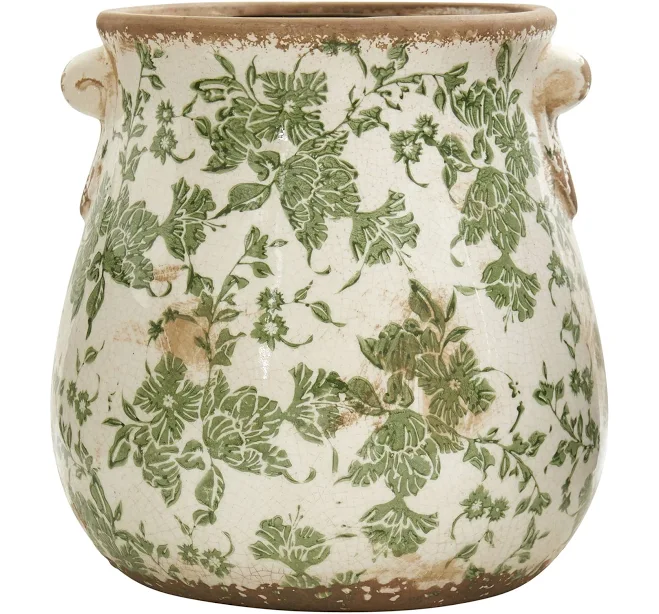
Nearly Natural 10″ x 9.5″ x 9.5″ Tuscan Ceramic Scroll Planter$41.75 |
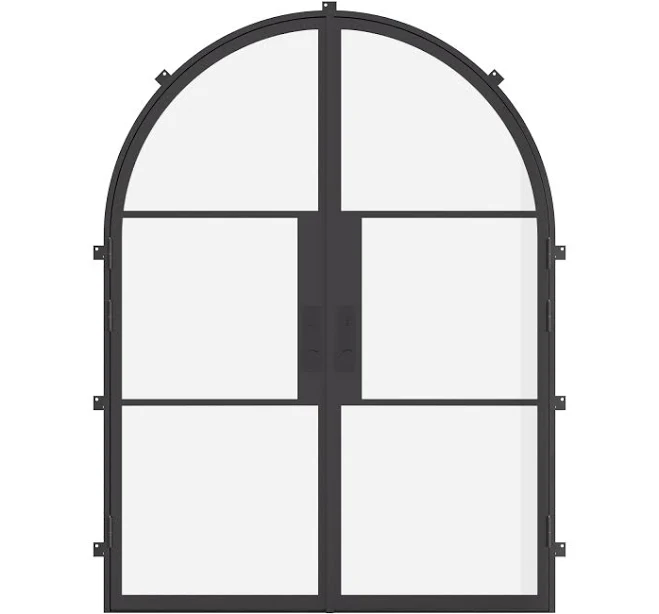
Air 4 Double Full Arch French Door$6722.22 |
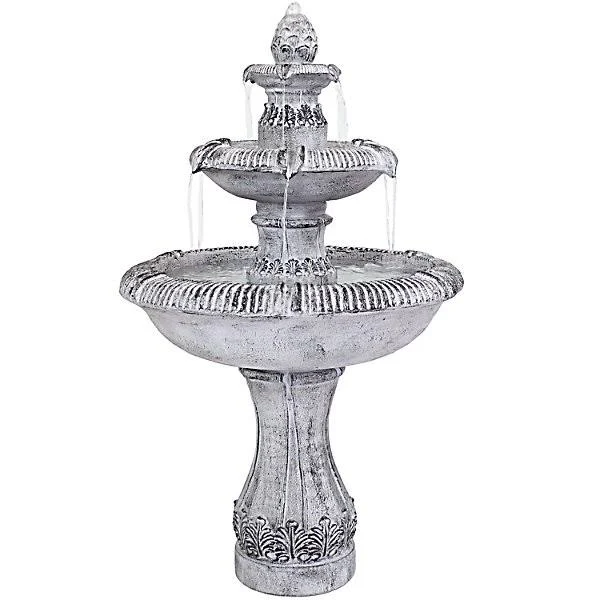
SunnyDaze Decor Mediterranean-Inspired 3-Tier Outdoor Water Fountain$555 |
As an affiliate, we earn from qualifying purchases.
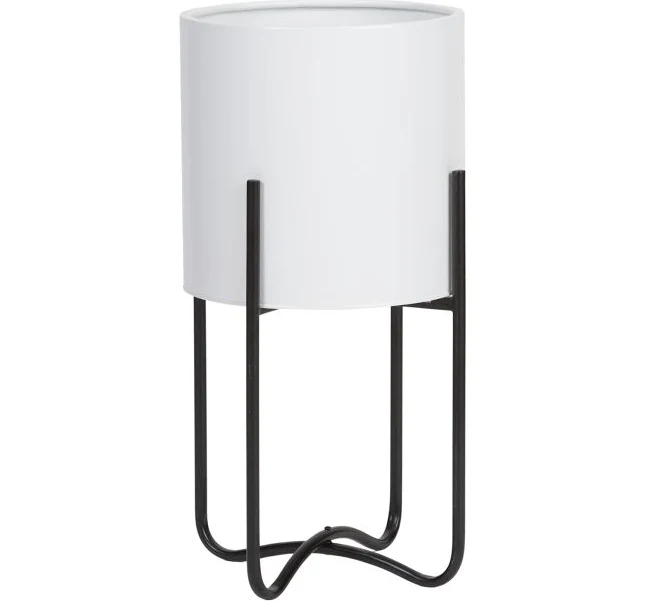
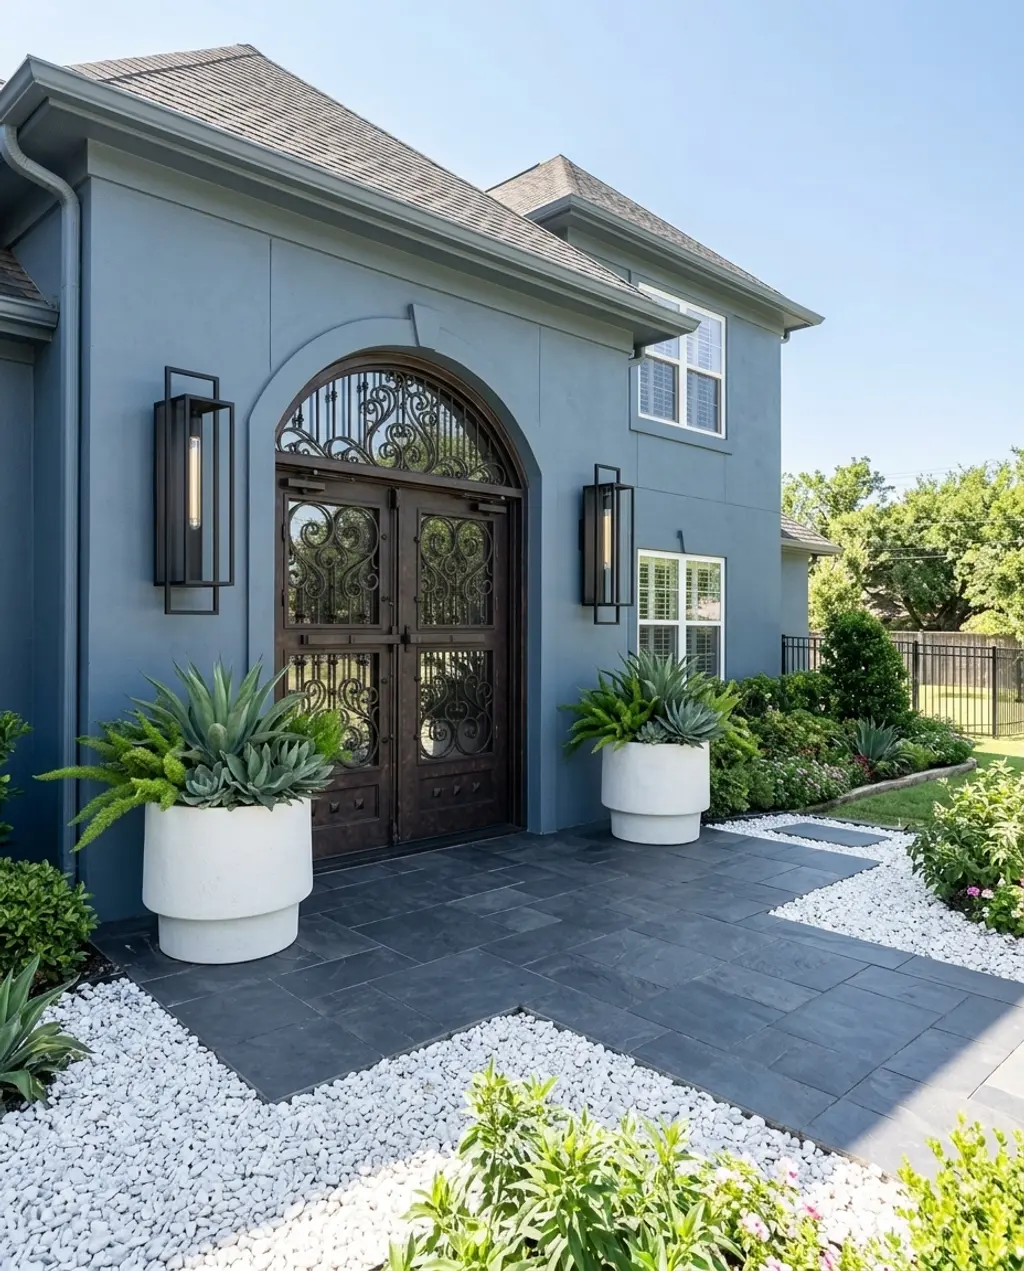
13. Sleek Black Pavers with LED Lighting for a Dramatic Evening Entrance
For an entrance that practically glows, sleek black pavers paired with integrated LED lighting create a truly dramatic experience, especially as evening falls. This look is about sophistication and high-impact style, making a bold statement even in the dark. It’s perfect for modern homes that want to lean into a glamorous, high-tech aesthetic.
The one thing that absolutely makes this look sing is the integrated LED lighting. Without it, the dark pavers, while still sleek, wouldn’t have the same dramatic, almost runway-like effect. The lighting transforms the pathway from a functional element into a stunning visual feature, guiding guests with an understated elegance. It’s an investment, but it delivers on impact.
This dramatic entrance works best when you have a reasonably wide pathway, ideally 4 feet or more, to allow for the lights to be subtly integrated along the edges without feeling cramped. It also benefits from a contemporary or minimalist home exterior, where the sleekness of the black pavers and linear lighting can complement the architectural style. For smaller spaces, consider Idea #8, which offers a similar minimalist mood with black pavers and gravel, but on a more compact scale.
|
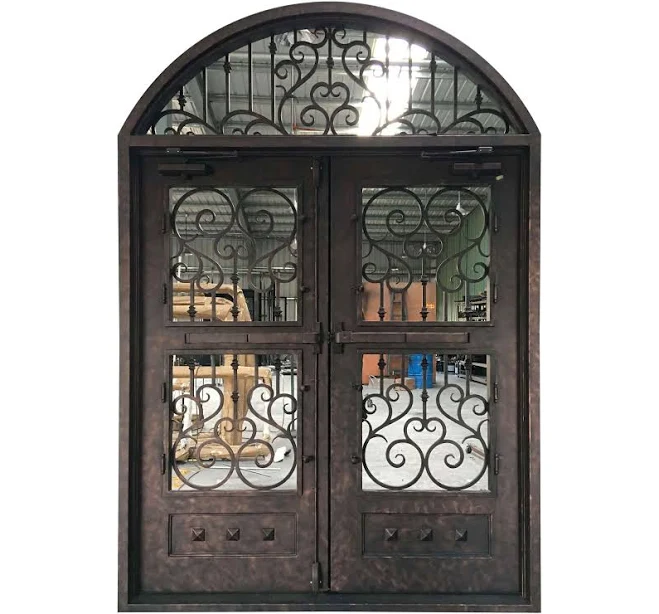
ARTISAN Best-Selling Thermal Break Energy Efficient Entry Door 96 Iron$7499 |
Volt Shine Stone Integrated LED Paver Light$83.99 |
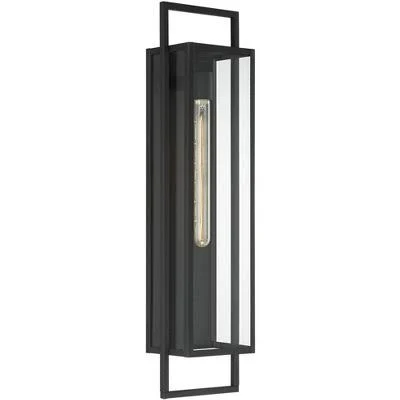
Recessed Outdoor Dimmable Step Light Pathway Light$35 |
H&M Home Black Tall Plant Pot$119 |

As an affiliate, we earn from qualifying purchases.
14. Economical DIY Gravel and Stepping Stone Pavers for Backyard Access
✨ Luxury Version
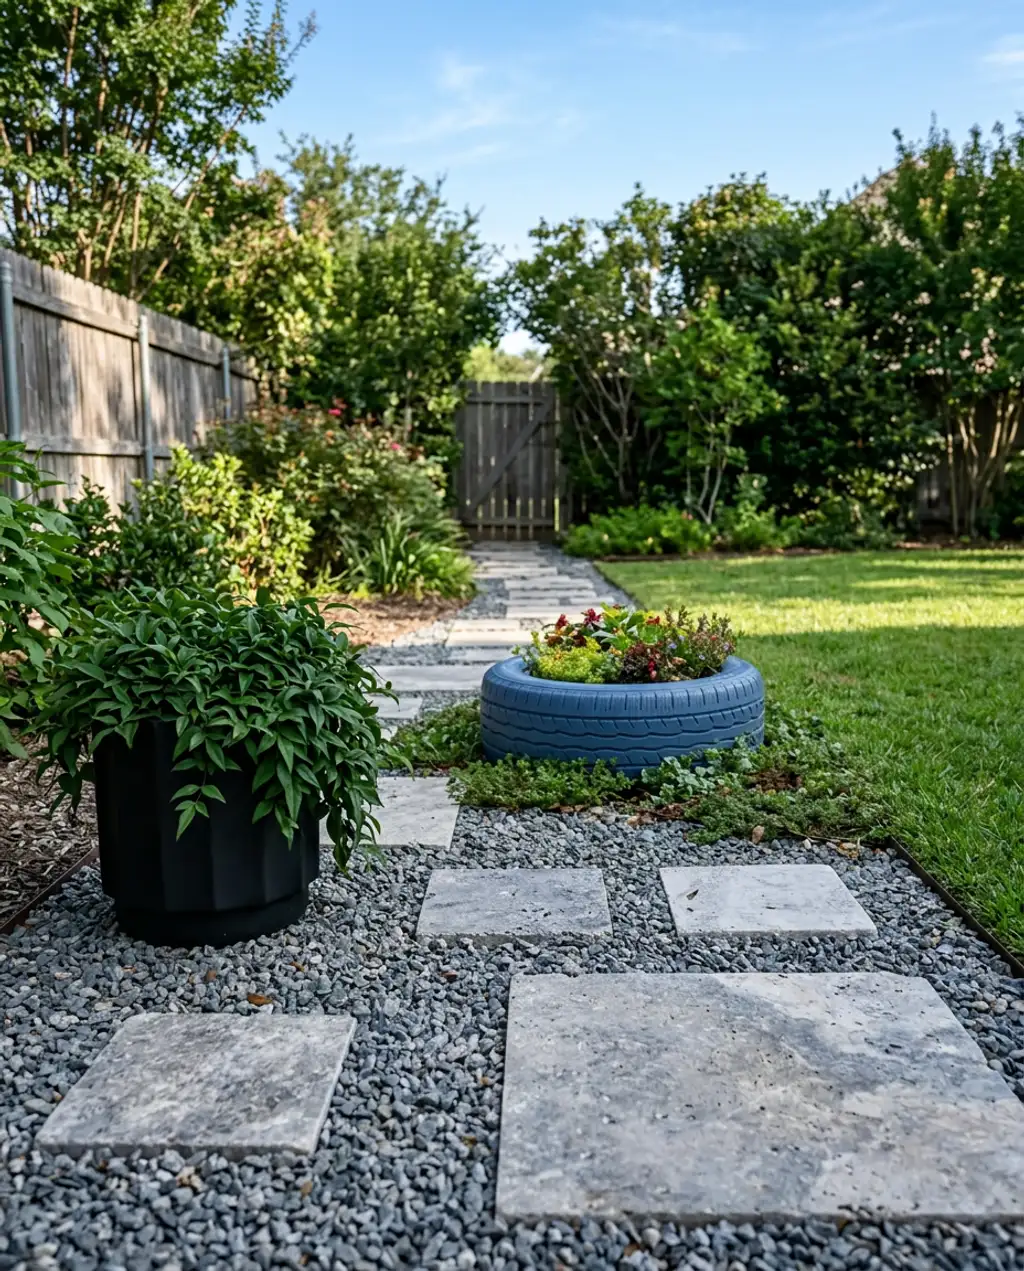
An economical DIY gravel and stepping stone path is a fantastic choice for backyard access, especially if you’re on a budget but still want charm and functionality. This eclectic look is all about mixing practical materials with a touch of personal flair, proving you don’t need a huge budget to create a lovely outdoor space.
💸 Budget Version
You can create a charming gravel and stepping stone path for a fraction of the cost of full pavers. Head to a local landscape supplier for bulk gravel – pea gravel or crushed granite are usually around $20-$40 per ton, which covers a much larger area than bagged options. For stepping stones, look at reclaimed concrete slabs from demolition sites (often free or very cheap), or keep an eye out for sales on irregular flagstone remnants at home improvement stores. For a fun, quirky touch, hit up Facebook Marketplace for unique planters made from upcycled items like old tires (around $50-$100).
How-To Brief: Laying Stepping Stones on Gravel
- Level the Base: Spread and level a 2-3 inch layer of compacted gravel over your designated path.
- Position Stones: Carefully place your stepping stones onto the gravel, spacing them for comfortable walking (typically 18-24 inches center-to-center).
- Check Level: Use a level to ensure each stone is relatively flat and stable. Adjust gravel underneath as needed.
- Settle Stones: Gently tap each stone with a rubber mallet to nestle it securely into the gravel.
- Fill & Finish: Once all stones are placed, add more gravel around them, feathering it into the existing layer for a seamless look.
Time estimate: 3-6 hours for a 20-foot path. Material cost: $50-$150 (depending on stone choice).
|
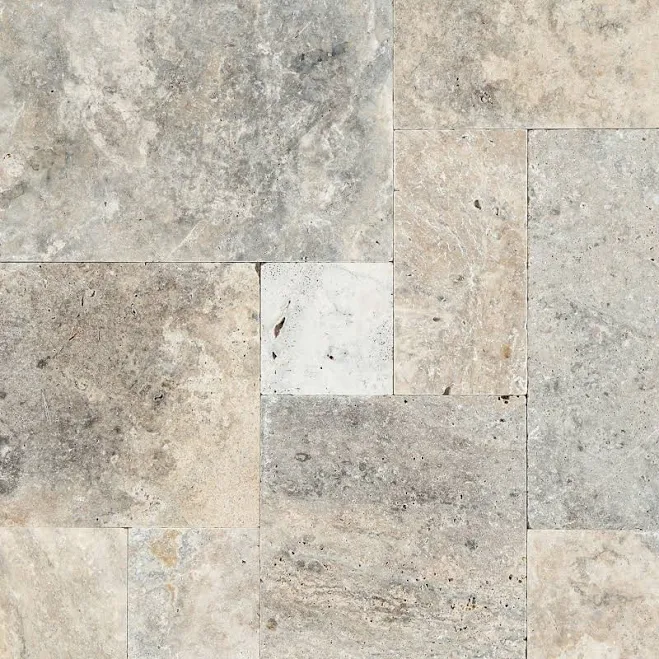
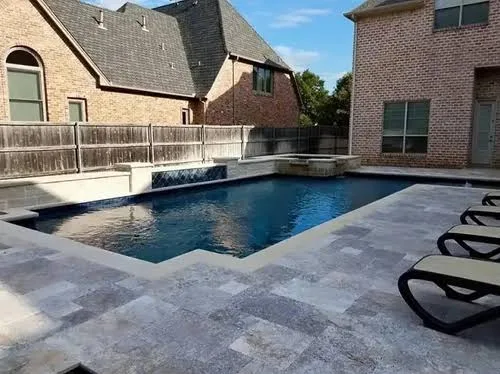
💰 Budget Pick · Pavers Walkway Casa Antica | Silver Tumbled Travertine 3cm. Paver, 8 x 8, Grey, 1 3/1$3.21 |
✨ Luxury Pick · Pavers Walkway Silver Standard Tumbled Travertine Pavers$4.55 |
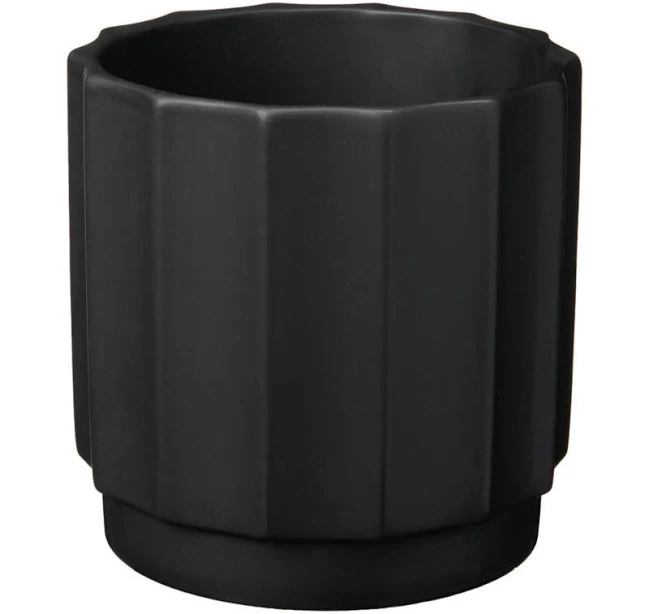
💰 Budget Pick · Planter Ripple Planter, Black$5 |
✨ Luxury Pick · Planter Upcycled Car Tire Planter$124 |
As an affiliate, we earn from qualifying purchases.
15. Industrial Concrete Slabs with Metal Edging for a Robust Side Path
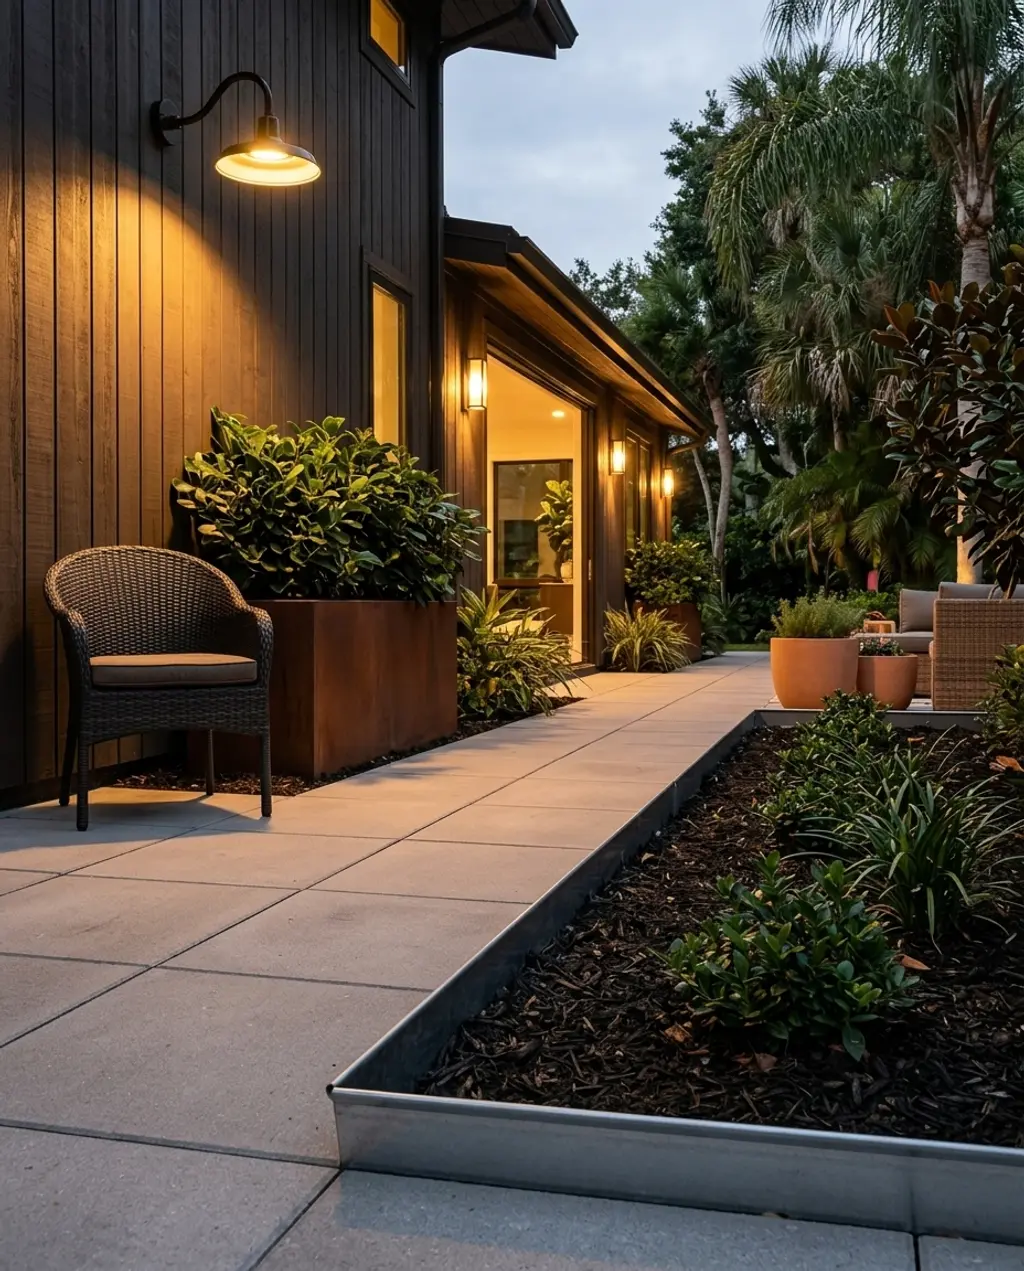
For a robust, no-nonsense side path that handles heavy use and looks utterly cool while doing it, industrial concrete slabs with metal edging are a top contender. This style is about raw materials, strength, and a modern, no-frills attitude. It’s perfect for contemporary homes or commercial-style landscapes.
This industrial look makes a statement primarily through its material honesty and deliberate contrasts. The large, raw concrete slabs provide a sense of grounded stability, while the crisp, clean lines of the metal edging offer a sharp, modern boundary. The juxtaposition of the heavy concrete and the sleek metal creates a dynamic tension that is both strong and visually appealing. It’s functional art.
Industrial concrete slabs truly shine in longer, narrower side paths (minimum 3-4 feet wide) where their linear nature can be emphasized. They also work best with homes that have a modern, minimalist, or industrial architectural style. If your home is very traditional or ornate, this stark look might clash. If you have a much wider side yard and want this vibe, consider laying several rows of slabs with thin gravel or stone chippings in between for visual breaks and a wider footprint.
|
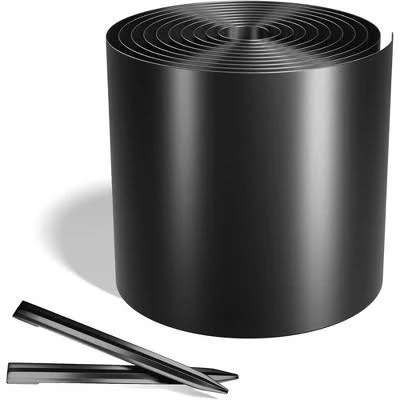
Worth Galvanized Steel Landscape Edging Roll$67.99 |
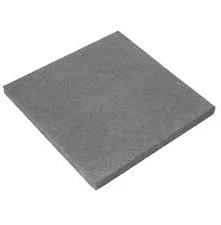
Vancouver Bay Architectural Slabs$21.02 |
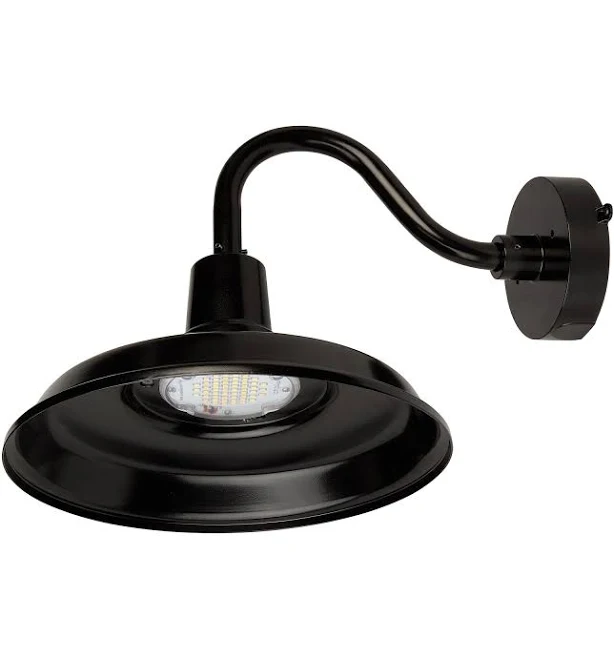
8W LED Gooseneck Barn Light$69.99 |
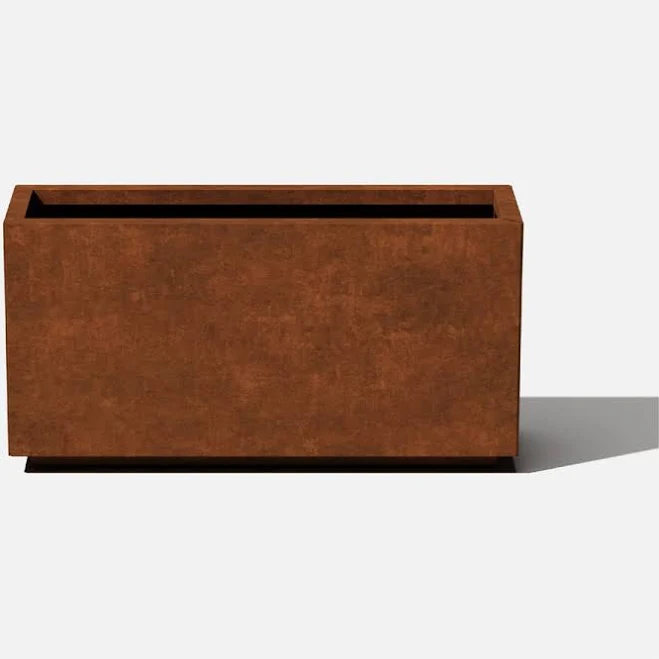
Veradek Series Long Box Planter$142.79 |
As an affiliate, we earn from qualifying purchases.
16. Coastal Blue-Grey Stone Pavers with White Shell Accents
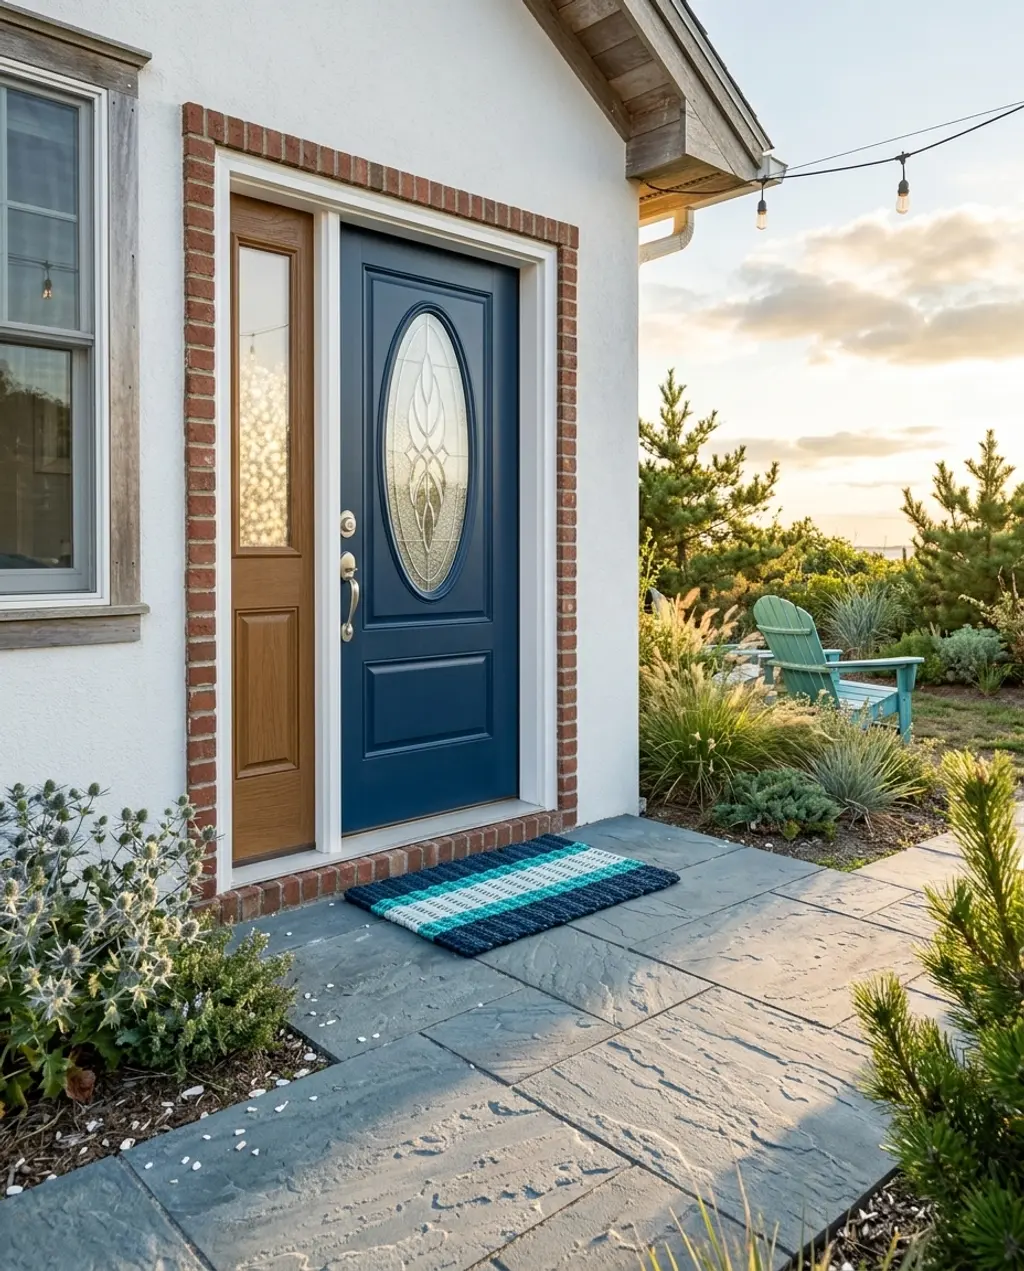
Evoke the calming spirit of the coast with blue-grey stone pavers accented by crisp white shells. This coastal look is light, airy, and immediately refreshing, bringing a beachy resort vibe right to your front entrance. It’s an excellent choice for homes seeking a relaxed yet refined aesthetic.
The one thing that absolutely makes this coastal look distinct is the deliberate contrast between the cool blue-grey pavers and the bright white shell accents. This pairing instantly conjures images of ocean shores and sandy beaches. Without the shells, the pavers would still be lovely, but they wouldn’t tell that distinct coastal story so emphatically.
- Main furniture (pavers): $200 – $600
- Lighting (exterior sconce): $100 – $300
- Textiles (welcome mat): $50 – $100
- Decor/Accessories (sidelight, shells): $200 – $400
- TOTAL: $550 – $1400
Budget alternative: Instead of pricey bluestone, look for concrete pavers in a similar cool-grey tone (around $2-$4 per square foot). White pea gravel or crushed white limestone (about $5 per bag) can stand in for shells at a fraction of the cost. For larger shells, check craft stores or even beachcombing if you’re lucky! A good-quality, budget-friendly nautical-themed welcome mat (around $20-$40) ties the look together.
|
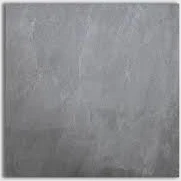
Bluestone Blu Select Textured Porcelain Pavers$8.92 |
Therma-Tru Benchmark Collection Varissa 80-in x 6-9/16-in Fiberglass L$1699.21 |
Pease Doors Frost Glass and Frame Kit$208 |
Wicked Good Lobster Rope Doormat$79.95 |
As an affiliate, we earn from qualifying purchases.
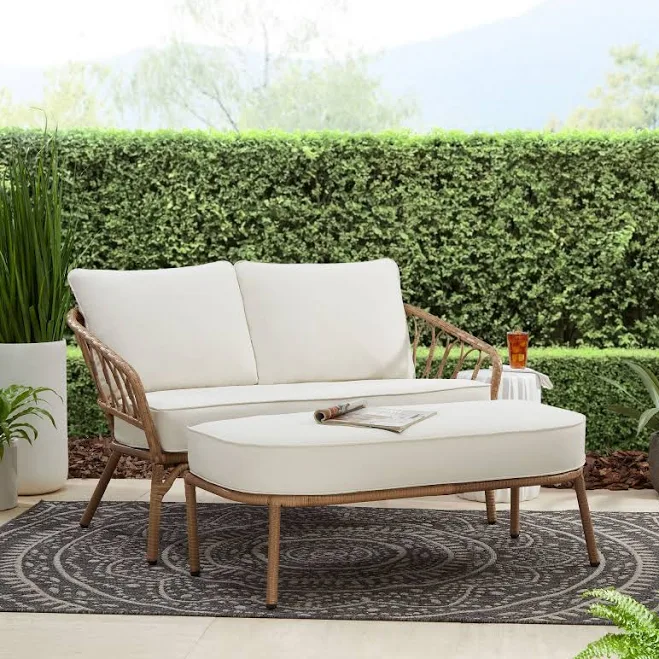
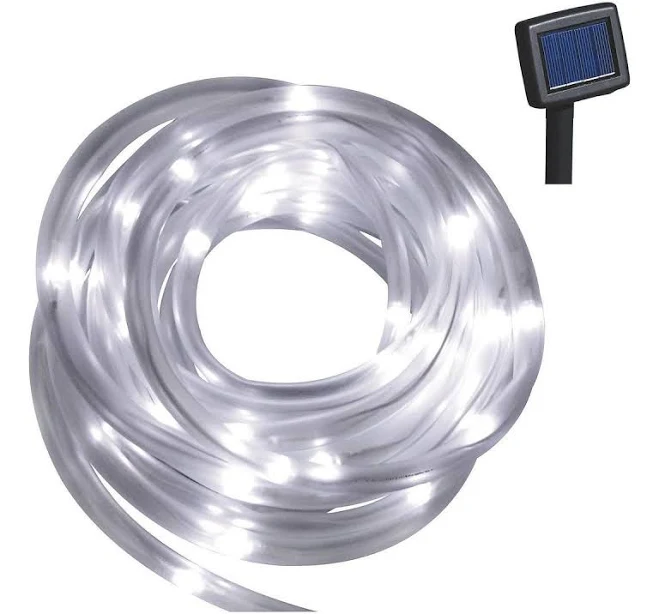
17. Tropical Large Format Concrete Pavers with Lush Foliage
Transform your backyard into a lush, tropical paradise with large format concrete pavers surrounded by vibrant foliage. This look is about creating a retreat, an escape to a warmer climate, making your outdoor spaces feel like a permanent vacation spot. It’s bold, immersive, and utterly inviting.
A key designer tip for tropical pathways is to let the plants do most of the visual work. Instead of straight, rigid lines of pavers, allow the lush foliage to naturally spill over the edges, softening the hardscape. Use large, architectural leaves (like varieties of hosta, elephant ears, or caladiums) right up against the pavers to create that immediate jungle-like embrace.
Those lush tropical plants, while gorgeous, do require consistent maintenance, especially in non-tropical climates. Expect regular watering, feeding, and potentially overwintering of some varieties if your zone isn’t naturally warm. Large concrete pavers themselves are relatively low maintenance but can get slippery if moss or algae build up in damp, shady tropical environments. Regular hosing or power washing is your friend here to keep things safe and clean. Compare this with Idea #5 — same color palette, completely different energy.
|
Belgard Patio Stone$6.48 |
Better Homes & Gardens Willow Sage All-Weather Wicker Outdoor Loveseat$349 |
Better Homes & Gardens 23 inch Organic Terracotta Planter$34.97 |
Luminar Outdoor Solar Rope Light$11.99 |
As an affiliate, we earn from qualifying purchases.
18. Art Deco Inspired Black and White Geometric Pavers
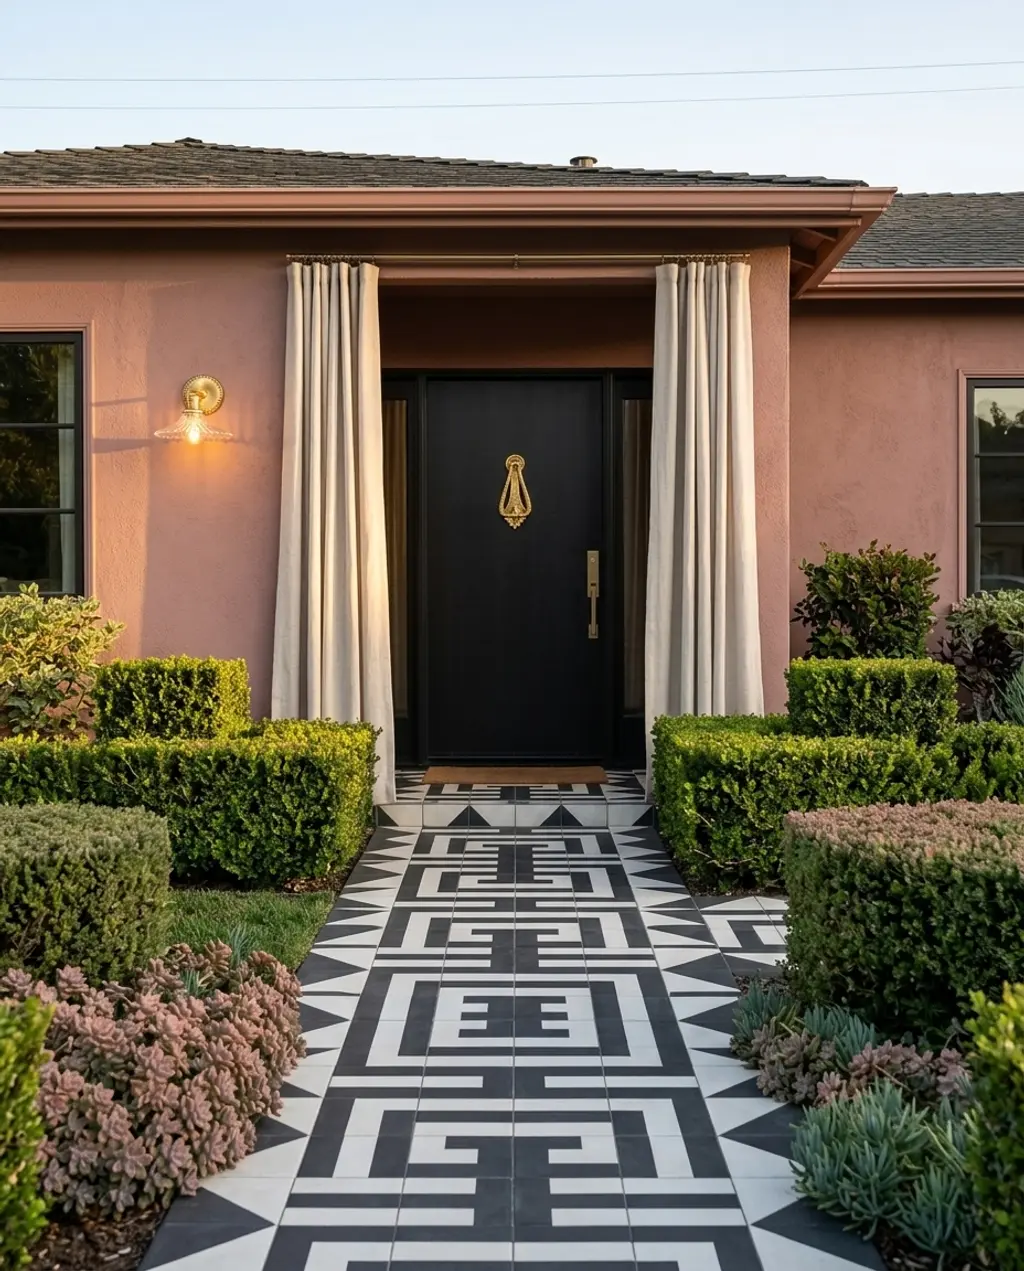
Step back in time with an Art Deco inspired pathway, featuring striking black and white geometric pavers for an unforgettable front entrance. This isn’t just a path; it’s a statement piece, full of glamour, symmetry, and a touch of roaring twenties elegance. It’s perfect for homes that embrace unique, bold design.
Art Deco is experiencing a significant revival in interior and exterior design. As people look for alternatives to minimalist trends, the opulent geometry, rich contrast, and glamorous feel of Art Deco offer a refreshing change. Expect to see more of these bold patterns on platforms like Pinterest and in boutique hotel designs, making it a fashion-forward choice for your home’s entrance.
Before You Start Checklist
- Have you considered how much foot traffic this area gets, as high contrast may show dirt more readily?
- Do you have samples to see how the black and white plays with your home’s existing facade colors?
- Are you committed to the bold, distinct style of Art Deco, or do you prefer something more subdued?
- Have you factored in the higher material and installation costs often associated with intricate patterns?
|
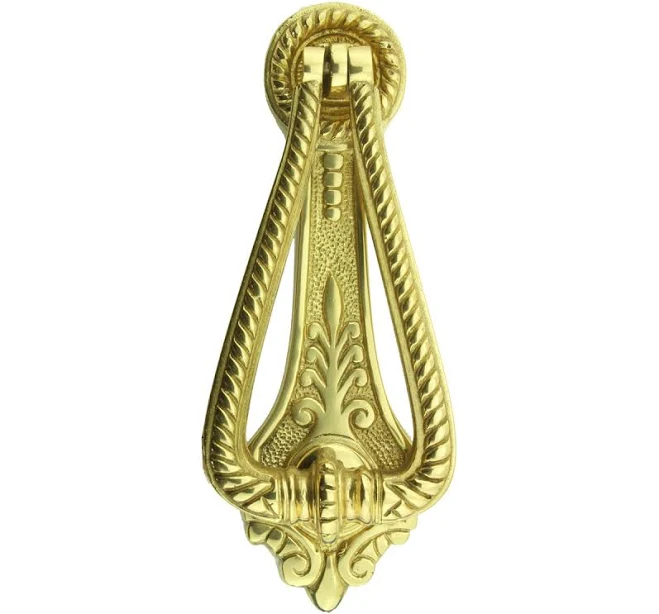
Renovators Supply Ornamental Design Front Door Knocker$56.99 |
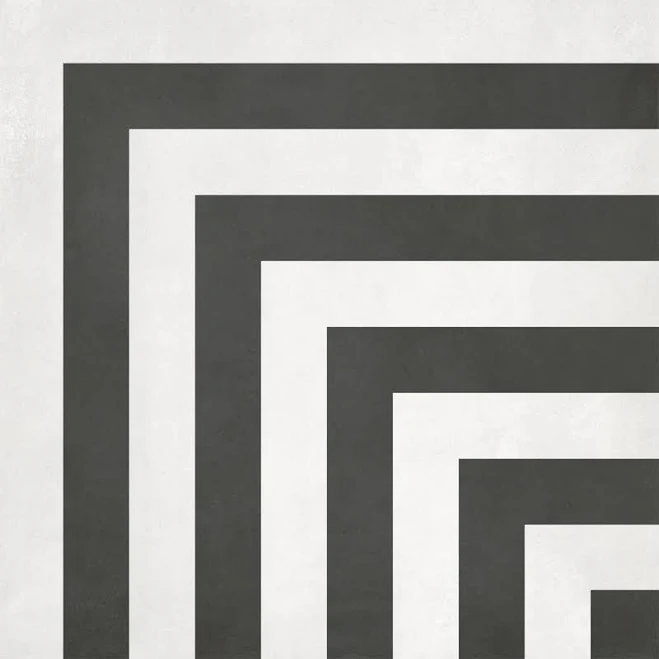
Form Monochrome Geo Deco 8×8$34.77 |
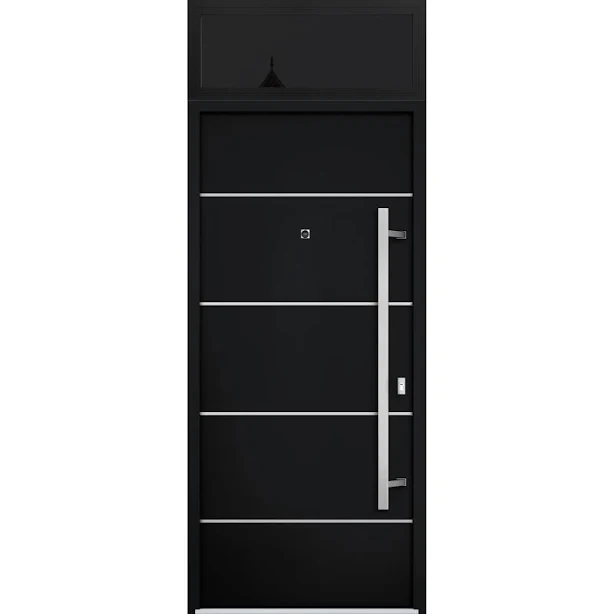
Deux Exterior Prehung Steel Door$2639 |
GreenRow Aria Glass Wall Sconce$199 |
As an affiliate, we earn from qualifying purchases.
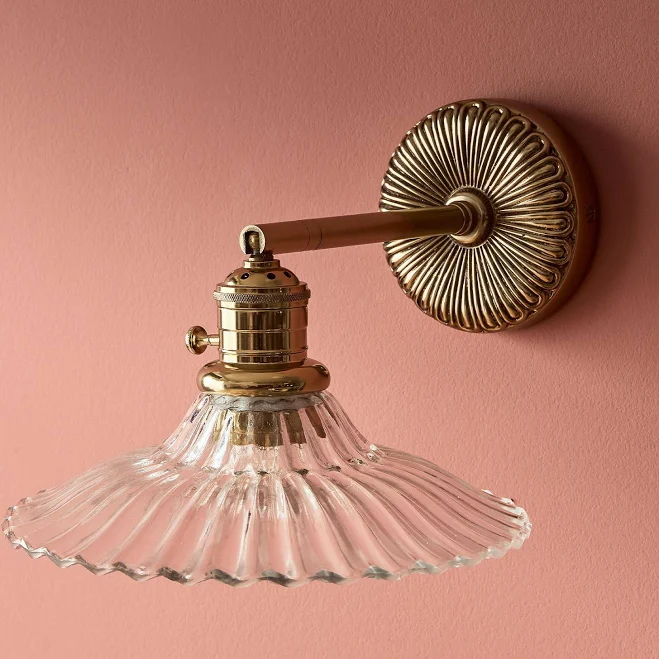
19. Mid-Century Modern Staggered Concrete Pavers with Succulents
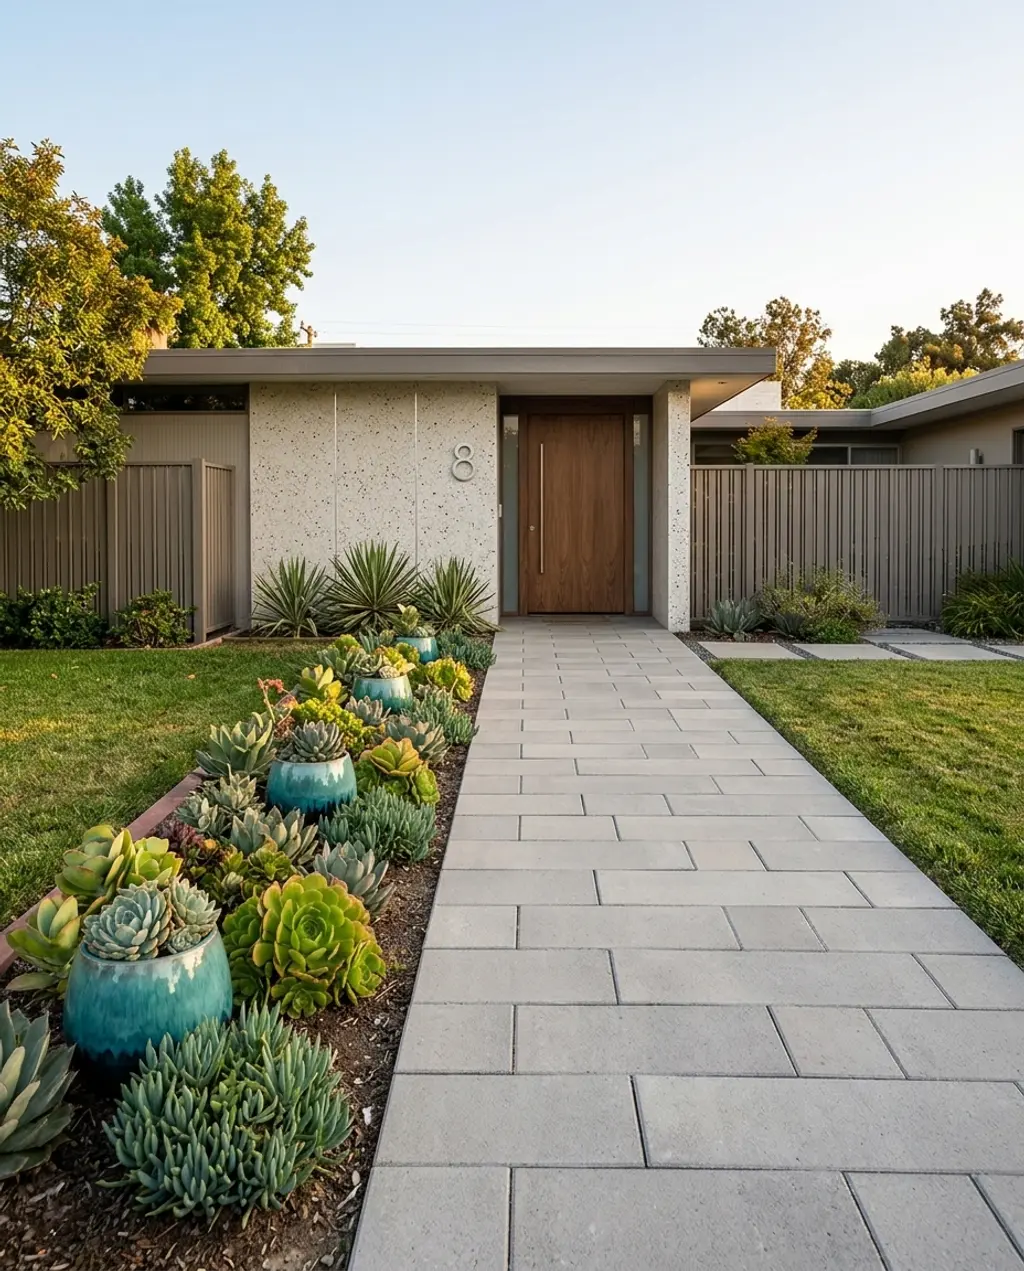
Bring a touch of Palm Springs cool to your front door with mid-century modern staggered concrete pavers, nestled amongst a bed of succulents. This look is all about relaxed sophistication, clean lines, and a celebration of drought-tolerant plants. It’s perfect for connecting your home to a retro-but-modern vibe.
The genius of this mid-century look lies in the staggered placement of the pavers and the use of low-lying, architectural succulents. The offset arrangement creates dynamic movement and visual interest without being chaotic, while the succulents provide year-round texture and color with minimal fuss. Together, they form a harmonious, low-maintenance landscape that epitomizes effortless cool.
To achieve this stylish look on a tighter budget, opt for standard square concrete pavers (around $2-$4 per square foot) and focus on the staggered layout. Instead of buying large, expensive succulents, look for smaller varieties at local nurseries or even grocery stores and let them grow out. You can also propagate succulents from cuttings! For planters, seek out geometric, mid-century inspired ceramics at Target or HomeGoods for $15-$30, rather than high-end design stores.
|
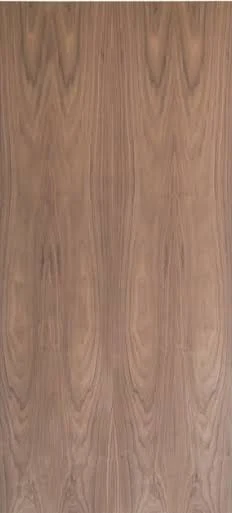
Napa Walnut Vertical Grain Interior Flush Door$449 |
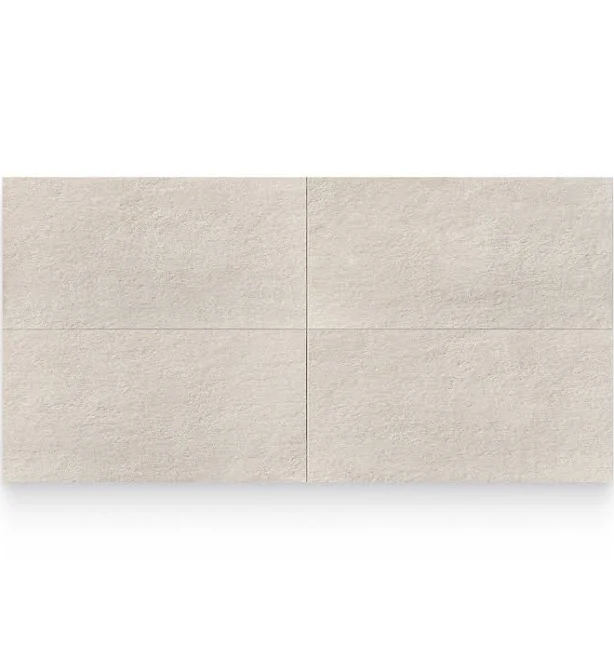
Paver Indiana Grey Matte Rectangle Paver$136.8 |
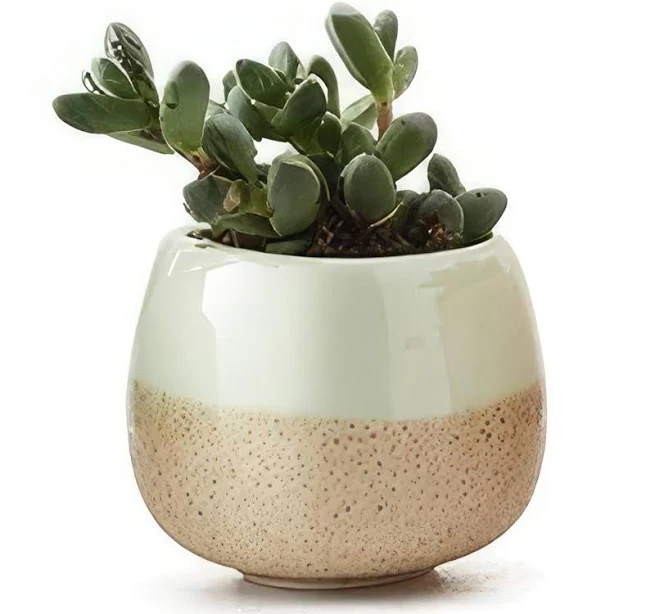
Ceramic Succulent Planter with Flowing Glaze$6.98 |
8″ Brushed Aluminum floating or flat Modern House Numbers 0-9$21.6 |

As an affiliate, we earn from qualifying purchases.
20. Permeable Pavers with Fine Gravel for Sustainable Drainage
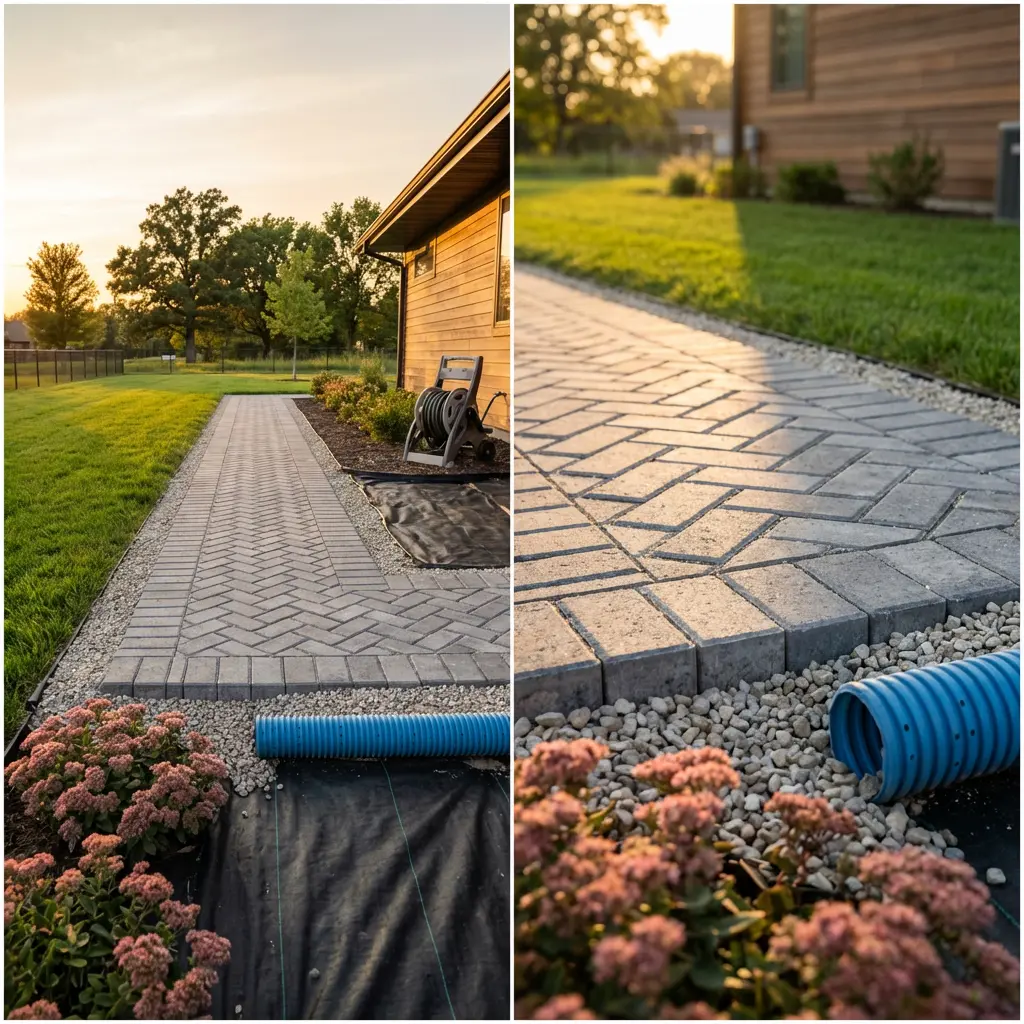
For pathways that are as smart as they are stylish, permeable pavers with fine gravel are the ultimate sustainable solution for managing drainage around your home. This isn’t just a pretty path; it’s an eco-conscious choice that prevents runoff, recharges groundwater, and keeps your side house path dry and stable. It’s a win-win for design and the environment.
When designing a permeable pathway, the number one designer tip is to pay meticulous attention to the base layers. This isn’t just about placing pavers; it’s about creating a system. You need multiple layers of varying aggregate sizes (from coarse to fine) beneath the pavers to allow for proper water filtration and retention. Don’t skimp on this foundational work, or your beautiful permeable path won’t function as intended, potentially leading to drainage issues down the line.
While incredibly effective for drainage, permeable pavers and fine gravel can present some challenges. The smaller gravel can be more prone to shifting or compacting over time, especially in high-traffic areas or after heavy rains. You’ll need to top up or rake it occasionally. Also, if you have deciduous trees, autumn leaves can be a nuisance, as they break down and clog the permeable joints. Regular sweeping and blowing are essential to maintain functionality.
|
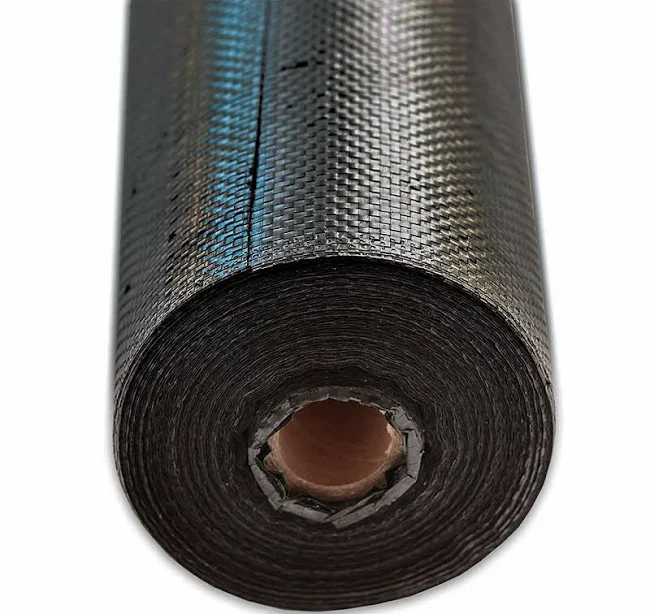
Hanes Geo Components Professional Weed Barrier Landscape Fabric$59.98 |
Techo-Bloc – Aquastorm Permeable, Smooth, Grey – 78.39 SF/pallet$14.36 |
Limestone Gravels Limestone$30 |
3½ Inch High Octane Armor Blue Perforated Drainage Pipe$114.95 |
As an affiliate, we earn from qualifying purchases.
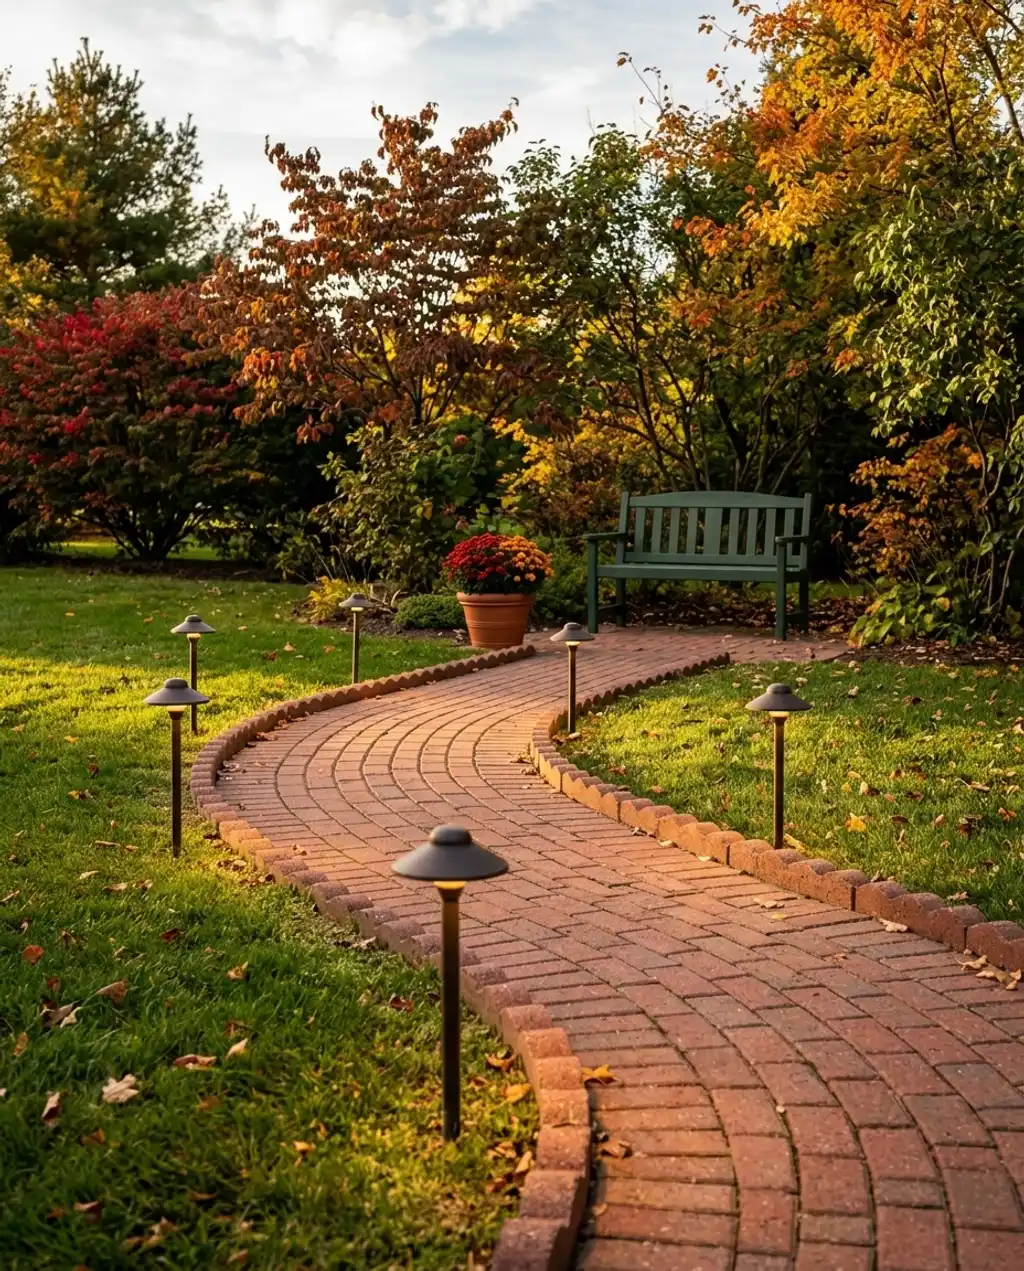
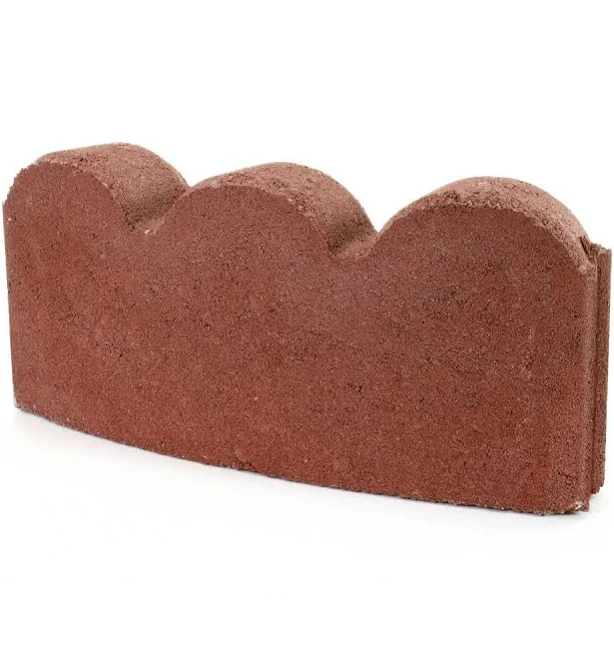
21. Curved Brick Walkway with Integrated Lighting for Evening Charm
✨ Luxury Version
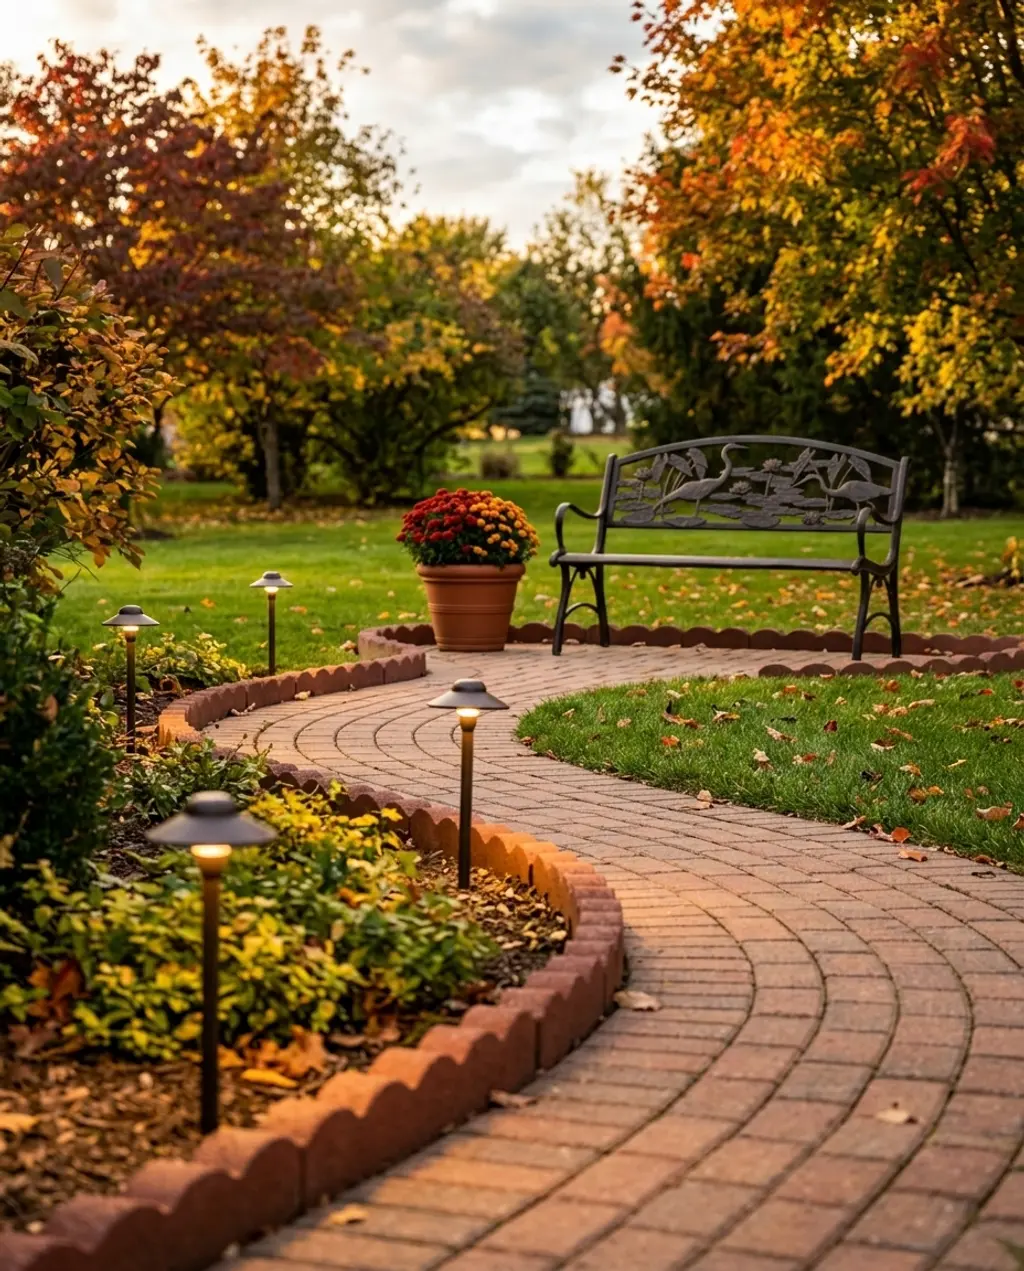
A curved brick walkway with integrated lighting is the epitome of evening charm, guiding you home with a soft, inviting glow. This traditional look feels established and welcoming, enhancing the architecture of your house while making the path safe and utterly magical after dark. It’s a beautiful choice for any classic home.
The single most impactful element that makes this idea captivating is the integrated lighting. Without it, the curved brick path is lovely, but the lighting transforms it from a functional walkway into a feature that comes alive at night. The subtle glow creates an enchanting ambiance and highlights the beautiful curve of the brick, making it truly shine.
💸 Budget Version
- Main furniture (pavers): $100 – $300
- Lighting (path lighting): $150 – $400
- Decor/Accessories (planters, bench): $100 – $300
- Paint/Wall Treatment (n/a): $0
- TOTAL: $350 – $1000
Budget alternative: Instead of new brick pavers, source reclaimed bricks from salvage yards or Facebook Marketplace; they often have incredible character and are significantly cheaper. Use solar-powered stake lights (around $7-$15 each) rather than wired, low-voltage systems to save on installation costs. Look for charming garden benches at thrift stores or discount retailers like Aldi (around $50-$100) and give them a fresh coat of paint.
- Top 5 materials for rustic pavers:
- Reclaimed Brick (authentic, weathered look)
- Irregular Flagstone (natural, organic shapes)
- Gravel (cost-effective, permeable)
- Cobblestone (charming, historic)
- Composite Wood (eco-friendly, durable)
|
💰 Budget Pick Pavestone 12″ Curved Scallop Concrete Edger$1.79 |
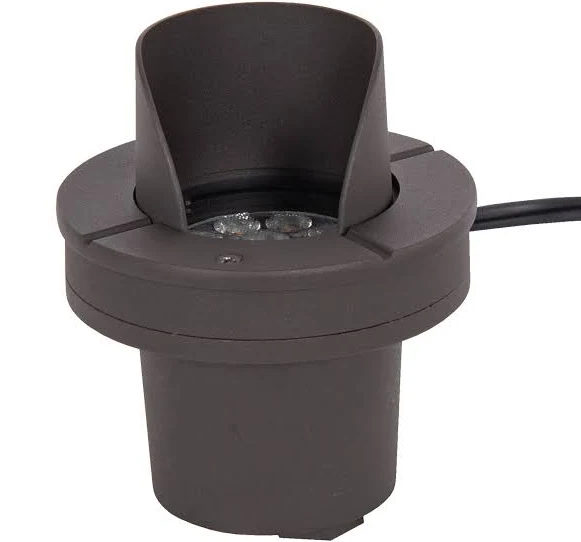
💰 Budget Pick Harbor Breeze 500 Lumens 9 Watt Matte Low Voltage Hardwired LED Outdoo$26.98 |
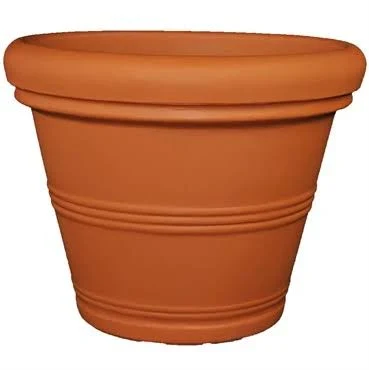
✨ Luxury Pick Tusco Products Tusco Rolled Rim Planter$115.29 |
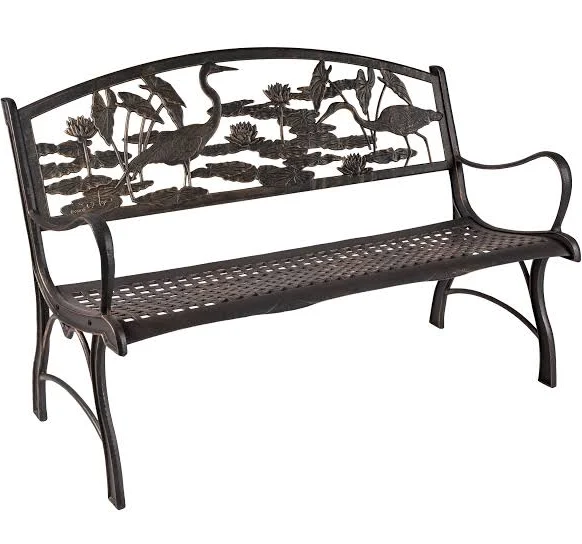
✨ Luxury Pick Heron Cast Iron Garden Bench$549 |
As an affiliate, we earn from qualifying purchases.
22. Stone Pavers with Moss Inlays for a Woodland Garden Path
For an enchanting woodland garden path, consider stone pavers with natural moss growing inlays. This look feels utterly magical, like something out of a fairy tale, creating a soft, organic connection to your garden. It’s perfect for serene, nature-inspired spaces where you want to embrace the wilder side of beauty.
This aesthetic works so incredibly well because of the organic softness that the moss introduces. The hard, solid stone provides the structure of the path, but the moss in the crevices softens the edges and creates a living carpet that feels utterly natural. This contrast between the rugged stone and the delicate, vibrant moss is what gives the path its unique, enchanting character. It feels ancient and perfectly at home.
Moss inlays, while beautiful, require specific conditions to thrive – primarily consistent moisture and shade. If your path gets a lot of direct sun or dries out frequently, the moss will struggle and turn brown. You might need to water it regularly or consider alternative low-growing, shade-tolerant groundcovers if your climate isn’t right. Also, be aware that overgrown moss can make pavers slippery, so occasional maintenance and ensuring good drainage around stones are important for safety.
23. Grand Entrance with Oversized Black Pavers and White Gravel Contrast
For an entrance that truly commands attention, go grand with oversized black pavers contrasted with bright white gravel. This maximalist look is bold, dramatic, and creates an immediate sense of luxurious impact. It’s perfect for contemporary homes that aren’t afraid to make a statement, especially for an impactful front door reveal.
To really nail this grand, contrasting look, choose your paver and gravel sizes carefully. For the pavers, the larger the better – think 24×24 inches or even 36×36 inches. For the white gravel, opt for something relatively fine, like pea gravel or crushed white marble chips, with a consistent texture. This ensures the contrast is crisp and defined, preventing a messy or choppy appearance.
This grand entrance idea absolutely thrives on space. You need a wide approach to your front door (at least 6-8 feet wide) and a generous front yard to accommodate the oversized pavers without them feeling overwhelming. It’s also best suited for homes with a strong, modern architectural presence. If your space is more modest, you can still get a powerful black and white contrast effect with Idea #18, which uses geometric patterns on a more standard scale.
|
Possini Euro Design Jericho 28″ High Modern Outdoor Wall Light Fixture$234.99 |
MSI 24 in. x 0.79 in. Matte Porcelain Stone Look Paver lpavn$75.77 |
GID Grand Iron Front Double Door Panic Bar and Door Closer ED293$2699 |
H&M Home Extra-Large Terracotta Plant Pot$39.99 |

As an affiliate, we earn from qualifying purchases.
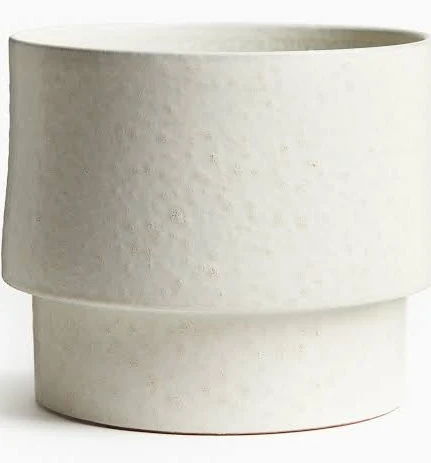
24. DIY Concrete Pavers with Integrated Planters for a Modern Front
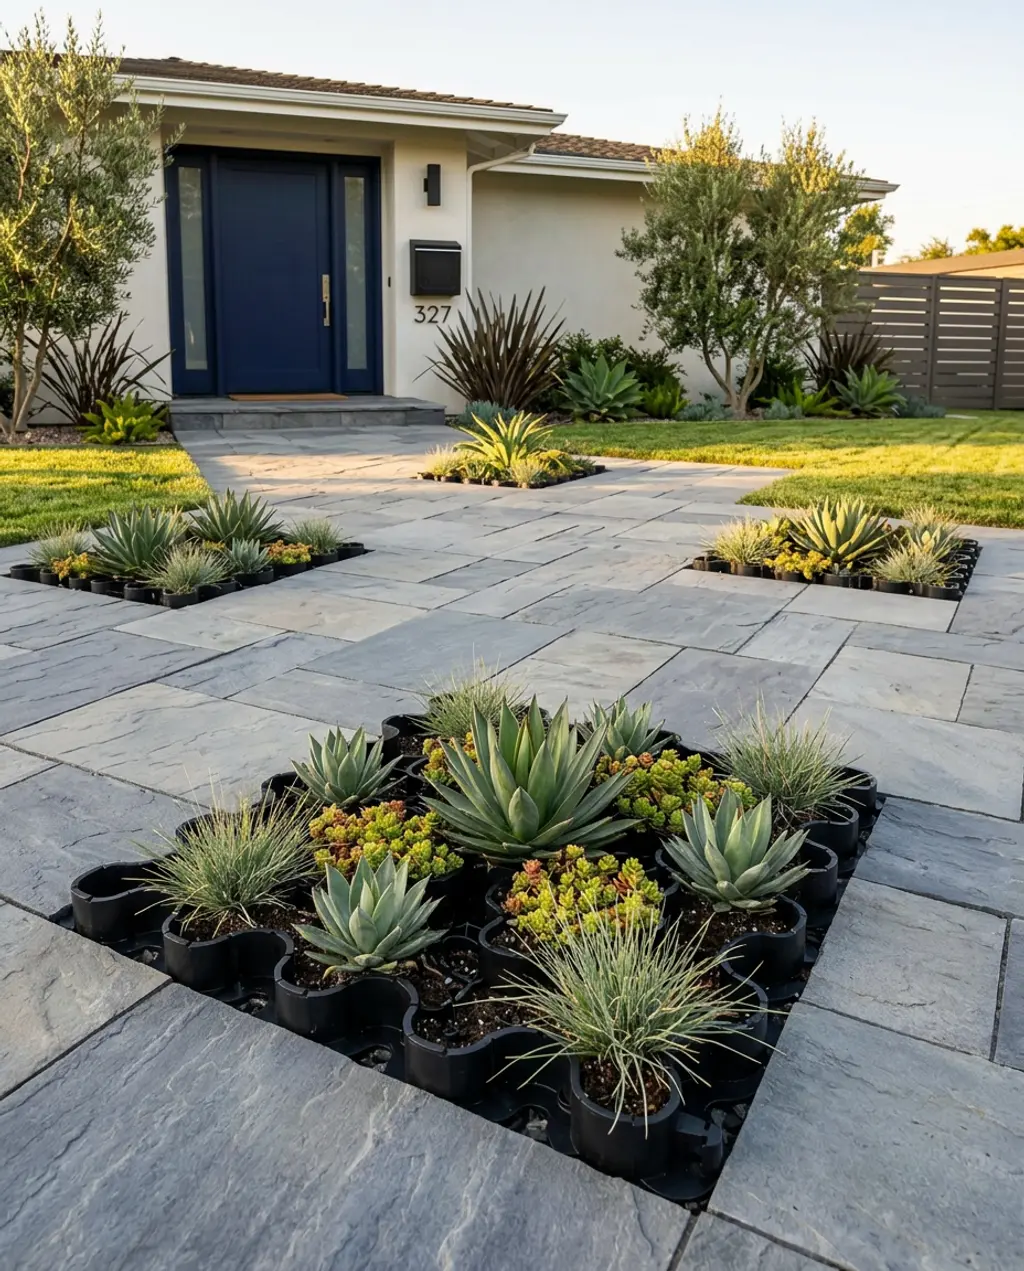
Take DIY to the next level with concrete pavers that ingeniously integrate planters, creating a truly modern and personalized front entrance. This look is about innovation, clean lines, and bringing greenery directly into your hardscaping in a structured, sophisticated way. It’s perfect for those who love contemporary design and a bit of hands-on creativity.
Integrated planters are a hot trend right now, especially as homeowners look to maximize green space in urban environments. Pinterest is full of clever solutions for small-space gardening, and this idea perfectly blends hardscape and softscape in a chic, architectural manner. It’s a design trend that’s both beautiful and practical, offering enduring appeal.
How-To Brief: Creating an Integrated Paver Planter
- Layout & Mark: Plan your paver layout, marking the precise location and dimensions for your integrated planter opening.
- Excavate & Base: Dig out the paver path area, plus an extra 6 inches deep for the planter hole. Create a compacted gravel base for the pavers.
- Frame the Planter: Use treated lumber or metal edging to create a sturdy frame for your planter within the paver layout. Ensure it’s level with your planned paver height.
- Lay Pavers: Install your concrete pavers around the framed planter, cutting any pavers to fit snugly against the frame.
- Fill Planter: Line the planter frame with landscape fabric (optional, for drainage and soil retention), then fill with appropriate potting mix and plants.
Time estimate: 1-2 days (depending on path length and number of planters). Material cost: $50-$150 (for planter materials excluding plants).
|
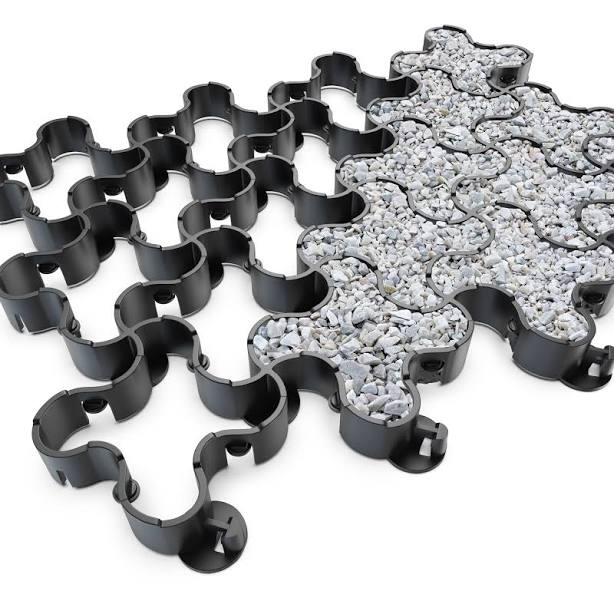
EasyPave Pro Heavy Duty Paver System$45 |
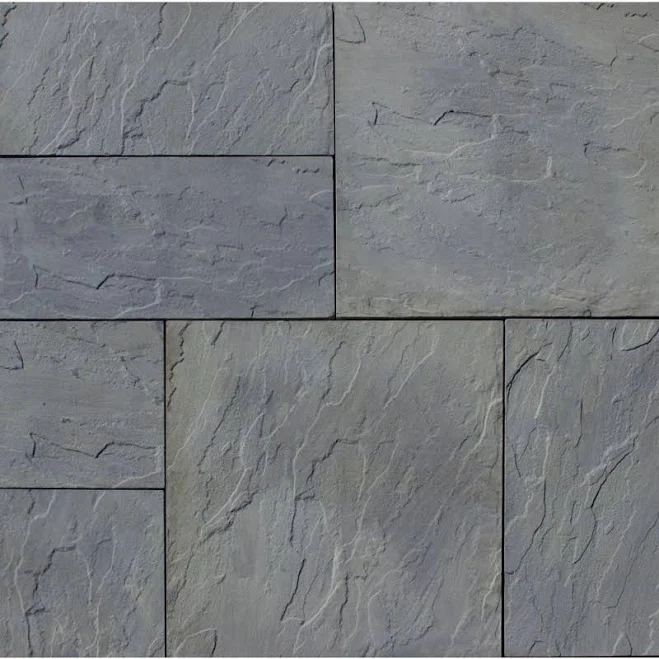
Nantucket Pavers Patio-on-a-Pallet$319 |
West Elm Outdoor Modernist House Numbers$16.99 |
Architectural Mailboxes Townhouse Wall Mount Mailbox THVKB0AM$27.95 |

As an affiliate, we earn from qualifying purchases.
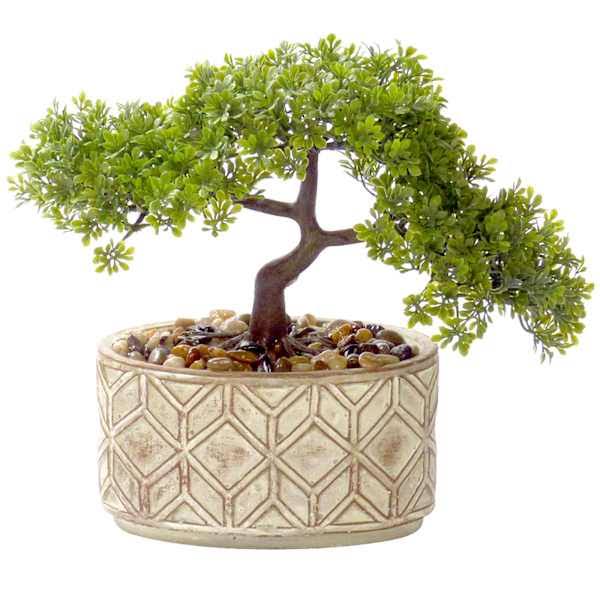
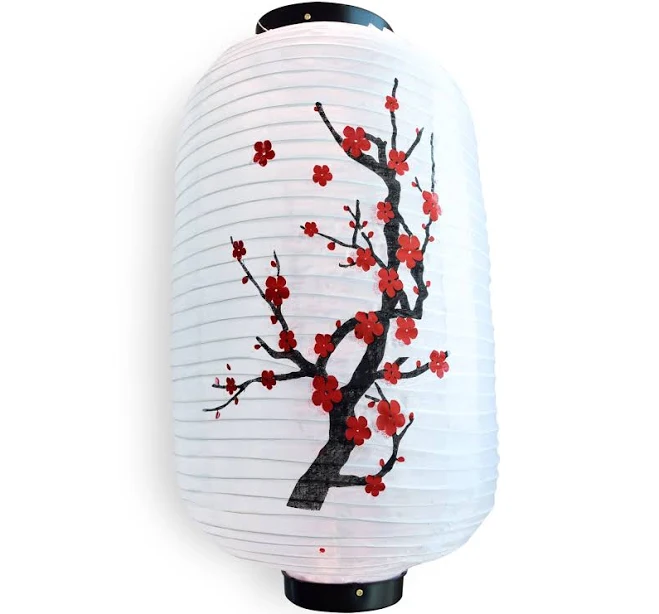
25. Square Stone Pavers with Minimalist Rocks and Zen Accents
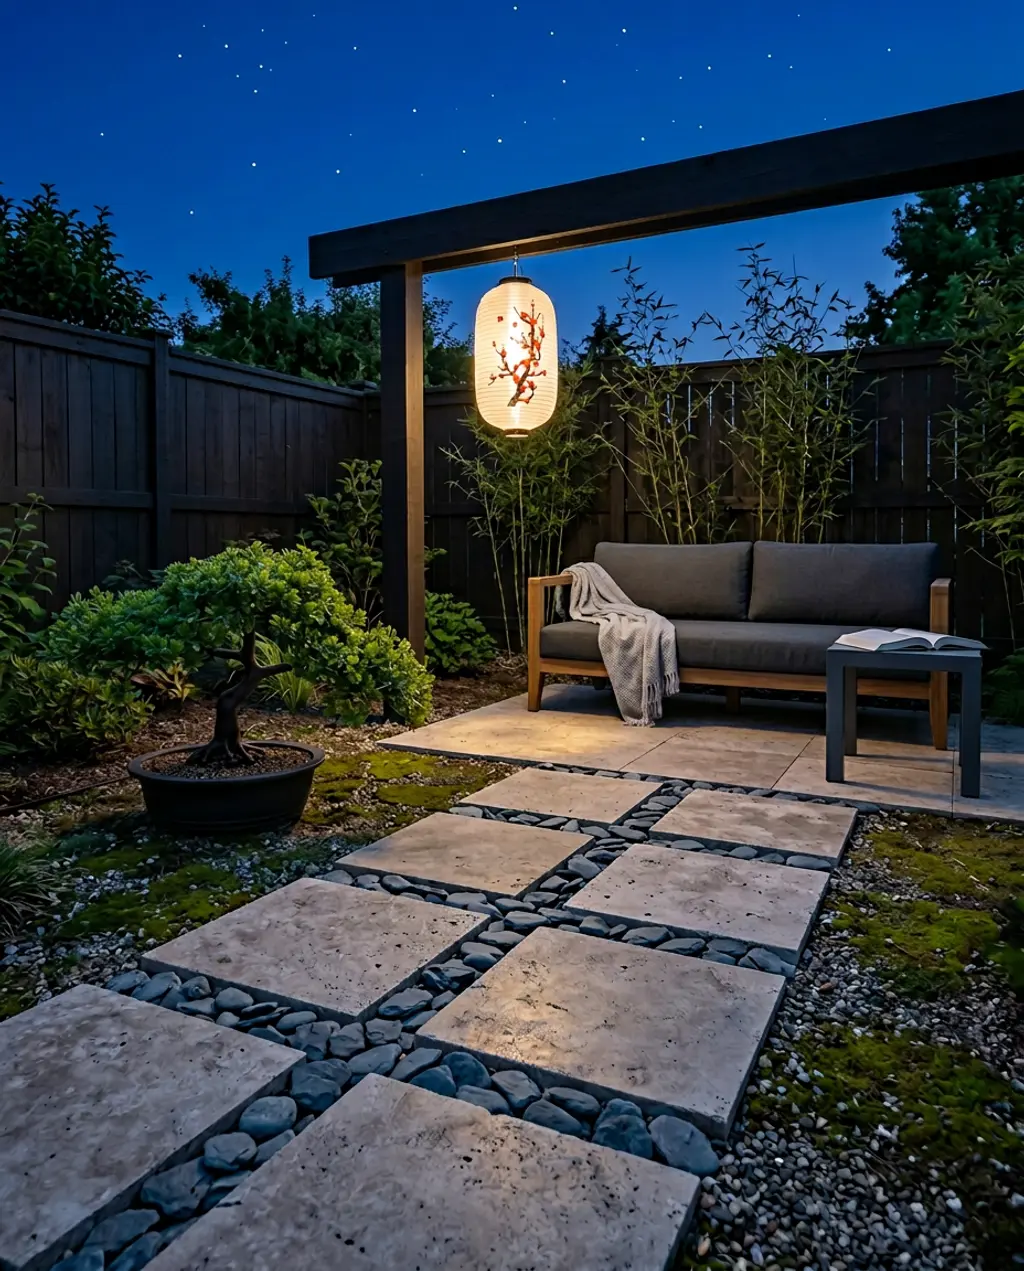
Embrace tranquility with square stone pavers set amidst minimalist rocks and subtle Zen accents. This look is a masterclass in quiet contemplation, transforming any space into a peaceful Japanese-inspired retreat. It’s about precision, balance, and creating a sense of calm through carefully chosen elements.
The one thing that absolutely defines this Zen pathway is the deliberate negative space created by the minimalist rocks. It’s not just about the pavers; it’s about the gravel or smaller stones around them, meticulously raked into patterns, that allows the eye to rest and the mind to calm. This thoughtful void enhances the presence of each square paver, giving the entire composition a meditative quality. Without it, you lose the essence of Zen.
While the minimalist aesthetic is appealing, maintaining those perfectly raked rocks can be more demanding than you think. You’ll need a dedicated rake and a commitment to keeping the patterns crisp, especially after wind, rain, or foot traffic. Additionally, any leaves or debris that fall will disrupt the pristine look, so regular sweeping or blowing is a must to preserve the meditative quality of the space.
|
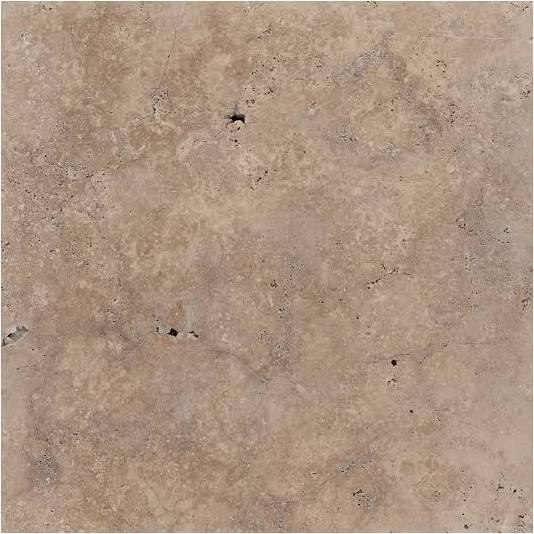
WonderLand 24-in L x 24-in W x 1.18-in H Square Tuscany Natural stone $58.18 |
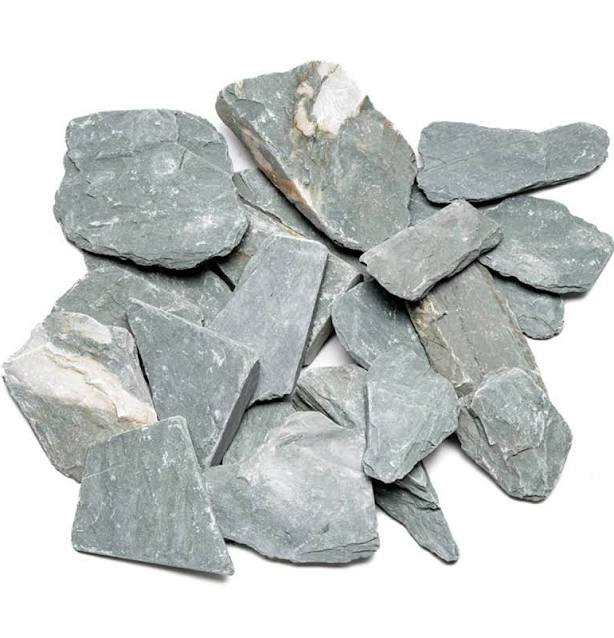
Grey River Slate Stone Planted Aquariums$42 |
At Home Bonsai Tree$24.99 |
Japanese Nylon Lantern with Plum Tree Blossoms$5.95 |
As an affiliate, we earn from qualifying purchases.
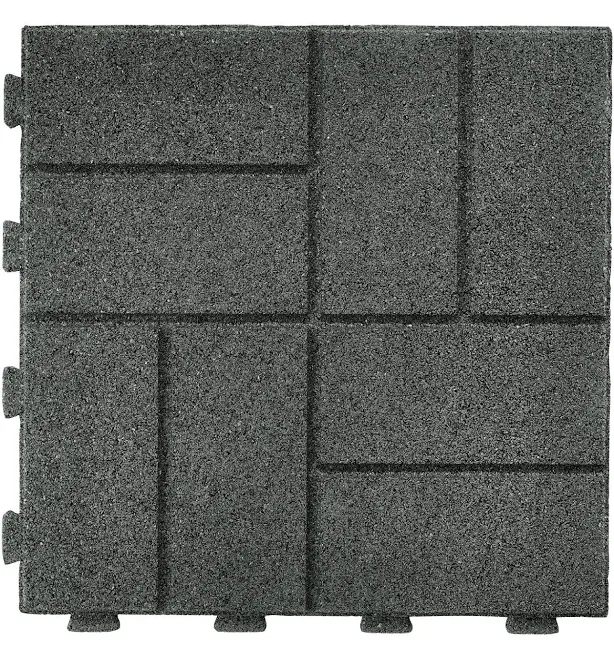
26. Textured Black Pavers with Contrasting Light Gravel for a Sophisticated Look
✨ Luxury Version
For an exterior that exudes quiet confidence, textured black pavers paired with contrasting light gravel create an incredibly sophisticated and contemporary front door approach. This look isn’t about flash; it’s about refined materials, subtle tactile interest, and a harmonious color palette that feels upscale and inviting.
💸 Budget Version
This sophisticated look works so well due to the clever interplay of texture and subtle contrast. The black pavers, especially with a slight texture, absorb light and feel grounded, providing a stable, elegant foundation. The light gravel, whether grey or cream, then offers a gentle contrast that highlights the path without being overly stark. The texture also prevents the black from feeling too flat or absorbing too much light, adding depth to the design.
- Main furniture (pavers): $200 – $600
- Lighting (exterior sconce): $100 – $300
- Decor/Accessories (planters, door): $50 – $200
- Paint/Wall Treatment (front door): $1000 – $1500
- TOTAL: $1350 – $2600
Budget alternative: Utilize standard black concrete pavers (around $3-$5 per square foot) and pair them with inexpensive light-colored pea gravel or crushed limestone (around $5-$8 per bag). Instead of a brand new high-end front door, consider painting your existing door a deep, rich black (around $30-$50 for paint) and upgrading the hardware for a fresh, sophisticated punch. Look for sleek, modern planters at discount home stores like HomeGoods for under $50.
|
💰 Budget Pick · Pavers Walkway GroundSmart SmartLoc Gray Pavers$29.99 |
✨ Luxury Pick · Pavers Walkway Nuvark Black Porcelain Paver$83.88 |
💰 Budget Pick · Front Door Solid Wood Tower Doors with Glass Panels$63 |
✨ Luxury Pick · Front Door Mahogany Windermere Artistic Lite Contemporary Modern Shaker Double Do$4440 |

As an affiliate, we earn from qualifying purchases.
27. Organic Shaped Concrete Stepping Stones with Fine Gravel and Grass
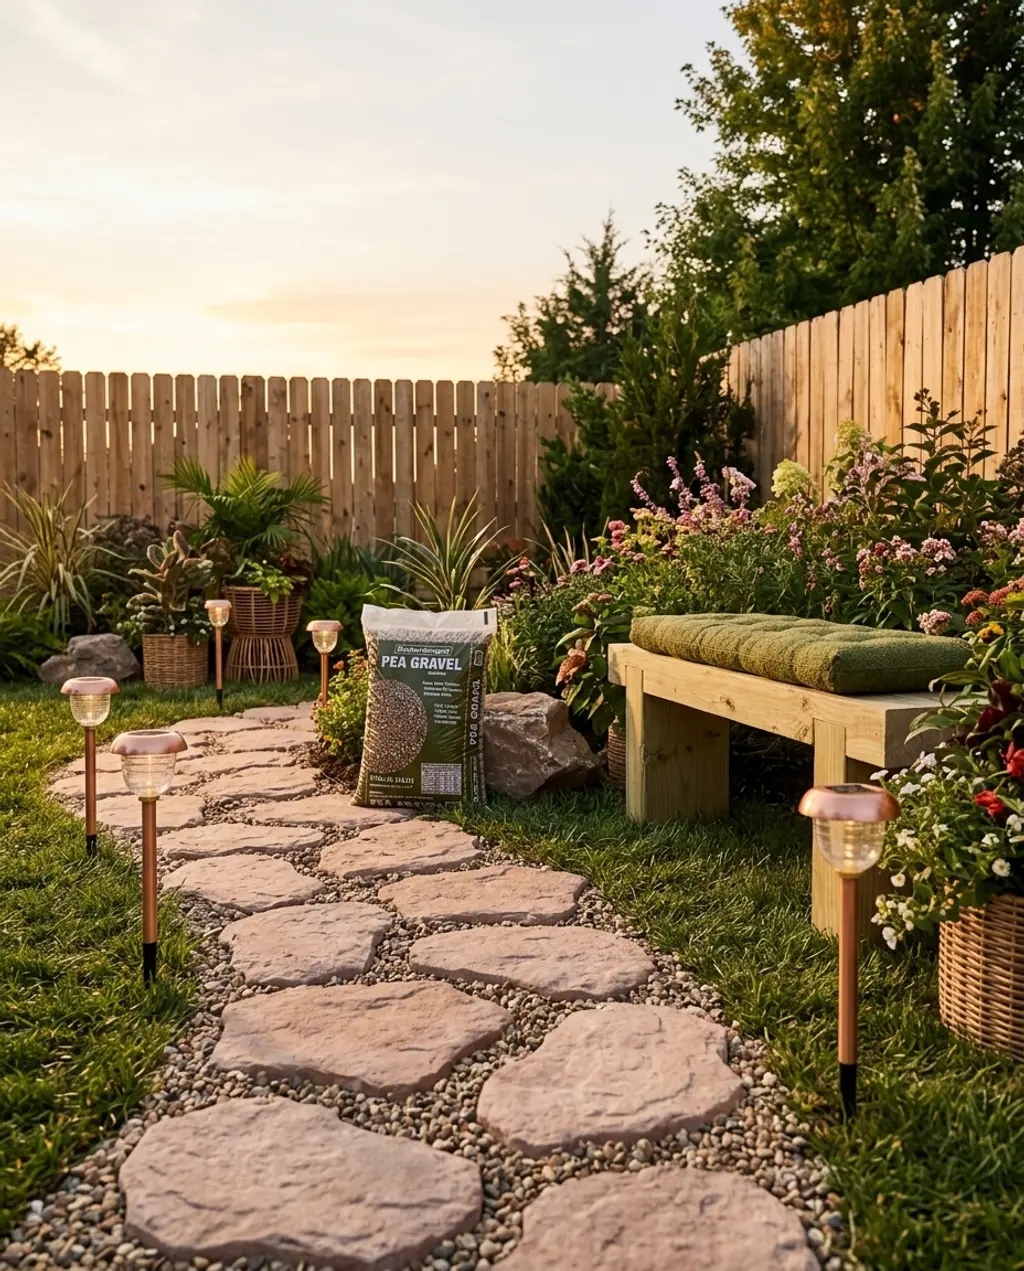
Embrace organic flow in your backyard with uniquely shaped concrete stepping stones, softened by fine gravel and lush grass. This bohemian look is about blurring the lines between hardscape and landscape, creating a path that feels effortless, natural, and utterly inviting. It’s perfect for a relaxed garden vibe where nature takes center stage.
Organic shapes in hardscaping are having a huge moment, driven by a return to more natural, less rigid design principles. Pinterest boards are brimming with ‘garden paths’ and ‘natural landscaping’ that eschew straight lines for flowing, curvilinear forms. This trend reflects a desire for softer, more connected outdoor spaces that feel integrated into the environment rather than imposed upon it.
A designer tip for working with organic shapes: don’t overthink perfection. The beauty is in the natural, slightly imperfect curves and variations. When placing your stepping stones, stand back often and adjust to create a rhythm that feels comfortable for walking. Use the gravel and grass to soften any hard edges, allowing them to gently creep around the stones to enhance that organic, established feel.
|
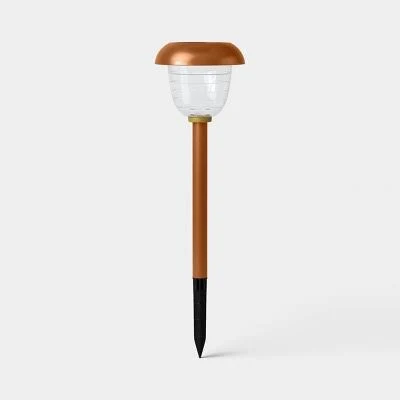
Threshold Copper Pathway Solar Outdoor Single Path Light$7 |
Stepping Stones Blush$259.99 |
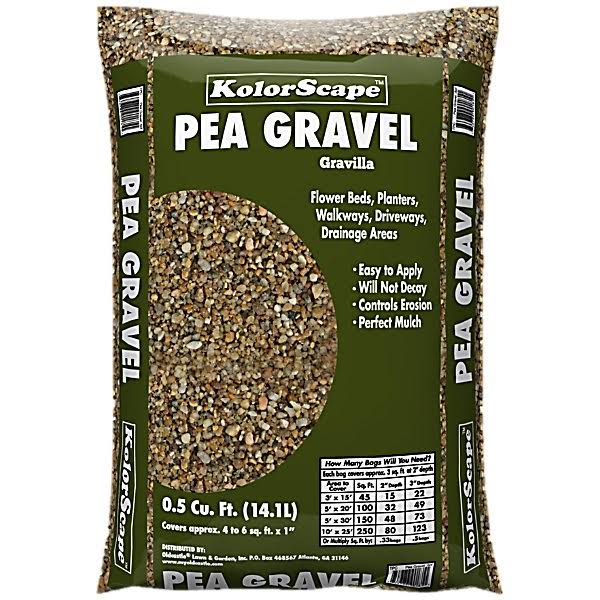
Fleet Farm KolorScape Pea Gravel$6.99 |
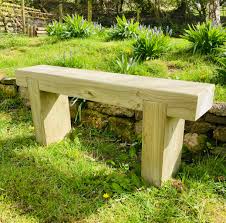
Wooden Garden Sleeper Bench | Rustic Patio Outdoor Seating | Various S$81.55 |
As an affiliate, we earn from qualifying purchases.
🚫 Common Mistakes to Avoid
Now that you’ve seen what works — here’s what to watch out for. These mistakes are surprisingly common and can undermine even the best design intentions.
❌ Mistake #1: Using pavers that are too small for a grand entrance
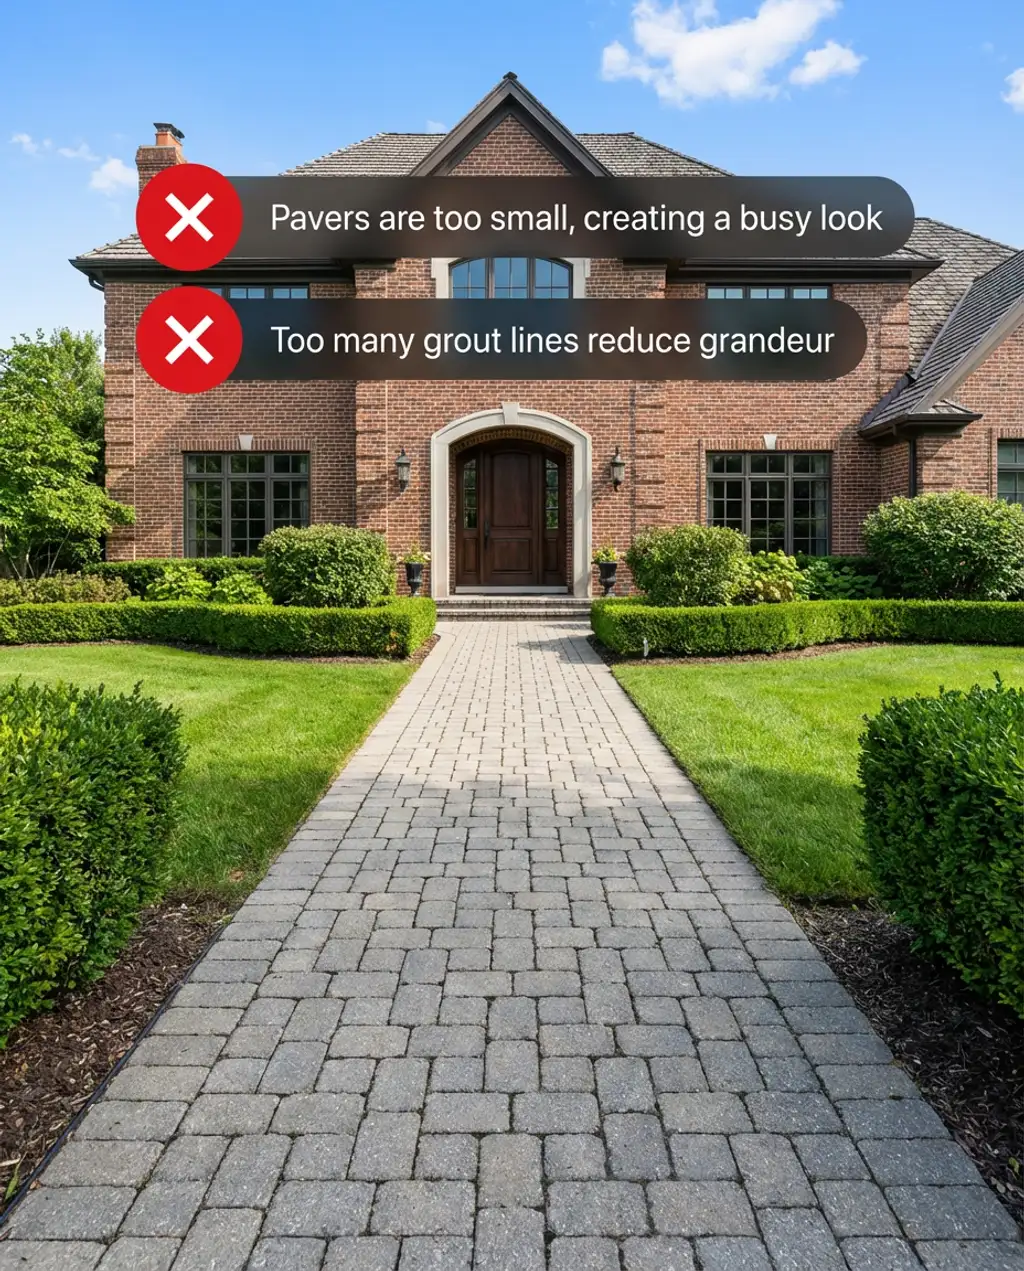
Choose large format pavers for impactful, grand walkways.
When trying to create a grand, stately front entrance, using small, numerous pavers creates a visually busy and somewhat disjointed look. Instead of conveying luxury and expansiveness, the eye gets caught on too many grout lines and individual units, diminishing the grand effect you’re trying to achieve. It can make the entrance feel cramped and less significant.
The Fix: Opt for large format pavers (18×18 inches or larger) for main pathways to create a sense of scale and luxury.
❌ Mistake #2: Ignoring drainage for permeable materials
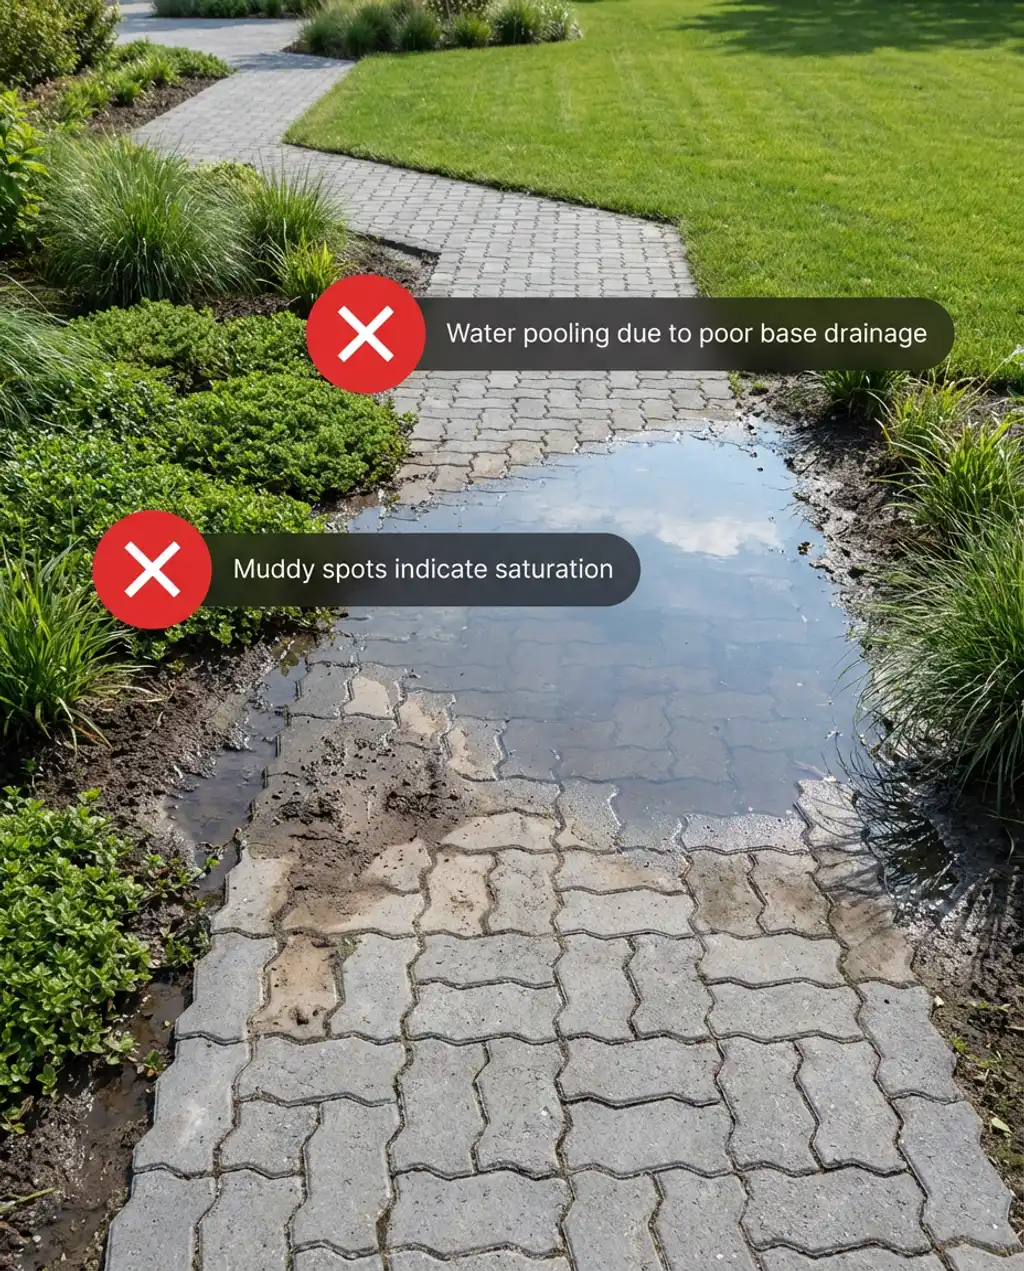
Properly prepare base layers for effective drainage with permeable pavers.
Many permeable paver designs, while excellent for water infiltration, fail when the underlying base isn’t properly prepared for drainage. If water can’t effectively drain through the base layers beneath the pavers, it will simply sit, leading to muddy conditions, shifting pavers, and potential erosion around the edges. This undermines the very purpose of permeable materials.
The Fix: Always install multiple layers of appropriate aggregate (washed stone, gravel) and ensure proper grading beneath permeable pavers for efficient water flow.
❌ Mistake #3: Clashing material textures in eclectic styles
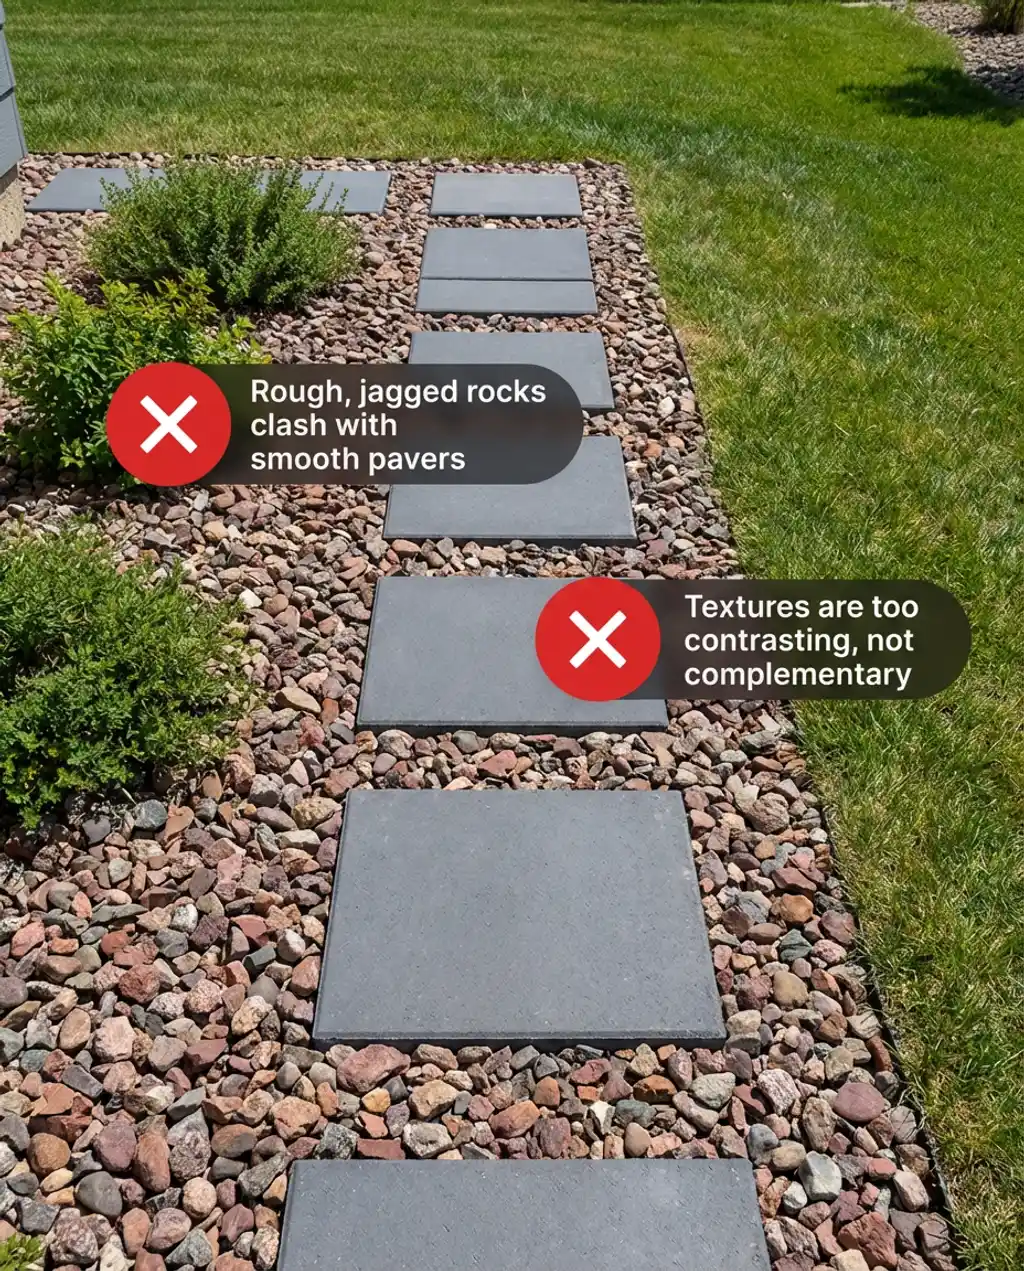
Choose materials with complementary textures for an eclectic look.
While eclectic styles encourage mixing and matching, blindly combining materials with drastically different or conflicting textures can lead to a chaotic and visually jarring walkway. For example, pairing highly polished, sleek pavers with extremely rough, rustic gravel can create an uncomfortable contrast rather than a harmonious eclectic blend. The result feels unintentional and messy.
The Fix: Select materials with complementary textures, even if they’re different styles, to ensure an appealing, cohesive look.
Stepping Forward: Your Path to Paver Perfection
And there you have it — 27 fresh ideas to inspire your Pavers Walkway 2026 project, from grand entrances to whimsical garden paths. Whether you’re dreaming of sleek modern lines or rustic charm, there’s a paver solution waiting to transform your outdoor space.
Don’t let indecision hold you back! Take these ideas, save your favorites to Pinterest, and start envisioning the perfect pathway for your home. Your ideal outdoor oasis is just a few thoughtfully placed pavers away.